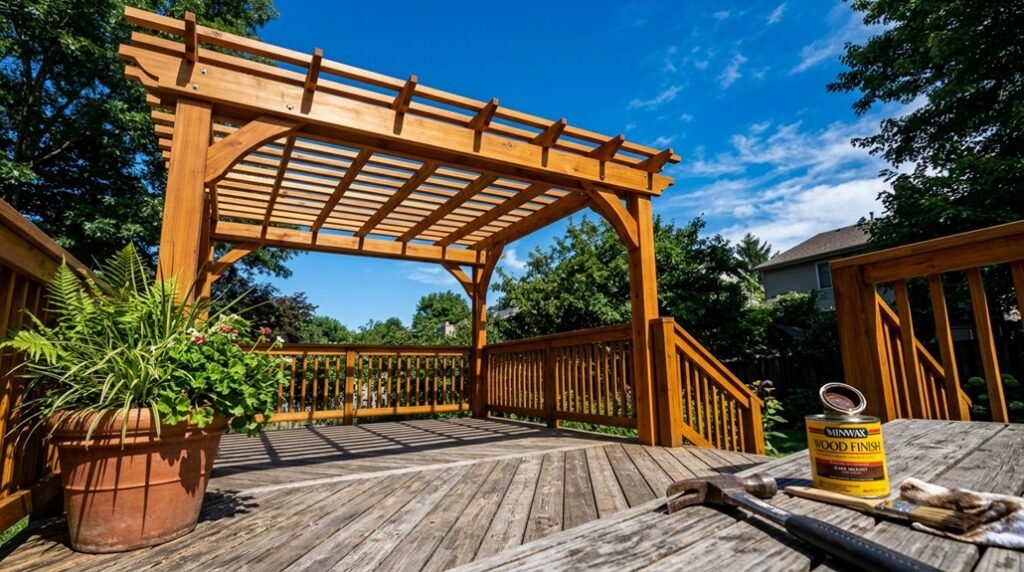
I’ve built pergolas on dozens of decks, and I’ll tell you upfront: your deck probably can handle it, but only if you plan the load path correctly.
The real challenge isn’t the structure itself; it’s deciding whether you’re tying into your house band board or pouring independent footings below frost line. That choice changes everything about your bracing, your post sizing, and whether you’ll need knee braces to resist wind uplift.
I’m going to walk you through exactly what I’d check on your deck before we pick up a single 6×6.
Check Your Deck Can Handle a Pergola Load
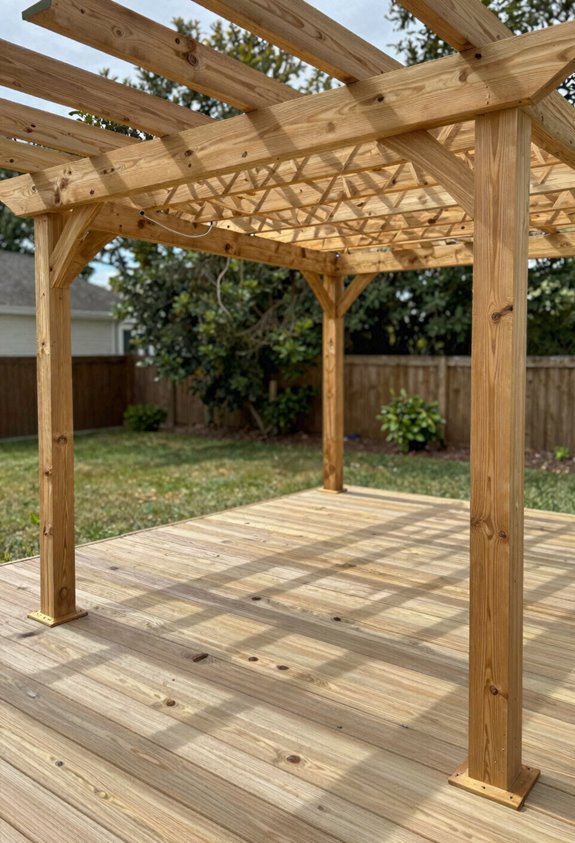
Why risk a wobbly, unsafe structure when a little planning creates something solid? I start every pergola project by checking whether the deck framing can actually handle what I’m adding.
Post load transfer matters enormously here. I don’t let pergola posts rest on decking boards, either. I anchor them to joists, beams, or concrete footings that extend below grade, typically 16 to 24 inches past the deck surface. This carries weight safely to stable soil.
Wind load becomes my next concern, especially on elevated or multi-level decks. I evaluate uplift forces and make certain the structure resists racking through proper anchoring. When needed, I specify reinforcement: extra beams, additional footings, or larger lumber. Using 6×6 posts with knee braces improves lateral stability. Your outdoor space deserves this diligence.
Choose an Attached or Freestanding Deck Pergola
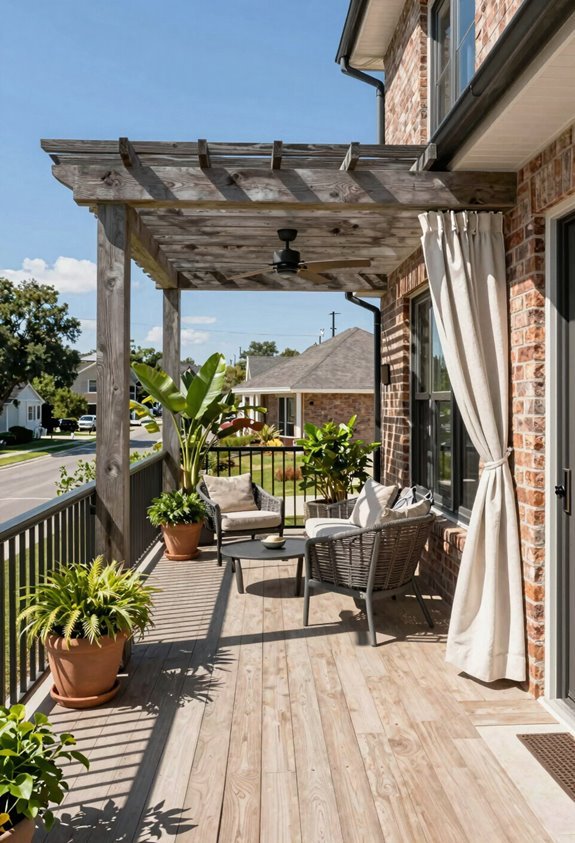
Where do you want your pergola to take your outdoor space? I see two paths forward, and each shapes how we gather.
An attached pergola bolts to your exterior wall, extending usable deck area with seamless indoor-outdoor flow. I rely on band board ties for load transfer, integrating with your home’s structure. This creates intimate shelter, though it limits layout flexibility.
A freestanding pergola sits independently on your deck or nearby ground, answering to no wall. I gain placement freedom around stairs and sightlines, but joist connections must stand alone without house support.
Both demand proper wind bracing and beam sizing. I weigh my priorities: seamless transition versus adaptable positioning. Either way, I make certain my deck frame meets the structural call before cutting lumber.
Attach Posts to Your Deck Frame or Pour Footings
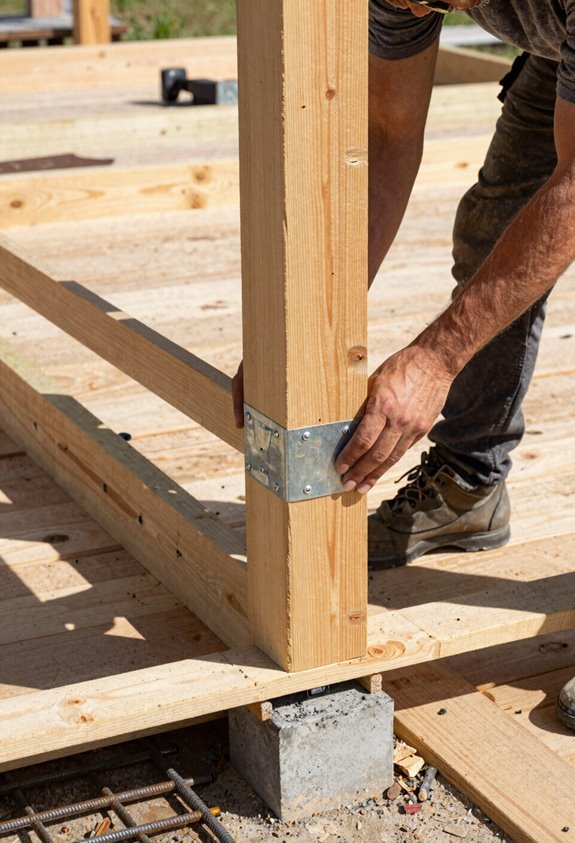
Once I’ve settled on attached or freestanding, I face a foundational choice that shapes everything downstream. I can anchor my posts directly to the deck frame with robust attachment hardware, securing brackets or through-bolts to joists and beams beneath the surface boards. This creates immediate continuity, though I must verify my existing framing can handle the load transfer without compromise.
Alternatively, I’ll pour independent concrete footings, typically 12–16 inches wide and 48 inches deep, giving my posts their own structural support path straight to stable soil. When I choose this route, I connect posts to the deck frame above with approved hardware plus spacers, allowing air circulation and preventing rot.
Either way, I run the numbers or call a pro, because getting my foundation right means my pergola becomes the gathering place I’ve envisioned.
Size Your Pergola Posts and Brace for Wind
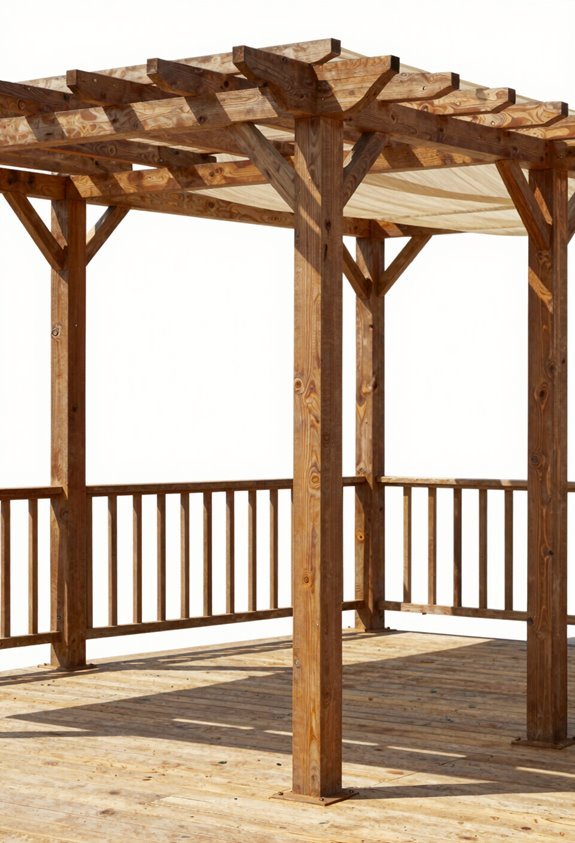
How do I know my posts won’t buckle when the wind picks up? I size them right and brace them tight, so my pergola stands strong with the deck I love.
I size them right and brace them tight, so my pergola stands strong with the deck I love.
I use 6×6 posts for an 8×8 ft structure, making sure post sizing handles lateral loads. I add knee braces and diagonal wind bracing to stop racking and boost lateral stability. I connect with through-bolts or heavy-duty brackets for solid deck integration and load transfer.
I pour 12-inch diameter footings, 48 inches deep, so weight reaches stable soil below. I keep posts level, square, and evenly spaced to prevent stress concentration.
Together, we’re building something that lasts, engineered for gusts, grounded in care.
Pick a Roof Style for Shade and Rain Protection
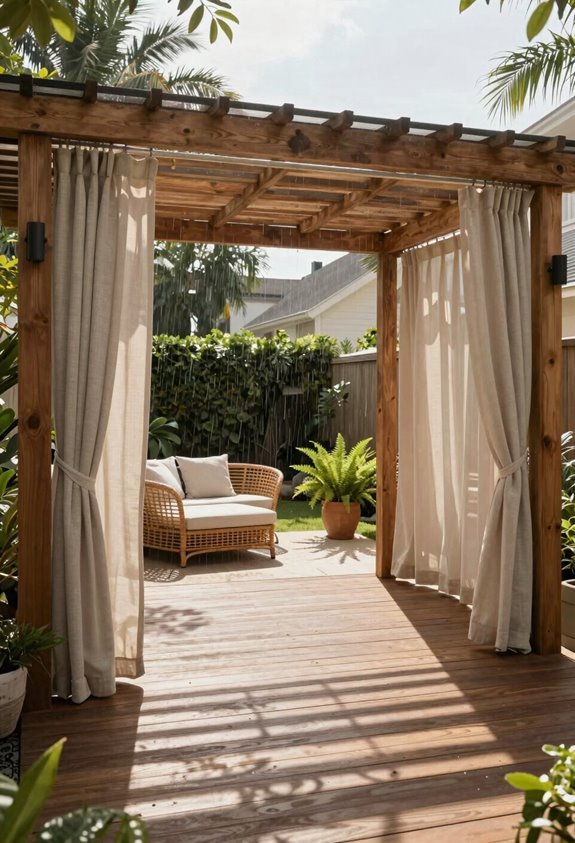
With my posts braced and anchored, I’m ready to top this structure with a roof that handles sun and sudden showers. I’m weighing roof styles that transform my deck pergola into true outdoor living space, where shade and rain protection work together seamlessly.
A gently sloped design, roughly two to six inches over twelve feet, lets me shed water efficiently without looking industrial. I’m drawn to retractable canopies for flexibility, or lightweight polycarbonate panels that filter light while blocking downpours. Tying my roof into the house band board strengthens wind resistance, though I’m checking load transfer carefully so my deck doesn’t bear strain it can’t handle.
Aluminum and vinyl promise years of forgetting maintenance, while wood demands sealing but rewards with warmth. Whichever I choose, I’m keeping sightlines open and capacities respected, building something that feels like it belongs exactly here.