
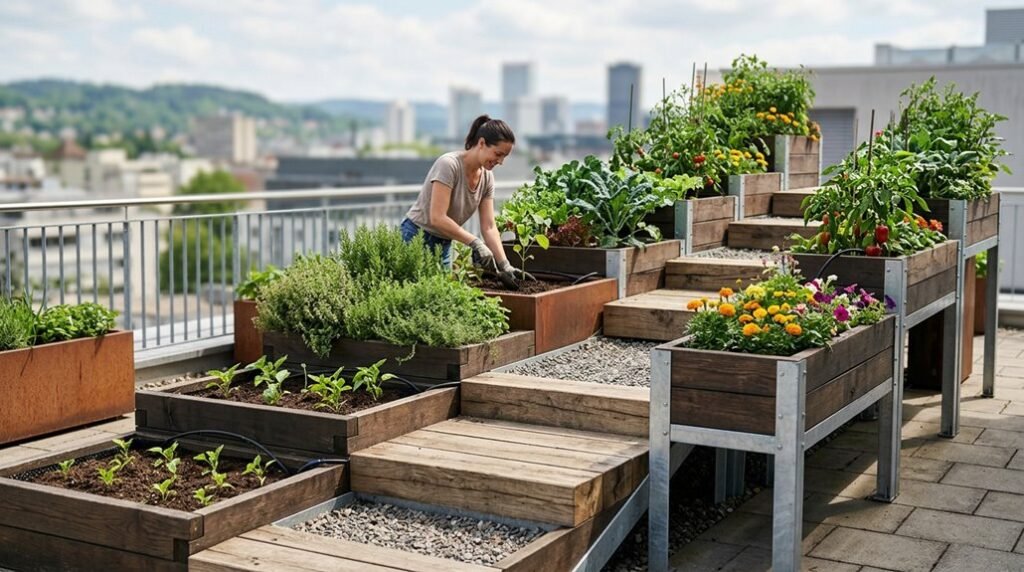
I built my first elevated garden bed after years of bending over rows that wrecked my back, and I learned that height changes everything. A 30-inch frame puts your soil at waist level, which means no more kneeling on wet ground or fighting slugs in the dark.
You will need rot-resistant lumber, galvanized hardware cloth, and a flat surface for assembly, but the real challenge comes before you lift a single board. I made mistakes with drainage and soil depth that cost me an entire season, and I want to show you how to avoid them.
Plan Your Elevated Garden Bed Size and Placement
Where exactly do you envision your elevated garden? I’m asking because your plan size and placement decisions shape everything that follows, and I’ve learned that getting this right from the start saves hours of frustration later.
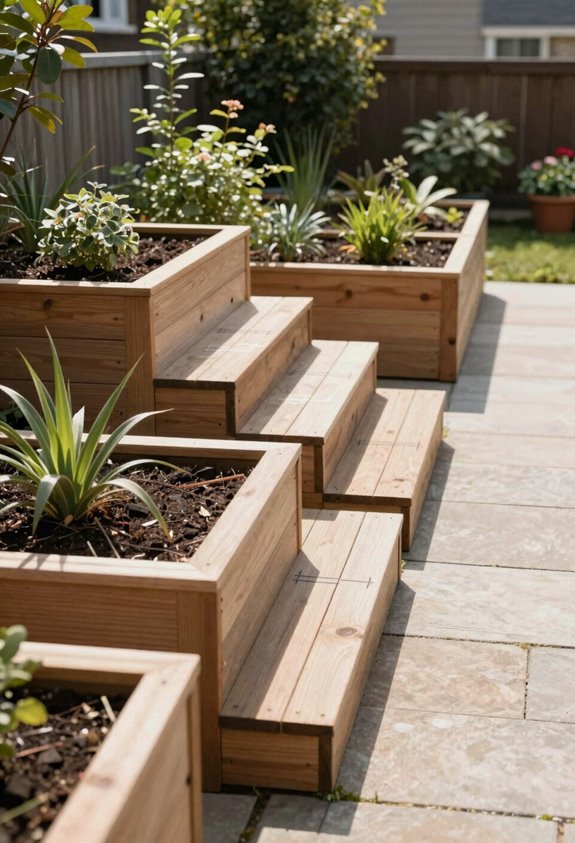
For my raised bed, I chose a compact footprint, two feet by four feet, that fits most patios and balconies while still yielding substantial harvests. This elevated garden stands thirty inches tall, which means I’m not bending or kneeling to tend my plants. When I mapped my placement, I prioritized six to eight hours of direct sunlight and proximity to a water source.
I built my box from lumber arranged in two rows of tongue-and-groove boards, ensuring proper drainage through bottom gaps and landscaping fabric. My soil mix fills the depth completely, giving roots room to spread.
Choose Rot-Resistant Lumber (Cedar, Treated, or Reclaimed)
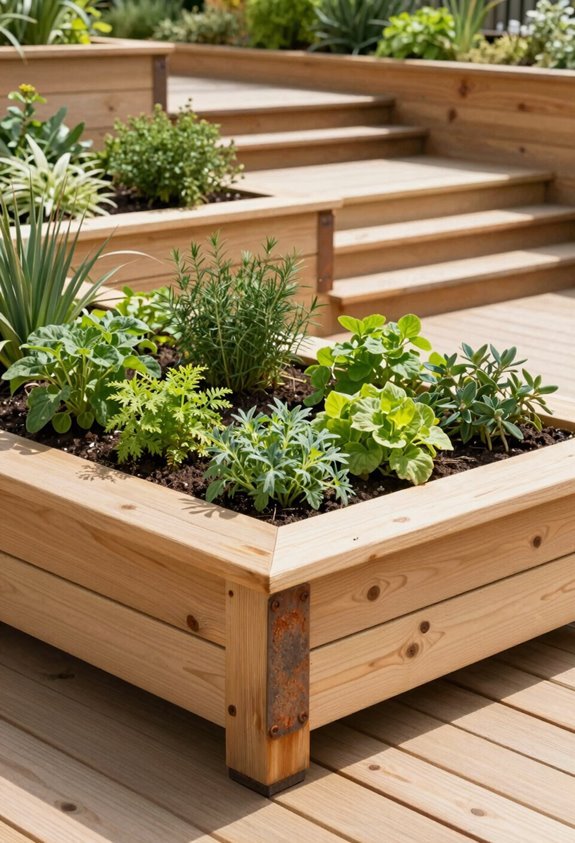
Material selection shapes how many seasons your elevated garden will last, so I’ve weighed every option carefully before committing to a build.
- Cedar offers exceptional durability for any raised bed, though scarcity and cost demand patience.
- Pressure-treated lumber delivers reliable rot-resistant performance, yet chemical treatments warrant consideration for your garden planter’s soil contact.
- Reclaimed wood presents budget-friendly character, though variable quality requires careful inspection.
- Climate awareness ultimately determines longevity, as humidity accelerates decay regardless of material choice.
I’ve learned that rot-resistant materials aren’t created equal. Cedar’s natural oils resist moisture beautifully. Pressure-treated lumber provides accessible, lasting protection. Reclaimed wood connects us to sustainable practices while building community.
Your local weather patterns matter enormously; damp regions punish inferior materials faster. Prioritize durability now, and your elevated garden rewards you for years.
Build the Box Frame Upside Down on a Flat Surface
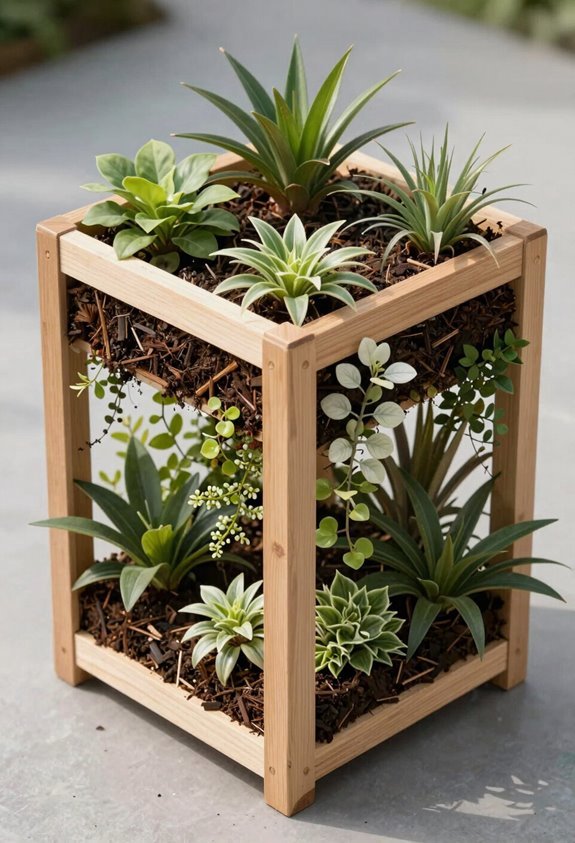
I always start by clearing a level workspace, since building the frame upside down ensures square corners and saves your back. You’ll attach the side boards to the 4×4 legs first, creating two L-shaped assemblies that form the structural backbone.
From there, it’s simply a matter of layering the tongue-and-groove boards in sequence, pre-drilling every hole to keep that cedar from splitting.
Workspace Preparation
Why wrestle with gravity when you can let a flat surface do the heavy lifting? I’m building my Raised planter upside down, and you’re coming with me. This plan keeps everything square and level before we add the legs.
Here’s my workspace setup:
- Clear a flat, stable surface like a driveway or workbench
- Gather 4 boards at 24 inches and 4 boards at 48 inches
- Arrange your wood screws, drill, and pre-drill bit within reach
- Position 1×6 tongue-and-groove boards with edges prepared for smooth assembly
I always pre-drill before driving screws to prevent splitting. We’re creating the box frame first, attaching slats around temporary supports. This method ensures proper drainage gaps later.
Once flipped, we’ll access the bottom easily. No wobbly frames here, just solid construction from the start.
Leg Assembly Method
With the workspace ready and boards laid out, I’m starting the actual build by flipping my approach, literally. I assemble my raised garden bed upside down on a flat surface, beginning with two L-shaped leg assemblies. I attach side boards to my 4×4 legs, creating mirror-image supports that’ll carry my elevated planter. I pre-drill every connection, preventing splits before driving 2-inch screws into the frame assembly.
These leg assemblies join with long-side boards, forming an H-shaped foundation that feels solid and sure. I’m building something real here, something that lasts. Once my perimeter’s complete, I’ll flip the box upright to add bottom supports and galvanized fencing material. This method keeps everything square, giving my project the professional foundation it deserves.
Board Attachment Sequence
How do we transform those L-shaped leg assemblies into a proper box frame? I’ll walk you through building the box upside down on a flat surface, a technique that keeps everything square and true.
We’ll position the two long sides first, then add the short sides to complete the rectangular perimeter. I’m a firm believer in pre-drilling every hole before driving screws; this prevents splitting and helps our frame assembly last.
Here’s how I approach this step:
- Flip those leg assemblies so the 4x4s point upward, creating a stable corner frame
- Connect the long sides to the short sides, checking that our perimeter stays square
- Pre-drill all holes, then secure with 2-inch wood screws for solid joints
- Stack the lid/finish boards in two rows, building upward to complete your elevated box
Join Sides to Legs to Form L-Shaped Corners
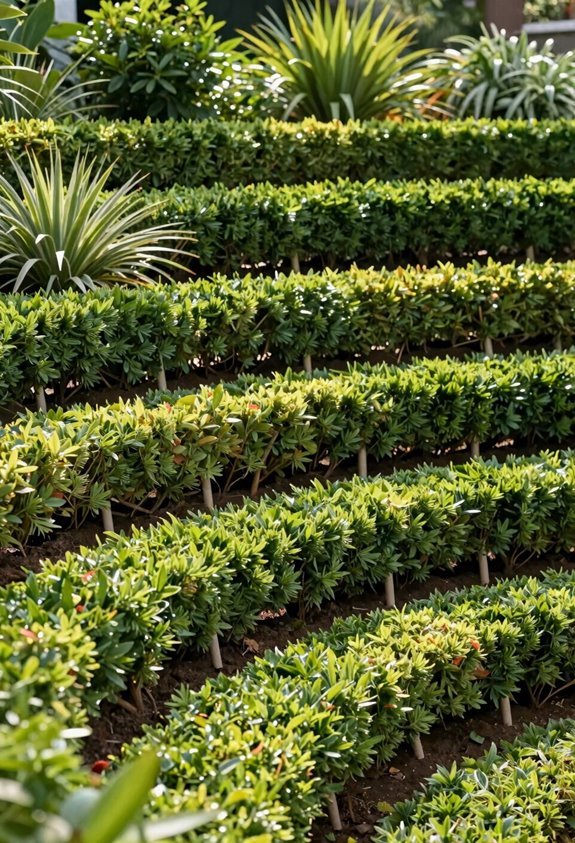
I’ll walk you through the L-shaped assembly method, which starts with pairing your 4×4 legs with the long and short side boards to create two sturdy corner units. Before driving any fasteners, I always pre-drill my holes to prevent splitting, particularly when working with dense cedar or redwood that’s prone to cracking under pressure.
With the box still upside down, I attach the first row of boards around the legs, add the second row on top, and then flip the whole assembly right side up to check that my interior corners are square and stable.
L-Shaped Assembly Method
You might wonder why the L-shaped assembly method builds confidence right from the start, and I’ll tell you: it breaks a complex frame into manageable corner units that practically guarantee square joints. I build two corner assemblies first, creating L-shapes that interlock at the legs to form our elevated planter’s rigid skeleton.
- Pair long and short leg pieces flush, then connect both legs with leg supports to form a stable H-shape.
- Attach the first row of boards using pre-drilled screws, securing the frame without splitting your lumber.
- Stack a second row atop the first, ensuring square corners where assemblies meet at each 4×4 post.
- Install bottom reinforcement with cross supports and a base lip to complete your elevated planter’s frame structure.
Pre-Drilling Technique
With the H-shaped leg assemblies ready, I’m turning my attention to the joinery that’ll make or break these corners. Pre-drilling isn’t optional here, it’s the difference between clean corner assemblies and split, weakened wood that compromises your entire elevated planter.
I always pre-drill before driving 2-inch screws through the first row of boards into the legs, establishing solid leg-to-board connections that anchor the L-shaped framework. Working upside down simplifies alignment, letting me verify true 90-degree angles before flipping everything upright.
This technique matters doubly at side-to-end joints, where grain stress concentrates. By pre-drilling every screw point in both rows, I’m protecting the integrity of these critical connections. The second row stacks on top, doubling stability without risking splits.
Screw In Bottom Supports and Staple Wire Fencing
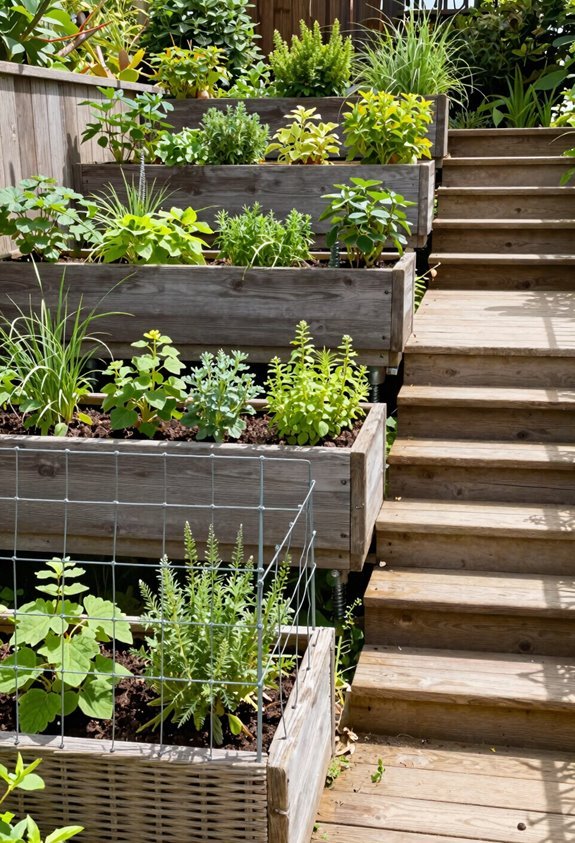
How do we turn an open frame into a working planter? We’re building something real together, and this step matters.
I start by attaching 1×4 bottom supports across my raised bed’s width, pre-drilling each hole so the wood won’t split. These supports create our foundation, and I screw them in tight.
Next, I cut galvanized fencing to fit, shaping it around the 4×4 legs to cover the interior floor. I staple that mesh securely to every support, checking that containment feels solid. Then I drill drainage holes so water escapes properly.
When you’ve joined me this far, remember:
- Pre-drill every screw point with care
- Measure galvanized fencing against your frame
- Staple firmly across all bottom supports
- Flip and inspect your work before continuing
We’ve made this structure functional.
Line With Fabric and Add Your Soil Mix
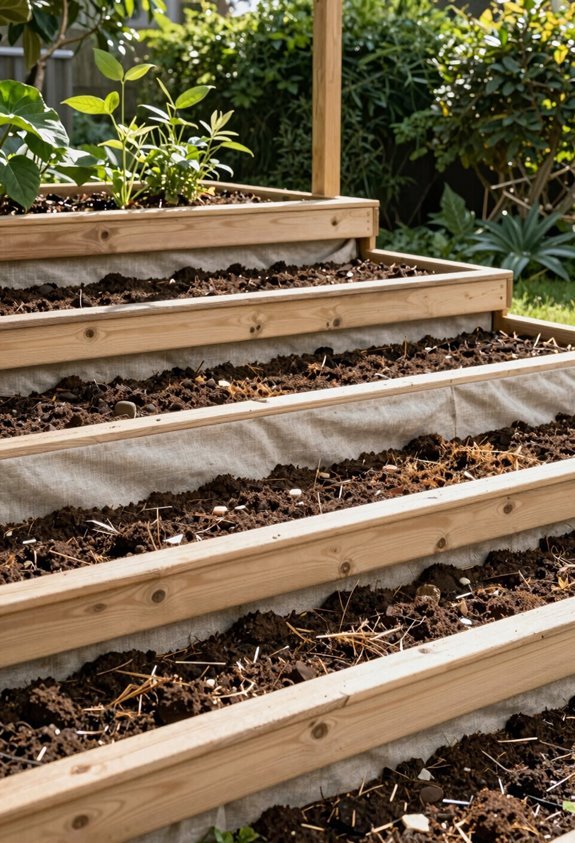
The foundation’s ready, and I’m ready to start working with soil. I start by securing that bottom edge lip with a 1×2 board inside the planter, creating a clean anchor point for what comes next. Then I lay landscaping fabric across the bottom slats, trimming excess with scissors so it fits snug. Those small gaps between the slats already help with drainage, but I double-check everything’s aligned.
I fill my raised bed with a soil mix of two bags of gardening soil, working it in evenly. If my mix feels heavy, I blend in peat moss to lighten things up and improve flow. Good drainage means healthy roots, so I verify water won’t pool. Now we’re ready to start planting together.
Plant Leafy Greens and Herbs (Skip the Tall Crops)
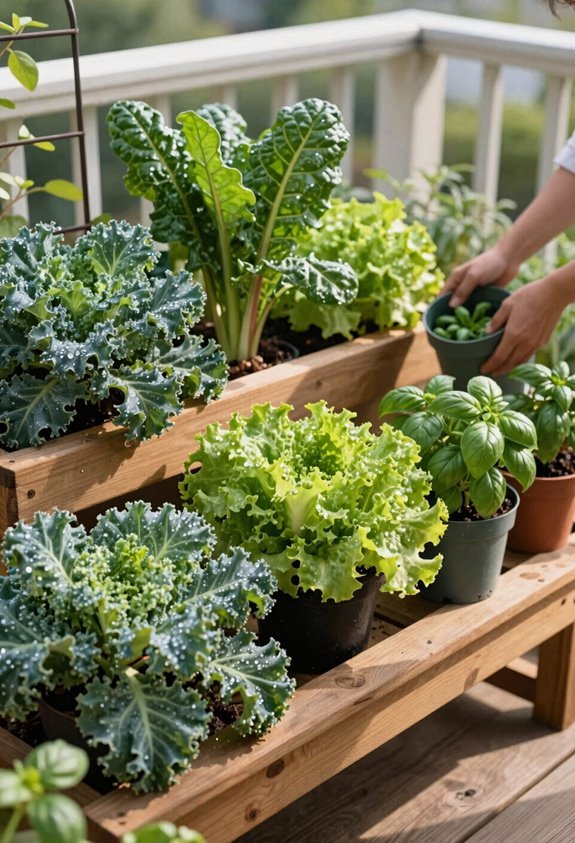
Choose leafy greens and herbs for this elevated setup, and you’ll maximize every advantage this design offers. I’ve built DIY planters like this before, and I know what works:
- Plant lettuce, spinach, and kale close together in the raised bed for continuous harvests.
- Add basil, cilantro, and parsley since herbs love the soil drainage this elevated garden provides.
- Space seedlings six to eight inches apart, adjusting for your specific box dimensions.
- Skip tomatoes, corn, and pole beans entirely; their roots and height overwhelm this compact system.
The landscape fabric base we installed keeps soil contained while preventing compaction. Your leafy greens reward this approach with tender, abundant growth, and you’ll enjoy tending them without strain.
Water More Often and Watch for Climbing Pests
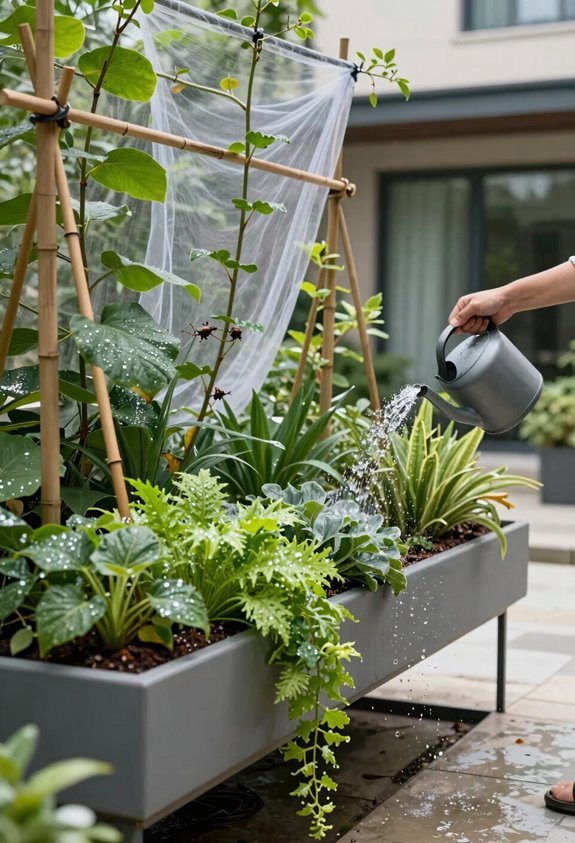
Why do elevated beds demand a shift in your watering routine? I’ve learned that raised beds dry faster than ground-level plots, so you’ll need to adjust your watering schedule accordingly. My elevated garden loses moisture quickly through improved drainage, which benefits roots but requires vigilance.
I check soil moisture every morning, especially during hot spells. You’ll want drainage gaps at the bottom to prevent waterlogging, yet these same openings demand more frequent attention. It’s a trade-off I’ve embraced.
Now, let’s talk pests. Those legs that make gardening accessible also attract climbers. I protect my harvest with hardware cloth wrapped around the base, creating a barrier rodents can’t breach. This simple addition, secured with sturdy fasteners, keeps your elevated investment safe while you enjoy easier maintenance and plants that do well.





