
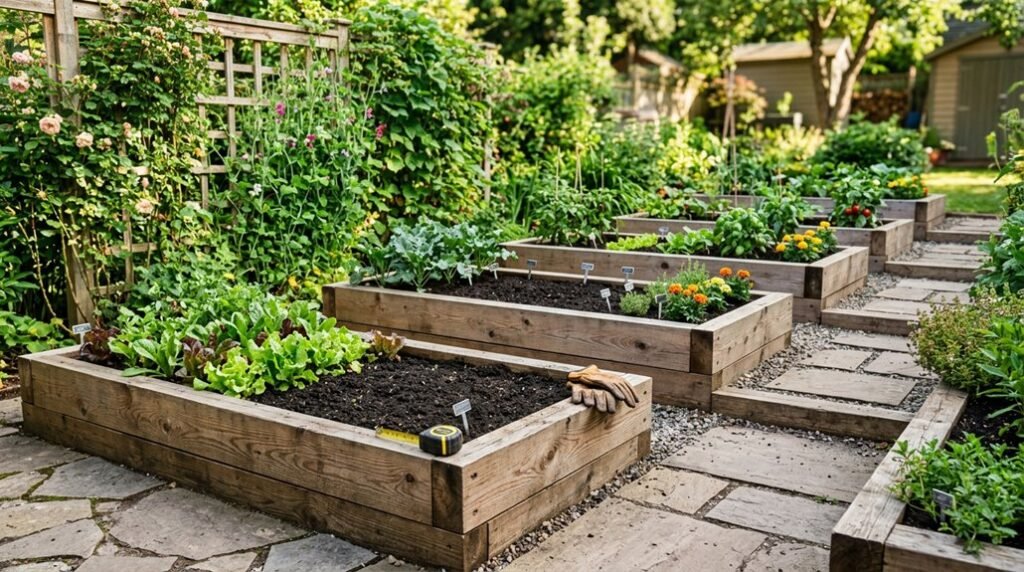
I’ve built dozens of raised beds over the years, and I’ve learned that lasting success starts before you lift a single board. When you get the fundamentals right: sun mapping, material selection, and structural reinforcement, you create growing space that performs season after season.
The difference between beds that warp after two years and those that stand firm for fifteen comes down to five specific decisions you’ll make during construction. I’ll walk you through each one.
Plan Your Raised Bed Location, Sun Exposure, and Layout
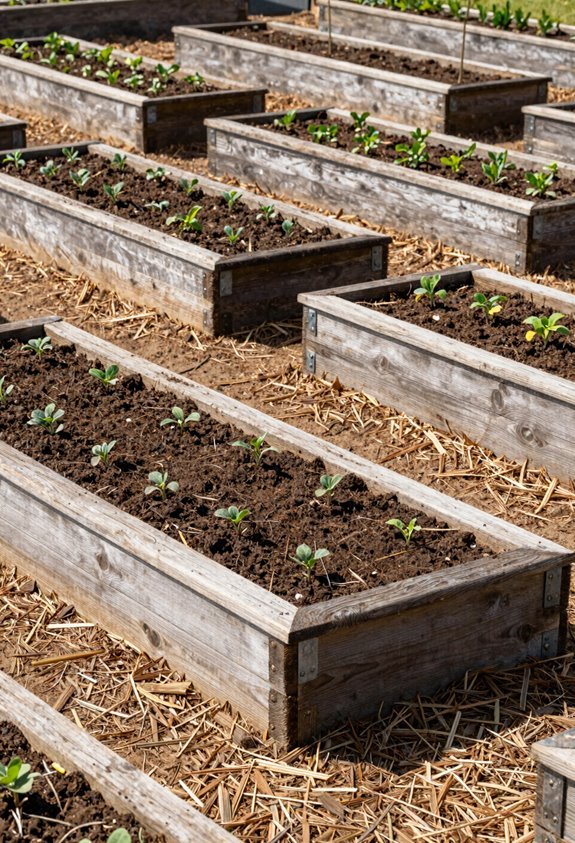
Where exactly should you position raised beds so your vegetables thrive year after year? I’ve learned that bed location determines everything else in your garden planning.
Bed location determines everything else in your garden planning—position it right, and your vegetables will thrive year after year.
Most vegetables demand 6–8 hours of direct sun exposure daily, so I always scout my yard’s sun-path before committing to any orientation. North-south positioning distributes shading evenly across crops, while placing shorter sides east-west balances light throughout daylight hours. I track seasonal changes with simple sun-tracking tools, observing how trees and structures cast shadows across seasons.
Your bed layout needs generous access space: 28 inches minimum between structures, though I prefer 36–48 inches for comfortable movement. This spacing lets you tend plants without compacting soil or blocking light.
Thoughtful year-round gardening starts with watching your garden through all four seasons. You’ll join countless growers who’ve discovered that patient observation now prevents disappointing harvests later.
Get Your Materials: Lumber, Tools, and Exact Cut List
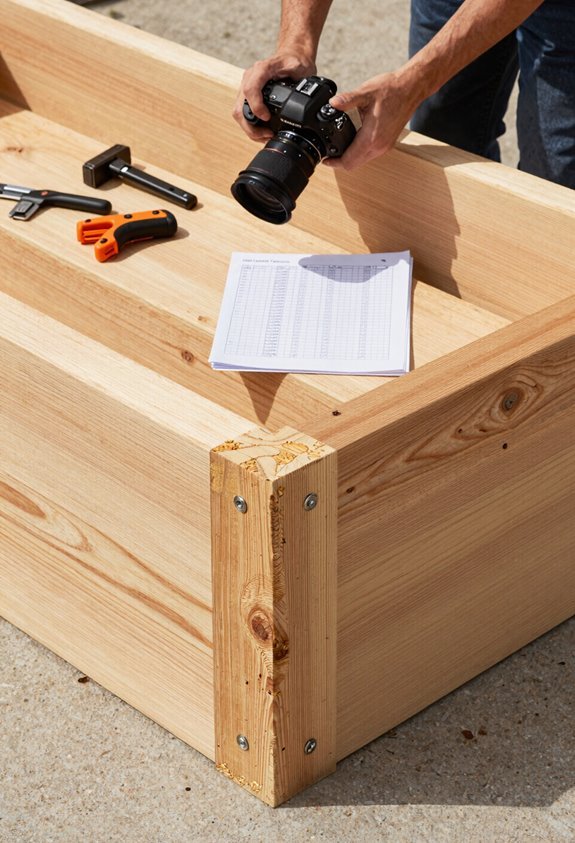
Once I’ve mapped out where my beds will live, I turn my attention to gathering everything I’ll need to build them right. I prefer 2×6 redwood or cedar raised beds for their natural decay resistance and handsome appearance. For a standard 4×8 foot configuration, I’ll need six 8-foot boards and four 4×4 corner supports cut to 16.5 inches, creating solid bed dimensions with roughly 16.5 inches of bed depth.
My tools and plan include a miter saw or circular saw, power drill, and measuring tape for precise cuts. I’ll secure everything with 2.5-inch deck screws and optionally line the bottom with hardware cloth and landscape fabric to deter pests. This cut list typically runs $100–$300 per bed before soil, depending on local lumber prices.
Build the Frame: Assemble Short Sides, Then Long Boards
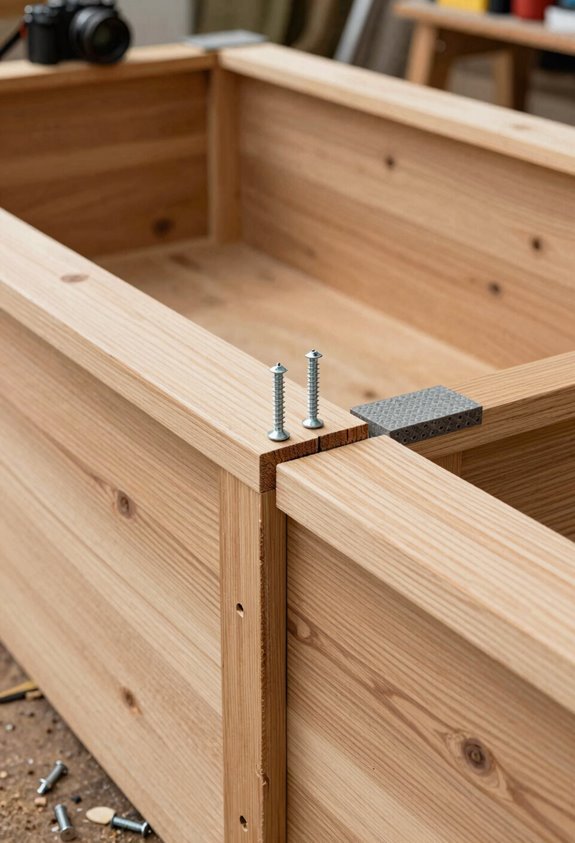
After I’ve laid out my materials on a flat, stable surface, I begin by building the two short sides of the frame, since this approach gives me better control over squareness from the start. I place two 4×4 corner posts parallel on my level surface, spacing them exactly to my bed length’s shorter dimension. I attach the boards with screws kept one inch from edges, making sure flush edges line up with the post outer faces.
Before proceeding, I measure diagonally between posts to confirm my frame assembly stays true. Once both short sides are complete, I stand them upright and space them to match my final bed length. I lay the long boards across, maintaining flush edges, then secure them with two screws per end into each 4×4 corner post’s center.
I flip the raised bed and repeat, creating a square frame that’s ready for the next step.
Reinforce Sides and Install Hardware Cloth for Pest Control
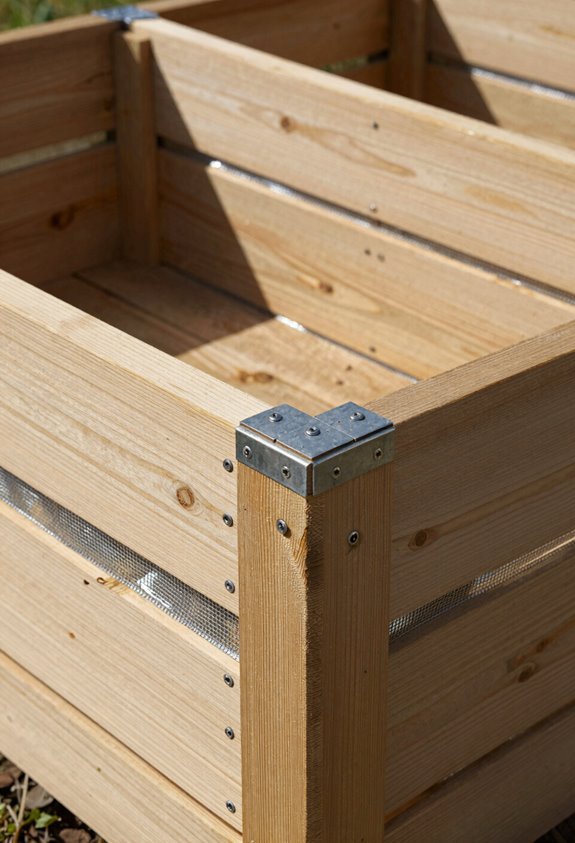
Why let a season of hard work get undermined by sagging boards or hungry burrowers? I reinforce my raised bed construction with strategic supports that keep everything square and pest-free.
For raised bed reinforcement on spans over six feet, I add middle-side supports to prevent bowing. I secure long side boards with a galvanized mending brace spanning all three side boards on 16.5″ beds, though 12″ braces work when longer ones aren’t available. These bolstered sides stay true through seasons of soil pressure.
For pest control, I install hardware cloth beneath the bed bottom, cutting it to width and overlapping pieces where needed. I clip it between wood and interior with wide-head screws, sealing edges to prevent rust. This pest-proof barrier stops burrowing pests cold, so my bed construction protects every root I’ve planted.
Level, Fill, and Plant Your Raised Bed for the Season
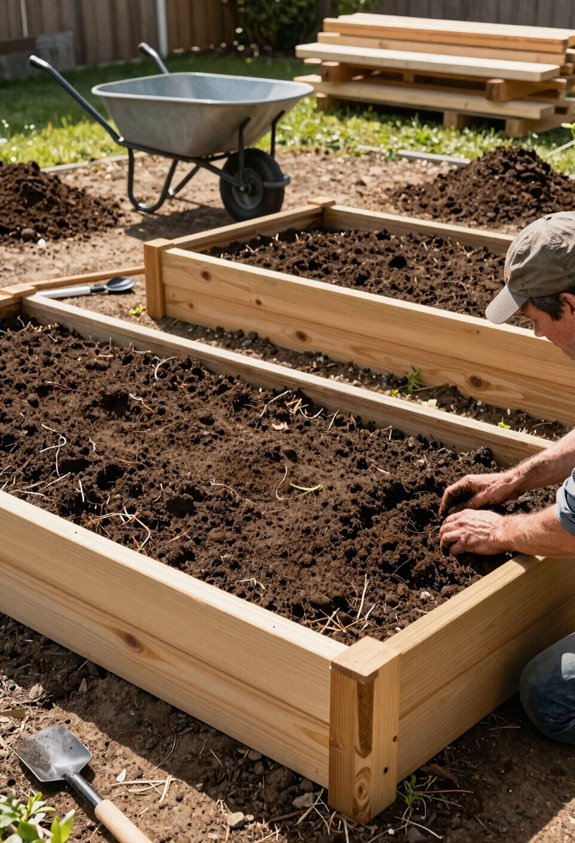
With the frame braced and pest barriers secured, I’m ready to set this bed up for growing success. I level the foundation meticulously, clearing debris so water distributes evenly across my raised bed garden. I fill with soil using quality materials, blending compost, aeration additives, and amendments tailored to my bed size. I skip shortcuts like plastic bottles, building genuine fertility instead.
For pest prevention, I’ve already installed hardware cloth beneath, and landscape fabric handles weeds. I plan irrigation carefully, favoring drip systems for deep, consistent moisture with risers for flexibility. Planting after filling, I select crops matching sun exposure, then monitor soil health through changing seasons. This build connects me to something lasting.
- Feel the satisfaction of level ground beneath your hands
- Trust the richness of compost you’ve carefully layered
- Rest easy knowing burrowing pests meet solid resistance
- Watch water reach roots exactly where needed
- Belong to the rhythm of growth you’ve created





