
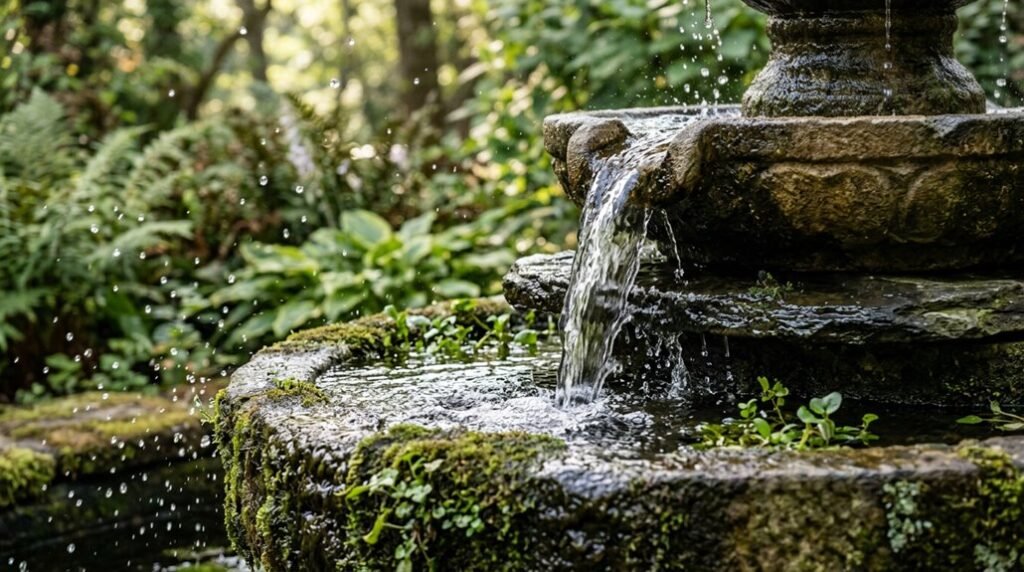
I’ve built dozens of water fountains, and I still remember my first basin installation going sideways when I underestimated the pump clearance. You need that extra depth, or you’re replacing motors every season.
The copper piping isn’t negotiable either; half-inch threading through stacked stone creates your plume, but the real craft hides beneath the surface. I’ll walk you through the five steps that separate a bubbling backyard centerpiece from a costly maintenance headache.
Choose a Fountain Basin and Map the Plumbing Route
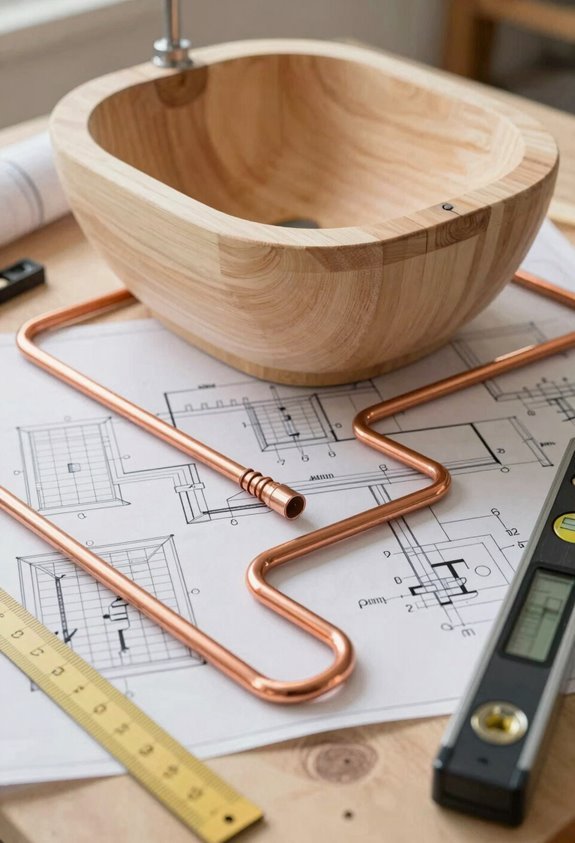
Start by selecting a waterproof basin that fits your space and supports your vision. I’ll guide you through mapping the plumbing route, which transforms your container into a flowing centerpiece.
I recommend sizing your basin generously; you’ll need depth for both the submersible pump and stable water level with room for adjustments. Now picture the path: I run ½-inch copper pipe or ¾-inch standpipe from pump to surface, projecting 1–2 inches above the rim for that satisfying plume.
Here’s where protection matters, so I always add a debris screen above, reinforced so it won’t sag. Before finalizing, I verify my pump cord reaches a GFCI outlet safely. Plan conduit now, and you’ll thank yourself later when winterizing or servicing becomes simple.
Dig, Set the Basin, and Route Pump Conduit
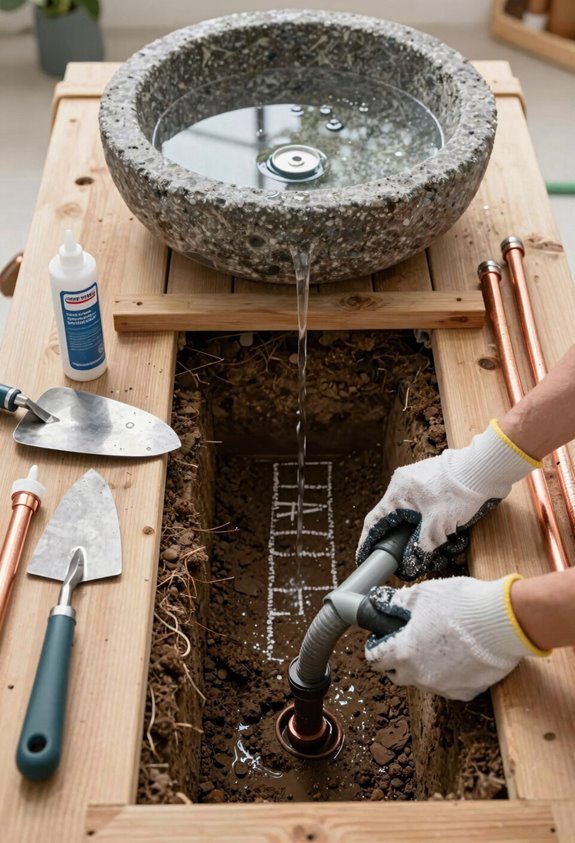
With your basin selected and plumbing route mapped, I’m ready to break ground and bring the structure to life.
- Dig the pump hole two inches deeper than the basin, and trench a conduit path to the outlet for your fountain’s water and power supply.
- Set the basin at ground level with gravel bedding, position the conduit, and pull the pump plug through for future servicing.
- Dry-fit parts, center the submersible pump, then mark and cut a 1-inch access flap in the screen for tool-free removal later.
This installation secures your water system’s backbone. Route the standpipe through the grate, keep everything plumb, and you’ve built a foundation worthy of the craft.
Install Screen Decking and Thread the Copper Pipe
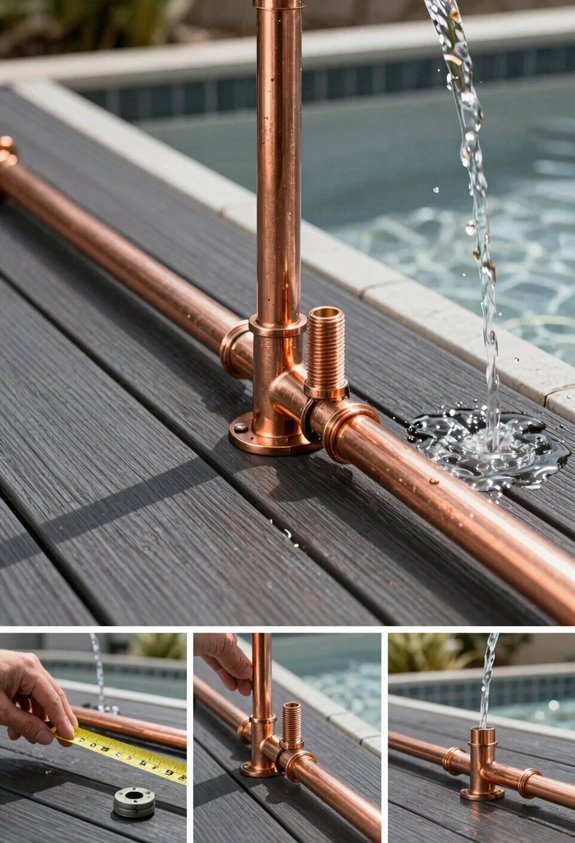
How do we bridge the gap between raw infrastructure and finished beauty? I’m layering screening across the foundation, locking composite decking, Trex or TimberTech, into place for lasting support. This decking keeps everything stable, preventing sink while we build.
I’m threading the copper pipe from the pump upward, guiding it toward the fountain top with steady hands. I mark where stacked stones end, then cut the copper pipe one-quarter inch below that mark with a pipe cutter. Precision matters here; I’ll replace that top stone cleanly.
With screening secured and decking firm, I’m assembling stones over the pipe, balancing each layer until the column rises about two feet above the fountain height. I fill the basin five inches above the pump, adjusting the ball valve for proper water circulation and pump adjustment.
Stack Stones, Test Flow, and Adjust the Plume
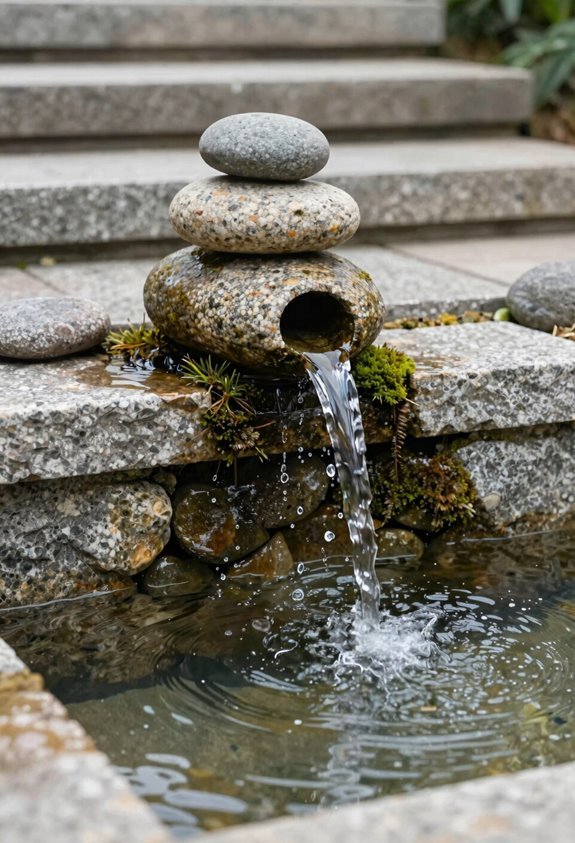
The foundation is set, so I’m moving into the artful work of building the fountain’s visual core. I thread stones over the copper pipe, stacking until balanced, then mark where they end. I remove the top stone, cut the pipe one-quarter inch below my mark, and reset everything to height. Now comes the satisfying part: testing.
I fill the basin five inches above the pump, using my garden hose.
Fill the basin five inches above the pump—a simple step, but the one that brings everything to life.
I adjust the ball valve to shape the plume, spinning stones to direct water flow where I want it. I wedge smaller stones into gaps for stability before sealing.
Once satisfied, I turn off the water, apply silicone adhesive between stones for permanent fixing, and let it dry completely.
Silicone Stones and Camouflage the Base
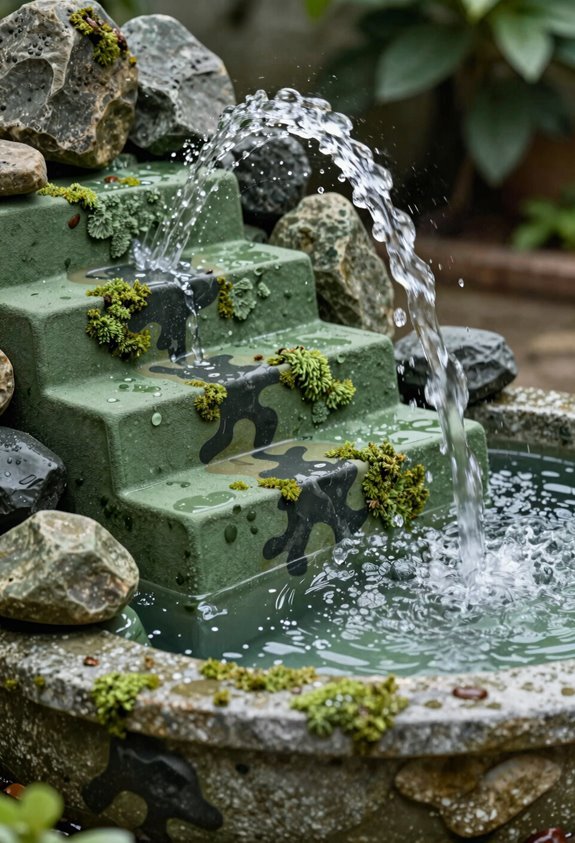
Now that I’ve shaped the plume to my liking, I turn off the pump and let the stones settle into their final positions. I thread the stacked stones over the copper pipe, mark where they end, then remove the top stone. Using my pipe cutter, I trim the pipe one-quarter inch below that mark, replace everything, and check balance.
Next comes silicone adhesive sealing: I lift each stone, apply clear silicone adhesive between layers, and let it cure completely before restoring water flow. I won’t rush this step; premature flow shifts everything. Once cured, I test again.
Finally, I camouflage base after assembly, tucking decorative stones around the fountain base to hide construction. This camouflage blends function with clean aesthetics, completing the piece.





