
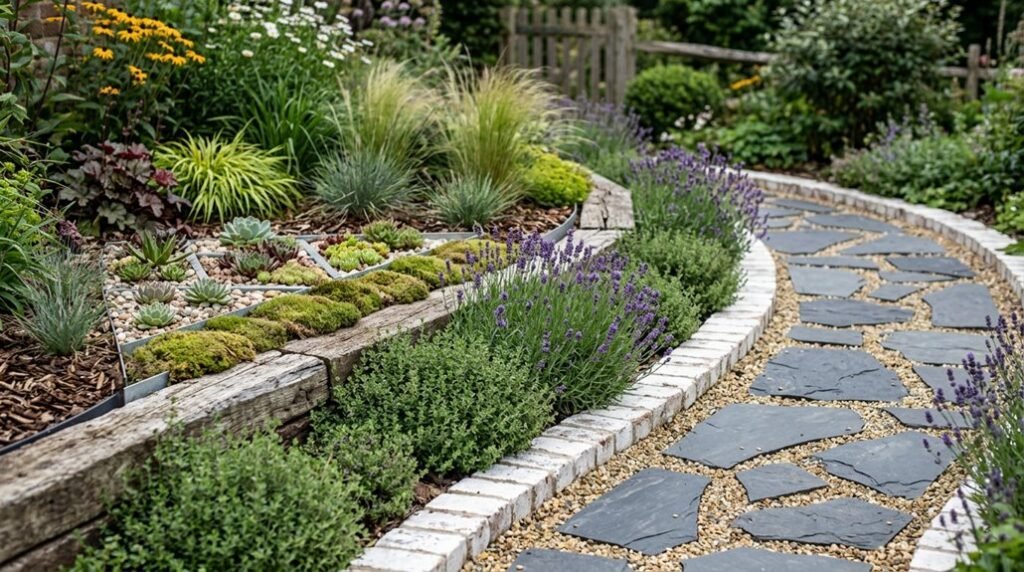
I once transformed a muddy garden edge into crisp, defined lines using nothing but a shovel and an afternoon’s patience. Sharp trench edging costs zero dollars, yet delivers that manicured, estate-quality finish most homeowners assume requires professional installation.
The real secret: material choice matters less than execution. Salvaged brick, river stone, or even discarded glass bottles can raise ordinary beds into intentional landscape design when placed with precision.
You’ll want to see how each technique balances durability against visual impact, because the wrong border sinks into sodden irrelevance within two seasons. Let’s examine what actually works.
Scavenge Free Rocks and Stones for Natural Garden Borders
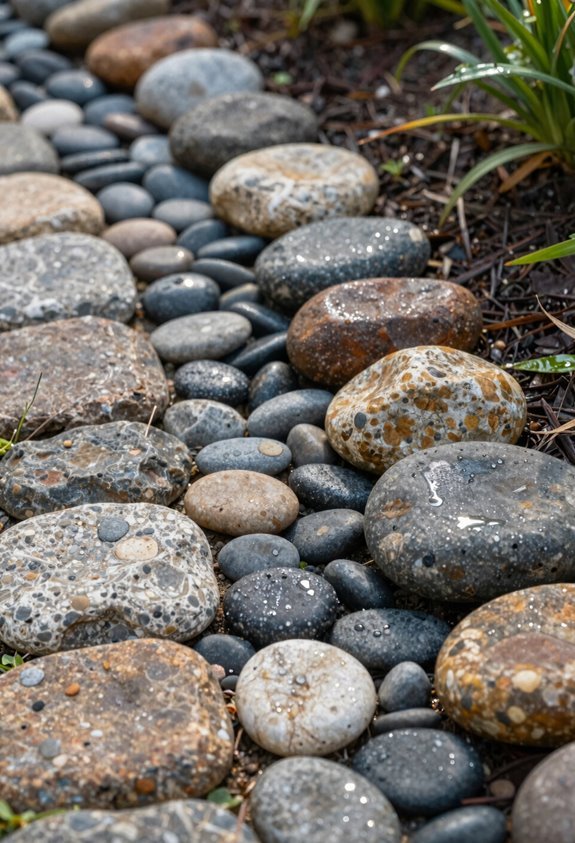
Where do you find the best garden borders? I’ve discovered they’re often hiding in plain sight, right in our own communities. I scout riverbanks, construction piles, and neglected corners of farm properties for rocks that turn ordinary beds into defined landscape features.
Through farming networks, I’ve accessed discarded stone piles that landowners happily give away. Last spring, I completed a 40-foot border for under $20 using locally sourced fieldstone and sale-priced paver bricks at twenty-five cents each. I favor natural rocks because they carry weathered character no store-bought material matches.
When I line a winding bed with scavenged stone, I’m building something grounded, literally and figuratively, in the places we share.
Dig a Sharp Trench Edge for Zero-Cost Lawn Definition
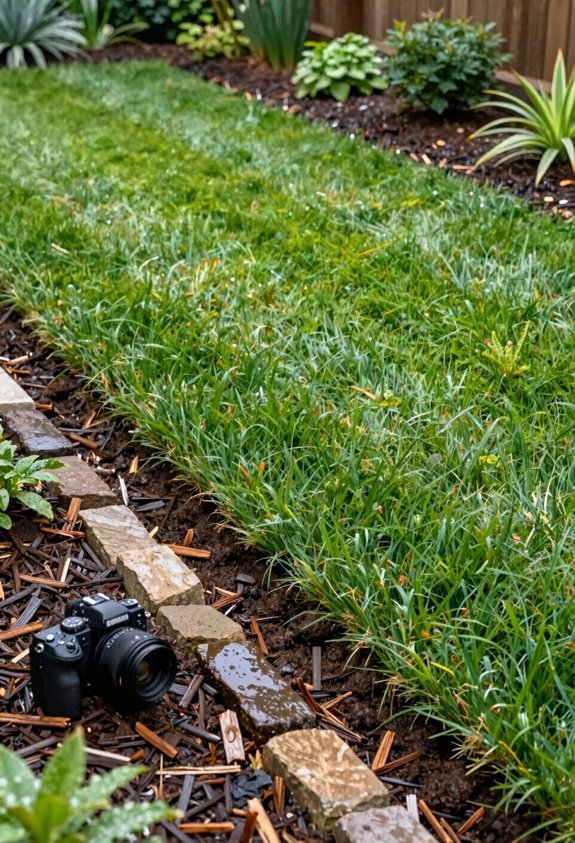
I cut a sharp V-shaped trench four inches deep along the lawn edge using a flat spade or half-moon edger, sloping the cut backward toward the bed to create a subtle channel. Grass creeps back seasonally, so you’ll re-cut this shallow barrier two or three times yearly to maintain the crisp line, though each touch-up requires mere minutes.
I achieve professional-grade definition with this zero-cost technique, which demands only labor and time yet rivals expensive steel or stone installations.
Sharp V-Shaped Cut
Why settle for blurred boundaries when a crisp, defined edge changes your entire landscape? I use a flat-edged spade or half-moon edger to carve a sharp V-shaped trench about four inches deep along my bed perimeter. I angle each cut backward toward the planting area, creating a subtle channel that catches light and casts shadow.
This technique demands no materials, just deliberate effort and proper edge trimming technique. The result mimics professionally installed borders that cost hundreds. I re-cut mine a few times each season as grass encroaches, maintaining that architectural precision neighbors notice. You’ll join countless gardeners who’ve discovered this zero-cost secret, achieving expensive-looking definition through methodical handwork rather than purchased products.
Seasonal Maintenance Needs
How often does a pristine edge surrender to creeping turf? I’ve watched grass reclaim even the sharpest borders within weeks, which is why seasonal edging matters so much.
I grab my flat-edged spade every few months to re-cut that clean V-shaped trench, slicing about four inches deep where lawn meets bed. No materials, just labor; this zero-cost method delivers professional definition that rivals store-bought solutions.
I reassess after each major mowing push, touching up straight lines and gentle curves as encroachment demands. The rhythm becomes familiar: cut, maintain, repeat. You’ll find this cadence builds confidence, turning sporadic chores into predictable care. Your garden deserves this attention, and honestly, so do you.
Effort-Based Economy
A sharp spade can outperform any store-bought edging when you’re willing to invest sweat instead of cash. I dig a clean V-shaped trench about four inches deep along my bed edge with a flat-edged spade, angling the cut back toward the bed to form a small channel. This creates visual definition without spending a dime on materials.
You’ll join countless gardeners who’ve discovered this professional-looking edging technique, and I’ll warn you: grass creeps back in. I re-cut my trench a few times each season to maintain that crisp line, and I keep overhanging grass clear so the definition stays sharp.
This effort-based approach demands labor and time, not money. When neighbors admire my beds, I know the payoff belongs to anyone willing to put in the work.
Arrange Upcycled Glass Bottles for Quirky Cheap Edging
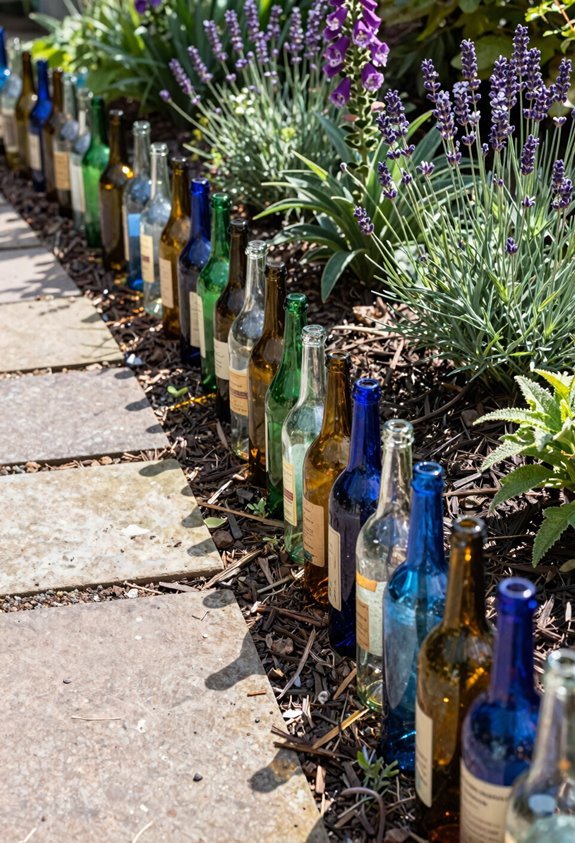
Where else can you turn last night’s wine bottles into tomorrow’s garden statement? I embed upcycled glass bottles upside down into soil, creating eco-friendly edging that turns waste into visual distinction. You’ll dig small holes to seat each bottle securely, ensuring they sit flush with the surface for stability. This method costs nearly nothing, yet delivers pattern variation through color mixing and spacing choices.
The bottles form a low, compact barrier that separates beds from paths while adding unexpected texture and translucency. I check mine periodically, since glass can crack or shift with seasonal ground movement. With proper placement, you’ll achieve that curated, intentional look gardeners recognize as thoughtful design, not budget constraint.
Lay Salvaged Bricks for Classic Garden Geometry
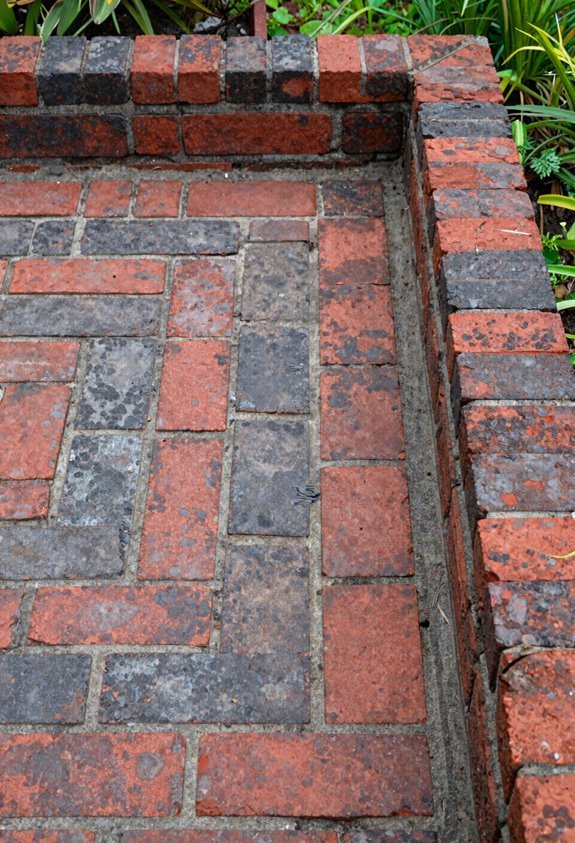
Why settle for manufactured edging when demolition sites and salvage yards offer weathered bricks brimming with character? I’ve found that salvaged bricks deliver timeless cottage-style borders at a fraction of new material costs, and they’re simple to install.
I dig a shallow trench, set my bricks flat or on edge, and use sand for precise leveling. The result is a low-profile edge that defines beds without overwhelming them. These reclaimed materials handle freeze-thaw cycles beautifully, so I’m not worrying about replacement seasons.
I love arranging them in straight runs or simple herringbone patterns for structured geometry that feels established, not fussy. By choosing salvaged bricks, I’m reducing waste while achieving that expensive, traditional aesthetic my garden deserves.
Stack Free Logs or Timber for Rustic Raised Beds
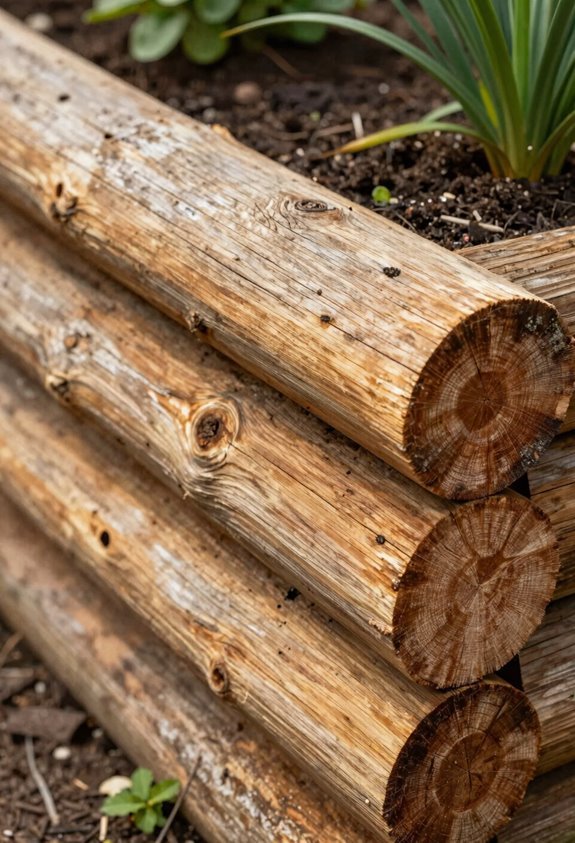
I source most of my timber from fallen neighborhood trees and local windbreaks, which keeps costs at zero while delivering that coveted cottage-core aesthetic. When stacking, I alternate log orientation for stability and drive rebar through the courses to lock everything in place against frost heave.
The rough, untreated surfaces weather beautifully for three to five seasons before needing replacement, though a quick seal coat buys you extra years.
Source Free Timber
Few materials rival the character of weathered timber I’ve sourced at zero cost. I’ve built entire garden borders from logs neighbors were enthusiastic to offload after storms or tree removals. Free timber changes ordinary beds into grounded, timeless spaces that feel like they’ve always belonged here.
| What You Gain | Why It Matters |
|---|---|
| Zero material cost | More budget for plants you love |
| Unique grain patterns | No two borders look identical |
| Community connections | Neighbors become collaborators |
| Weathered patina | Instant, earned aesthetic |
| Reduced landfill waste | Gardens that honor place |
I dig shallow trenches, level the base, and spike logs with rebar for stability. Straight edges suit formal lines; irregular pieces embrace cottage chaos. A quick seal extends life, but I often let nature take its course.
Stacking Techniques
Once I’ve gathered my timber haul, the real craft begins in how I stack it. I place logs in tight, staggered formations, letting each piece lock into the next like nature’s own puzzle. These stacked borders gain real stability when I drive optional rebar through strategic points, anchoring the structure without sacrificing that effortless, gathered-from-the-woods aesthetic.
I weave uneven, natural log rounds vertically through the layers, filling gaps while adding visual rhythm. Sourcing from fallen trees or neighbor windbreaks keeps my investment minimal, and I align each piece to create continuous, interlocking edges that read as intentional design.
I cut logs to consistent thickness for uniform height, then trim tops into stepped profiles that catch light and shadow. I treat only the soil-contact zones, preserving the raw, authentic character that makes budget materials feel curated.
Pound In Metal Strips for Modern Minimalist Borders
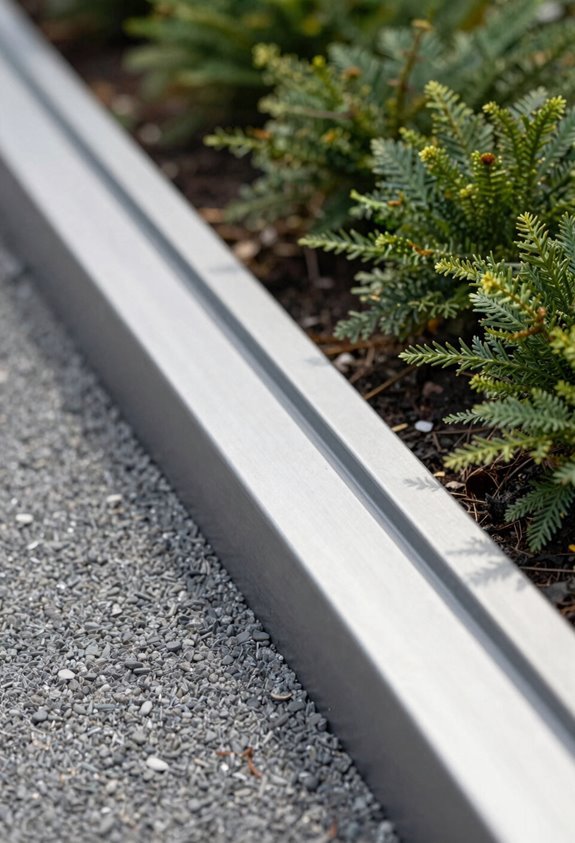
The thinnest barrier often delivers the sharpest impact, and pound-in metal edging proves this principle with understated precision. I recommend pound-in metal strips when you want boundaries that virtually disappear while defining your space with architectural clarity.
Steel and aluminum dominate this category. Steel rewards patience with a weathered rust patina that deepens character, though aluminum maintains its silvery brightness; watch for shifting in loose substrates. Both materials flex for gentle curves, but I insist you dig precisely and align carefully. Seamless results demand this attention.
You’ll set these strips flush with grade or slightly proud, skipping mortar entirely. The approach suits minimalist layouts where restraint signals sophistication. Durability spans decades with negligible maintenance, making the modest upfront effort feel worth the work.
Install Plastic Edging for Quick Curved Garden Lines
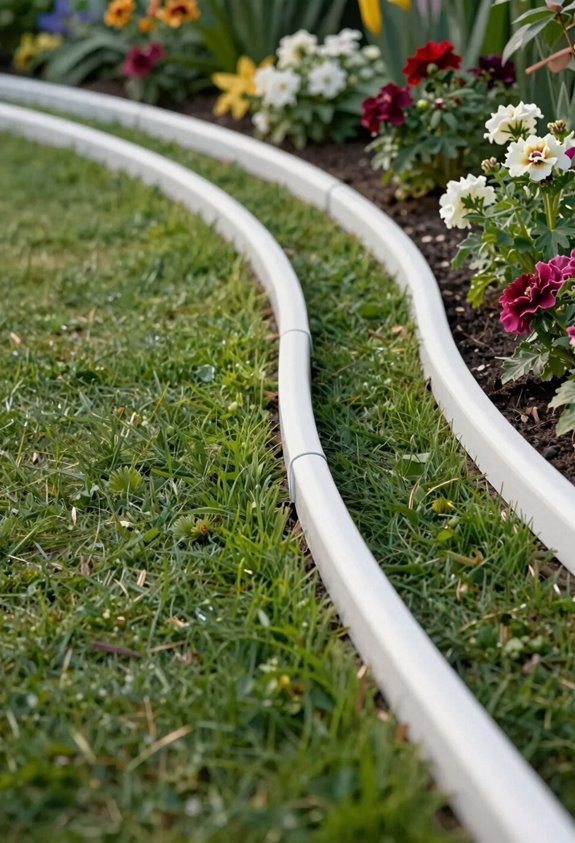
When metal feels too permanent or pricey, I reach for plastic edging to carve out flowing garden shapes without draining my wallet. Plastic edging comes in long rolls you can cut to fit any curve, and it lasts years without rotting or attracting insects. I dig a shallow trench, about an inch or two deep, then bury the strip for a clean, stable transition between lawn and bed.
The rolls can be unwieldy solo, so I grab a friend to help align everything precisely along those sweeping lines. Once installed, it defines mixed plantings beautifully with minimal upkeep. Occasionally, I re-seat sections after winter’s freeze-thaw cycles shift the ground. It’s versatile, practical, and keeps your garden looking intentional without the premium price tag.
Hammer In Willow or Cedar for Soft Natural Edges
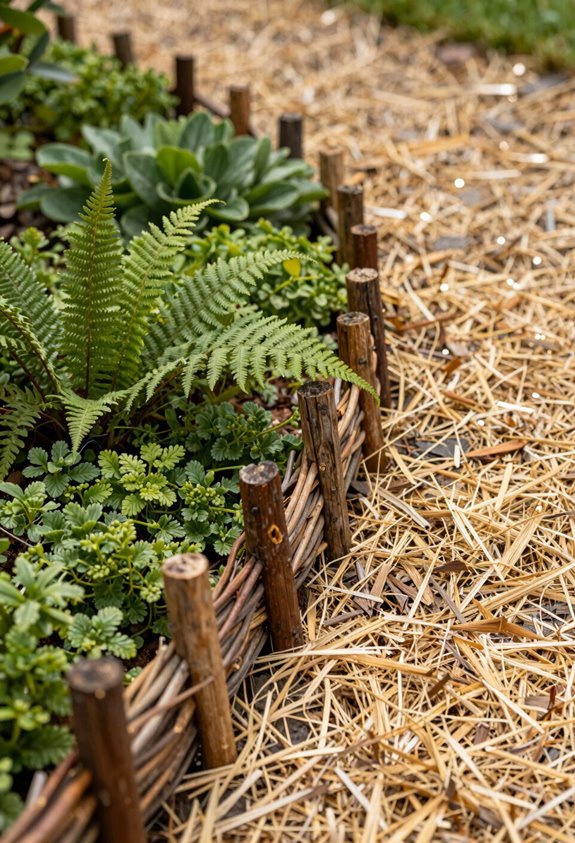
Why settle for rigid lines when you can weave organic warmth into your garden’s edge? I love how hammer-in willow or cedar edging turns ordinary beds into something that feels collected, not constructed.
Let your garden’s edge feel collected, not constructed, with willow or cedar that bends to your vision.
You’ll find cedar brings that weathered, rustic character we crave in country gardens, and you can drive it in with nothing more than a mallet. It holds strong for years, though I’d keep string trimmers at a respectful distance.
Willow, meanwhile, bends like a dream when you’re tracing gentle curves, and it costs far less than stone or metal alternatives.
Both options invite you into the DIY fold without demanding expertise. They soften transitions between lawn and planting, creating boundaries that feel welcoming rather than imposed. This edging belongs here.
Use Cardboard and Mulch for No-Dig Weed-Suppressing Borders
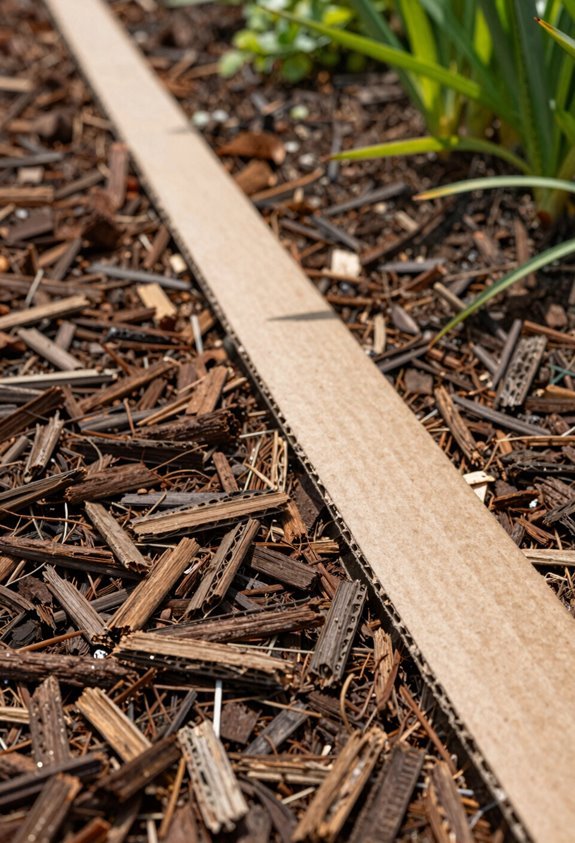
I lay flat cardboard sheets along my bed edges, overlapping them slightly to block light and moisture before topping with a thick mulch layer for a polished transition. You’ll want 2-3 inches of shredded bark or wood chips to conceal the barrier and double down on weed suppression.
I always check that my cardboard’s free of glossy coatings or tape, since clean material breaks down properly and keeps this no-dig method looking sharp season after season.
Cardboard Layering Basics
How do you create a crisp garden edge without breaking ground? I’ve found that mastering cardboard layering basics gives you exactly that polished look we’re all after.
I start by collecting thick, overlapping sheets from local packaging or donations. This recyclability keeps costs minimal while building community connections. I lay them along the bed edge, overlapping each sheet by several inches to eliminate gaps where weeds might sneak through. Smoothing outward edges matters; I don’t want anyone tripping on uneven transitions.
The cardboard contacts soil directly, breaking down gradually, which means I’ll likely replenish annually to maintain suppression. This no-dig approach respects the soil structure while delivering that finished, expensive appearance we crave. It’s practical, accessible, and proves that beautiful borders don’t require heavy machinery or deep pockets, just smart technique.
Mulch Topping Options
Where exactly do we go once the cardboard’s down? We top it with shredded or chipped mulch, 2 to 4 inches deep, creating that clean, finished edge we all crave without breaking our backs trenching. This no-dig approach lets us belong to the smart gardener circle, those who know professional results don’t demand professional budgets.
The mulch layer keeps our cardboard from degrading under UV exposure while locking everything visually in place against wind. I replenish mine annually, sometimes biannually, maintaining that dense, expensive-looking border that compensates for natural breakdown. Soil moisture still reaches plant roots through this system, and weeds stay suppressed for months or years depending on our climate. It’s accessible expertise, and we’re in this together.
Plant Low Hedges for Formal Living Garden Edges
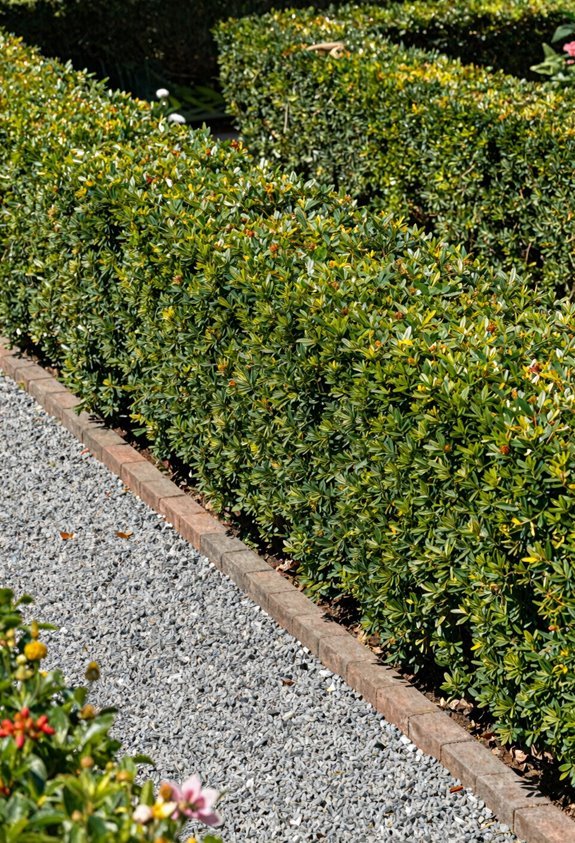
Why settle for ordinary edging when a living hedge delivers timeless sophistication at a fraction of the cost? I plant low-growing boxwood hedges for dense, evergreen boundaries that turn Garden Edging Ideas into refined landscape architecture.
You’ll space plants tightly, six to twelve inches apart, so gaps close quickly and continuity emerges within seasons. I prune regularly to maintain crisp silhouettes and enforce disciplined bed widths that read as intentional design.
In arid zones, I specify drought-tolerant cultivars: Japanese holly, dwarf boxwood, to minimize irrigation without sacrificing structure. A narrow mulch border beneath completes the composition, raising perceived value while keeping material costs minimal. This approach invites you into a community of gardeners who understand that living edges outperform manufactured alternatives through seasonal resilience and understated elegance.





