
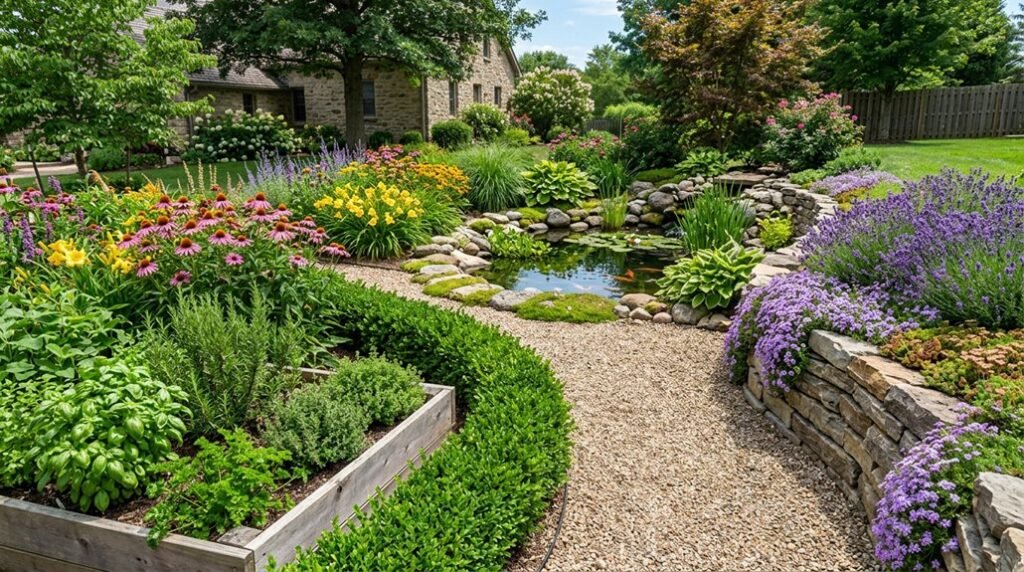
I’ve spent years learning that great landscaping starts with observation, not excavation. When I finally began mapping my own yard’s microclimates, tracking where afternoon sun bakes the fence line and where slope sends rainwater pooling against the foundation, everything else fell into place.
The projects I’d rushed into previously always failed because I’d skipped this step.
I’ll show you how I now build intentional, budget-friendly spaces that actually last.
Map Your Backyard’s Sun, Slope, and Soil Before Breaking Ground
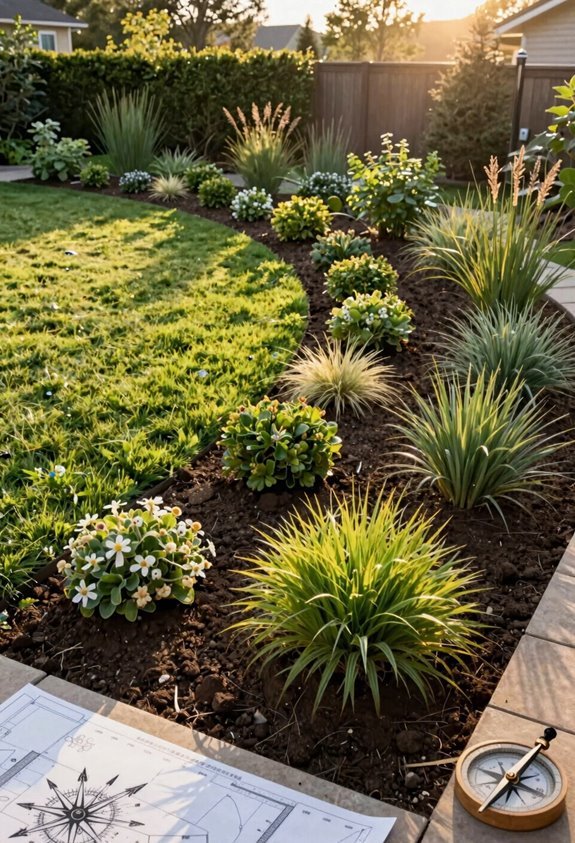
Where do I even begin when my backyard feels like a blank canvas with hidden quirks? I’ve learned that smart landscaping starts with observation, not impulse.
First, I map sun exposure throughout my yard, tracking which patches bake at noon and which stay cool by dusk. This guides where I’ll place sun-loving beds versus shade-tolerant groundcover.
Next, I test soil conditions in several spots, checking pH, texture, and compaction. Heavy clay here, sandy loam there; each demands different amendments for plants that grow well.
I chart slopes next, marking high and low points where water naturally flows. This reveals terracing potential and warns where puddles form.
Finally, I layer everything into one master map with drainage paths and planting zones. Running a simple 24-hour drainage test before breaking ground saves me from costly mistakes later.
Build DIY Structures and Hardscape From Materials You Already Have
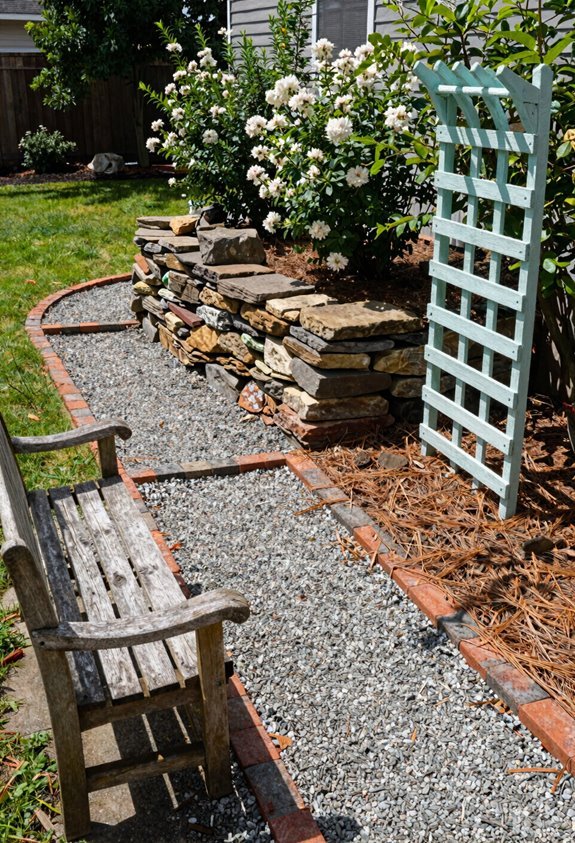
- Once I’ve mapped my yard’s conditions, I turn my attention to what’s already there, working with existing hardscape rather than against it. I lean into repurposing materials I’ve already got, and I invite you to do the same in your outdoor living space.
- I sketch mock-ups like Anna Risbey suggests, using old stone borders and paver patios as my guide
- I transform surplus lumber into raised beds and seating nooks that feel intentional, not improvised
- I patch pathways with reclaimed pavers, letting existing layouts dictate where feet naturally flow
- I build arbors from leftover timber, creating multifunctional zones without clutter
This approach keeps my budget grounded while delivering cohesive transitions. I scale each addition against what’s already proven itself, showing sustainable design belongs in every backyard.
Layer Native Plants by Season for Year-Round Backyard Interest
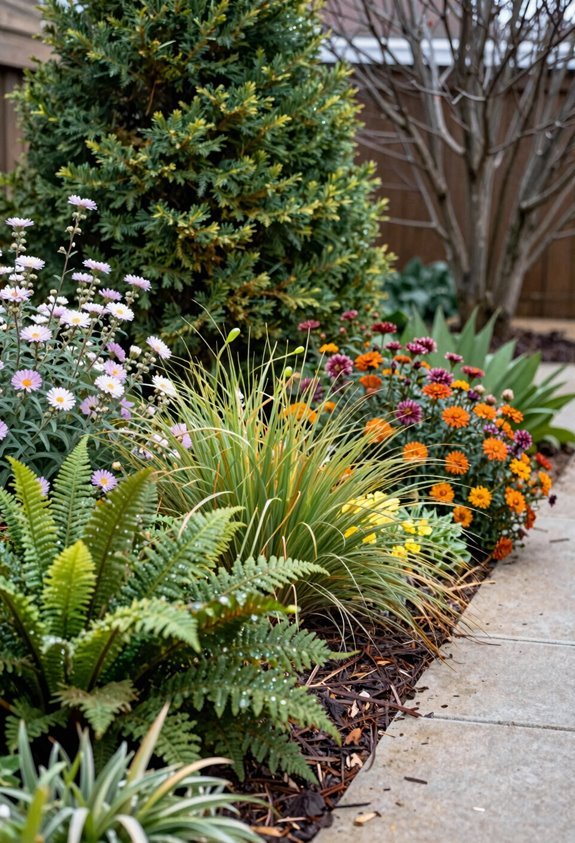
Why let a single season steal the show when your yard could command attention twelve months a year? I’ve discovered that layered planting turns ordinary spaces into living systems where neighbors linger and bees, butterflies, and birds return.
I start with spring bulbs like iris and allium, then weave in summer perennials such as echinacea to maintain that year-round interest. By coordinating colors—pink, white, yellow, blue—and mixing textured foliage, I create visual rhythm without sacrificing native sustainability.
I position taller specimens behind mid and low growers, building depth on slopes and uneven ground. Drought-tolerant natives, paired with smart mulching and efficient irrigation, cut my maintenance while welcoming wildlife.
This approach doesn’t just beautify; it cultivates belonging in a living, changing landscape we share.
Transform Concrete, Pavers, and Lumber for Under $100 Per Project
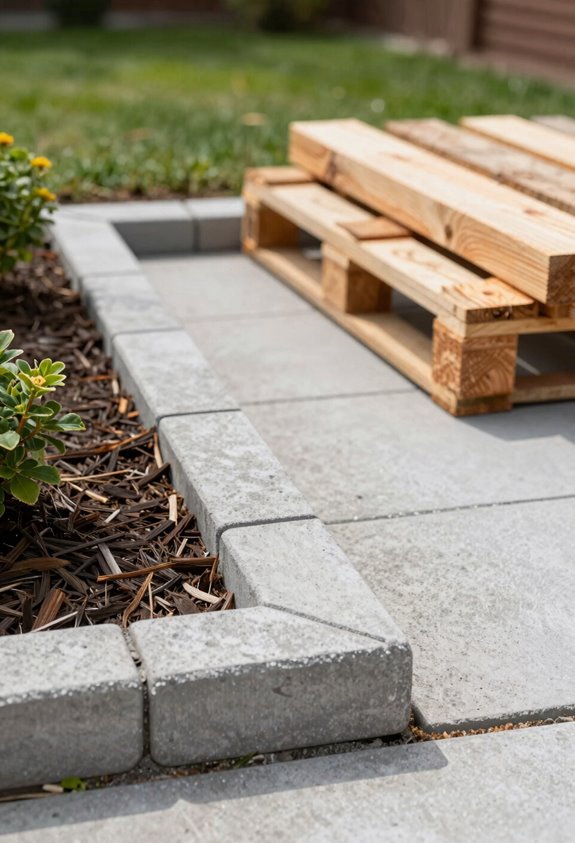
How often do we overlook the raw materials already sitting in our yards? I’ve transformed forgotten concrete slabs and weathered lumber into striking outdoor living spaces without breaking the bank, and I’m inviting you to join this budget-friendly movement where creativity outshines cost.
Here’s what $100 per project unlocks:
- Turn a repurposed tree stump into a rustic coffee table with affordable stain
- Stencil concrete patios for custom stone effects using $90 worth of supplies
- Convert gravel and cedar into redefined walkways with budget pebbles
- Build modular raised planters or brackets using pressure-treated lumber and basic hardware
These scalable designs prove that professional-looking outdoor living doesn’t require deep pockets. We’re building something together, one transformed surface at a time.
Finish With Weekend Lighting and Pergola Features That Tie It Together
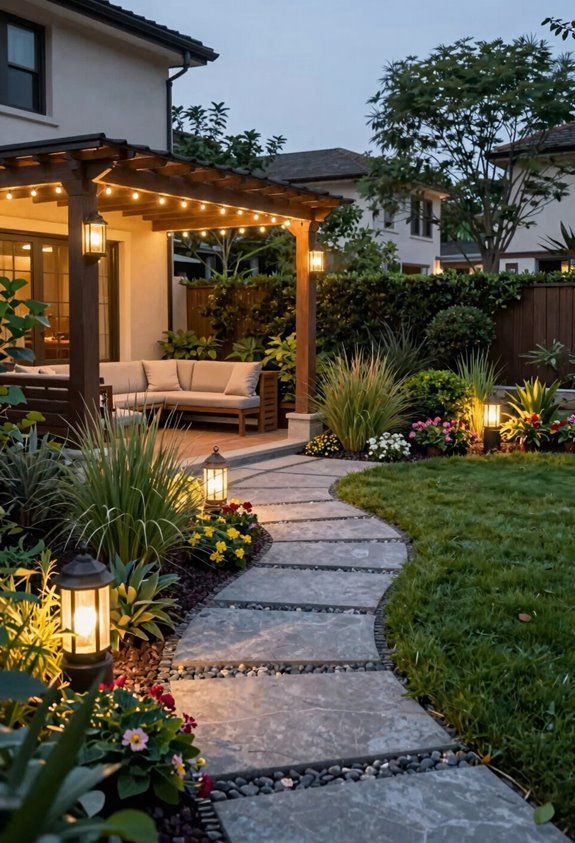
After shaping patios and planters from salvaged materials, I’m turning focus toward the overhead elements that pull everything together. I’ve found that a pergola serves as the anchor point for weekend lighting plans, creating that gathering space we all want in our yards.
I integrate string lights along the edges and tuck fixtures beneath seating for layered illumination that extends evenings outdoors.
| Element | Finish/Placement | Connection Zone |
|---|---|---|
| Pergola frame | Weathered or black stain | Dining area anchor |
| Edge lighting | Along beam tops | Lounging perimeter |
| Under-seat fixtures | Beneath benches | Movie setup zone |
| Gravel or cedar path | Low-voltage border lights | Pathway guidance |
| Fire pit cross-reference | Matching warm tone | Social hub continuity |
I pair these pathways with the pergola structure, guiding guests naturally between zones. I’m cross-referencing stone borders and existing planters so the weekend lighting doesn’t compete; it completes.





