
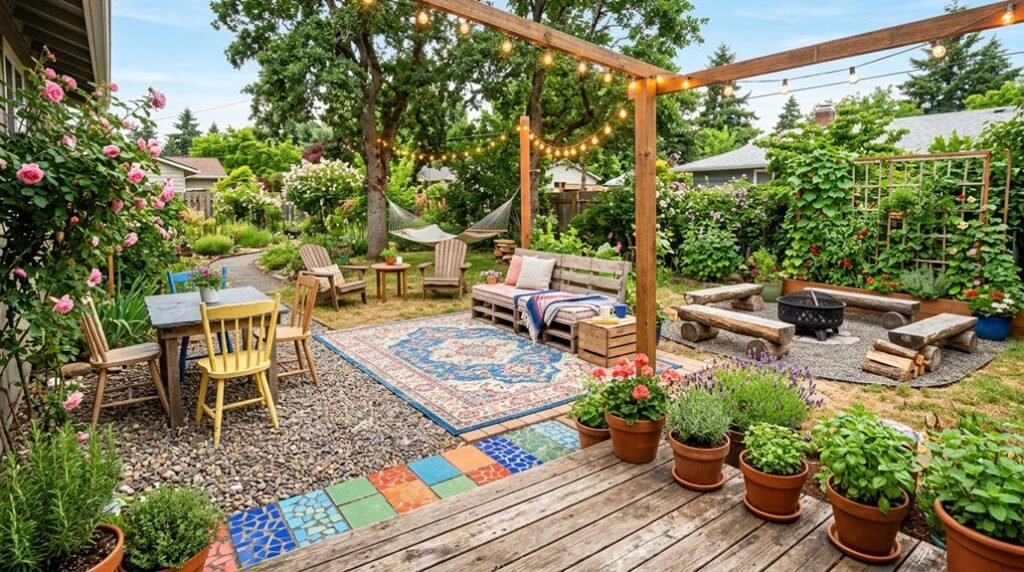
You don’t need years of masonry experience to create a stunning outdoor space. I’ve designed patios ranging from intimate 185-square-foot curves to expansive 300-square-foot layouts with 24-inch seat walls, and each one changed a plain backyard into something truly livable.
The real challenge isn’t skill, it’s choosing which of these seven proven designs actually fits how you’ll use the space.
Pick Your DIY Patio Size: From 185 Sq. Ft. Curves to 300 Sq. Ft. With Seat Walls
Where do you start when every backyard tells a different story? I’ll walk you through patio dimensions that welcome everyone, from intimate curves to gathering-ready layouts.
Where do you start when every backyard tells a different story? Start with dimensions that welcome everyone, from intimate curves to gathering-ready layouts.
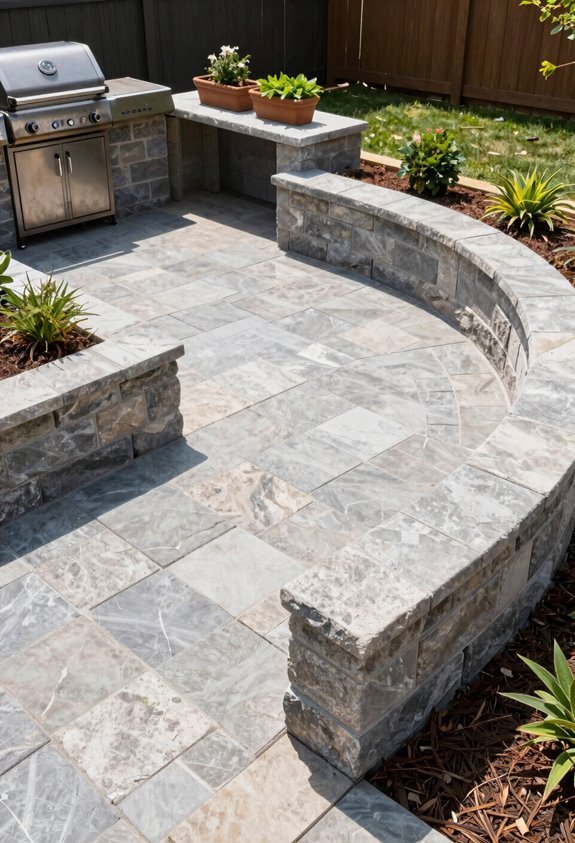
My 185 square foot DIY patio embraces soft curves, extending your existing concrete into a private circular retreat. You’ll settle into a space that feels deliberately cozy, not cramped.
When your guest list grows, I’m reaching for 300 square feet with 24-inch seating walls. These walls multiply your capacity, creating overflow perches that wrap the perimeter with purpose.
I’m building mine with patterned pavers that minimize cuts, sloping drainage away from the house, and polymeric sand locking every joint. Layer soil, fabric, base rock, sand, then pavers. Your foundation invites people in, year after year.
Design the Layout Around How You’ll Actually Use It
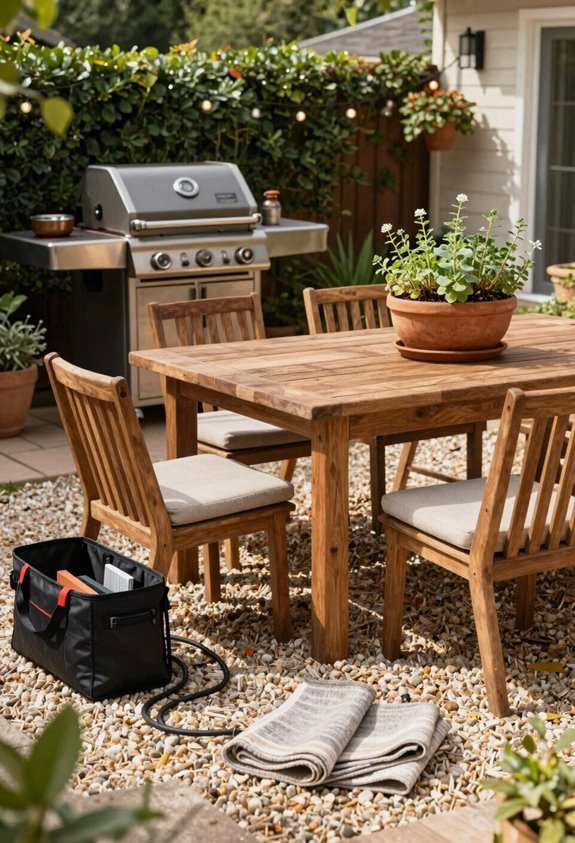
Now that you’ve settled on dimensions, I’m helping you map the actual experience. Your patio layout isn’t just about square footage, it’s about how you’ll actually live in this space. I’m designing this DIY weekend project around real moments, not just aesthetics.
- A circular outdoor dining zone where six chairs pull up to conversation
- A built-in seating area wrapping the perimeter for overflow guests
- A compact grill pad with 24-inch seat walls for casual perching
- Curved edges that soften transitions and create natural privacy pockets
- Strategic flow paths connecting house, yard, and focal points
I’m thinking about morning coffee, evening gatherings, and how you’ll move between zones. Good design anticipates your habits, so this outdoor space feels like it was always meant to be yours.
Select Pavers and Patterns That Fit Without Cutting
Why wrestle with a wet saw when I’m about to show you a smarter path? I’ve learned that selecting the right patterns eliminates most cuts from my weekend project, and I’m here to help you do the same.
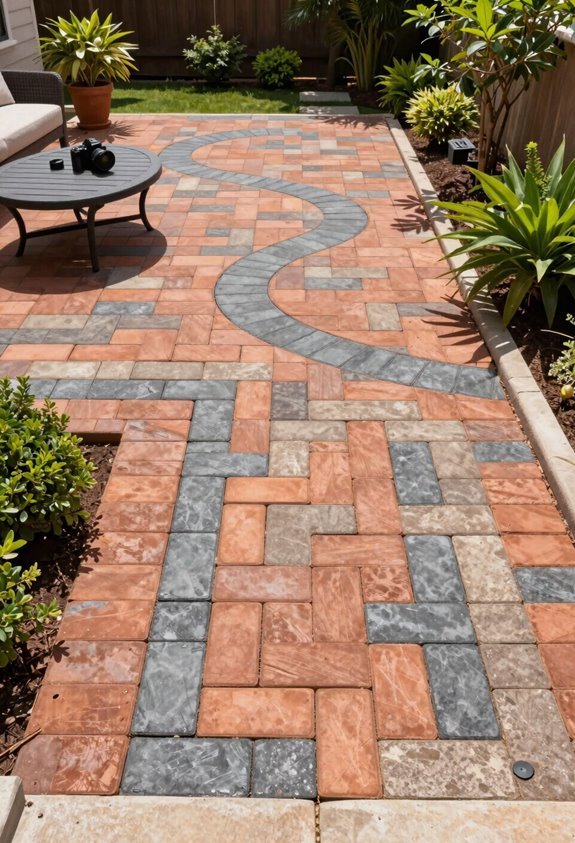
For my 11-by-13-foot rectangular patio, I chose basket-weave and running bond patterns that align naturally with my dimensions. These layouts let whole pavers sit edge-to-edge while minimizing awkward slivers. I left 1/8-inch spacing between each unit, creating uniform gaps that accept joint sand and allow subtle drainage.
I also mixed colors and heights, distributing variation evenly so no single area draws attention. When you plan your spacing intentionally, you join a community of builders who work smarter, not harder.
Excavate and Slope the Base for Drainage
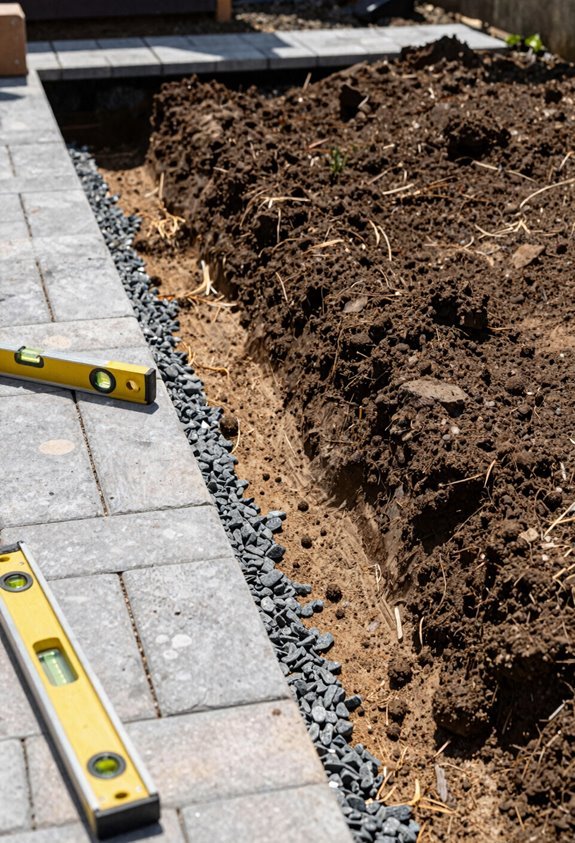
I start by planning my slope direction so water flows away from the house, not toward it.
I mark my excavation depth guidelines, typically dropping about two inches across the patio length for proper drainage. Then I execute the drainage slope using a level string and 2×2 guides, which keeps my base consistent and my finish height exactly where I need it.
Slope Direction Planning
Before I break ground on any patio project, I always plan my slope direction with deliberate care, because water pooling against the house spells disaster I’ve seen too many times.
Here’s how I map every drainage detail before touching soil:
I stretch level strings across the site, marking a two-inch depth from house to edge so every slope carries water safely outward.
I contour the entire grade away from foundations, since proper drainage protects everything we’ve built together.
I dig perimeter trenches four inches beyond my lines, creating containment zones that frame our work.
I set PVC pipes and level them with a straight two-by-two, verifying every plane before the base rock arrives.
I prep the dirt layer completely, then roll out underlayment only after leveling proves true and pitch holds steady.
Excavation Depth Guidelines
How deep should you dig to keep your patio dry for decades? I’ll show you how to nail the excavation depth so we get this right together.
For solid base preparation, I excavate about six to eight inches below my planned finish height, which gives me room for the drainage pitch and all my material layers. I always establish a two-inch depth difference from the house outward, using level string lines as my guides. This creates the essential slope that carries water away from your foundation.
I remove every root and debris, then smooth the soil before compacting. Your drainage pitch starts right here in this first cut, because proper paver installation depends on getting this bottom layer absolutely correct. Taking time here saves headaches later.
Drainage Slope Execution
Why risk water damage when you can control drainage from day one? I’ve learned that proper base preparation starts with a deliberate two-inch depth difference across the entire surface. I stretch a taut line level, adding perpendicular cross-lines to establish consistent pitch before breaking ground.
Here’s my process for solid drainage slope:
- I dig six inches below my finished lines, extending four extra inches around every edge for edging/installation space
- I clear every root, then blend native dirt with concrete fragments for a stable sub-base
- I roll out landscaping fabric, locking out weeds before aggregate enters
- I’m compacting each layer methodically, building load-bearing strength
- I screed one inch of sand over 2×2 guides, laying a flawless paver bed
Together, we’ll build something that lasts.
Layer Dirt, Fabric, Rock, and Sand in the Right Order
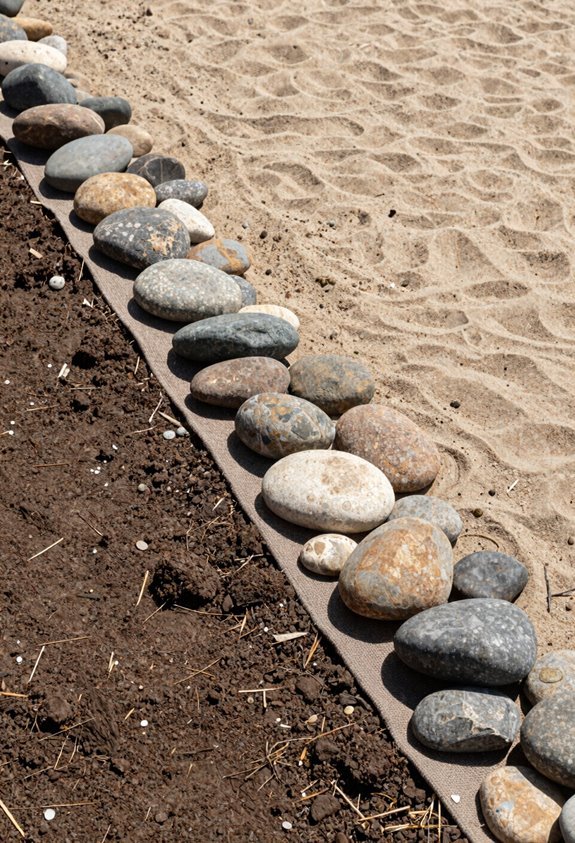
Once you’ve cleared the site and excavated to the proper depth, I’ll walk you through building a base that’ll last for decades.
I lay landscaping fabric directly over the compacted soil, extending it past the edges to block every persistent weed that threatens to disrupt our paver patio. Next comes 2.5 tons of base rock, that crushed stone three-quarters inch or smaller, which I spread evenly and compact until it’s rock-solid underfoot. The landscaping fabric keeps our subgrade clean and separated, so nothing migrates where it shouldn’t.
I add the sand layer last, just one inch of coarse concrete sand screeded level with 2×2 boards and a line level. When we’ve compacted each layer properly, that sand bed becomes the perfect cradle for laying pavers with precision.
Seat Walls, Grill Pads, and Built-In Features
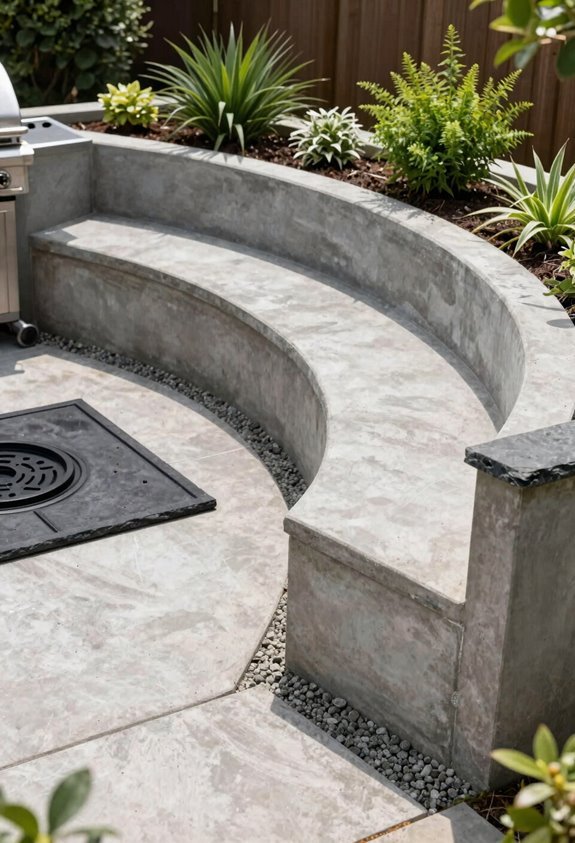
A curved seat wall changes how you use your patio. It creates privacy, adds extra seating for guests, and gives you a clear spot to place your grill. Built-in features like these use every square foot well, while keeping your layout open for dining or fireside gatherings.
Seat Wall Benefits
Versatility defines the appeal of built-in features when you’re working with limited outdoor square footage. I’ve found that a well-planned seat wall transforms any DIY patio you build this weekend into a genuine gathering place where everyone’s included.
A 24″ curved seat wall cradles your guests, creating natural intimacy without crowding your 310 sq. ft. layout. Corner configurations nestle perfectly against property lines, maximizing every inch you’ve claimed. The 8′ extension option adapts when your circle grows beyond the original plan.
Overflow seating eliminates awkward chair-dragging across fresh pavers. Built-in height doubles as a windbreak, defining your space while preserving lawn and garden. You’ll reclaim precious square footage for planting or play, because fixed seating doesn’t shift, scatter, or demand storage. It’s permanent hospitality, ready whenever your people arrive.
Grill Pad Integration
Built-in seating gains its full purpose when paired with a dedicated grill pad that anchors your cooking station and extends hospitality outward. I’m showing you how this patio design creates a natural gathering point where the cook stays connected to guests gathered along the curved seat wall.
Planning paver placement for your grill pad demands attention to slope and leveling. I account for height differences with extra sand beneath low spots, and I maintain 1/8 inch gaps between pavers for polymeric sand that locks everything together. These small tolerances help the installation last for years.
This DIY weekend project suits one or two helpers, combining crusher run base, a one-inch sand bed, and final tamping. You’ll create overflow seating and a safe, stable cook space in roughly 310 square feet of purposeful outdoor living.
Built-In Seating Options
Where exactly does a patio become the true heart of a backyard? I’ve found it happens when you create spaces that draw people together naturally.
A curved seat wall wrapping your outdoor dining area with 24 inches of intimate enclosure, patio seating that handles overflow crowds without dragging out folding chairs, a dedicated grill pad keeping your cooking station stable and level, gaps filled with polymeric sand locking your 11-by-13 layout through seasons of use, room to grow—maybe a firepit later, because you’ve built the foundation right.
You’ll lay 2.5 tons of base rock and 0.75 ton of sand, compact everything properly, and slope drainage away from your house. That weekend of work becomes years of belonging.
Lock Joints With Polymeric Sand and Finish the Surface
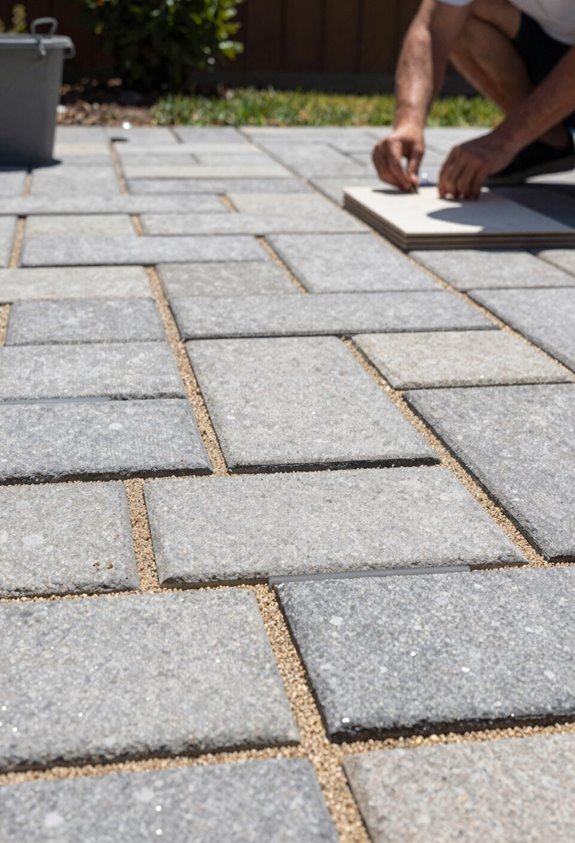
I’ll brush polymeric sand into every crack between your pavers, working it in thoroughly until the patio joints are nearly full. This step changes your paver installation from loose stones into a cohesive surface that’ll last.
Next, I’ll tamp everything down, compacting the stones so the polymeric sand settles deep where it belongs. You’ll want to leave about 1/8 inch between pavers; this gap lets future sand fill properly, accommodating slight height differences while locking everything tight.
Compact deep, leave that eighth-inch gap—future sand needs room to lock everything tight.
Here’s where patience pays off. I’ll give the surface a light watering, just fifteen to thirty seconds, to activate the binding agents. After that recheck, I’ll brush more sand into any gaps that appear.
The setting time matters, so I’ll protect your work from rain until the bond fully cures. Your weekend project becomes something solid.





