
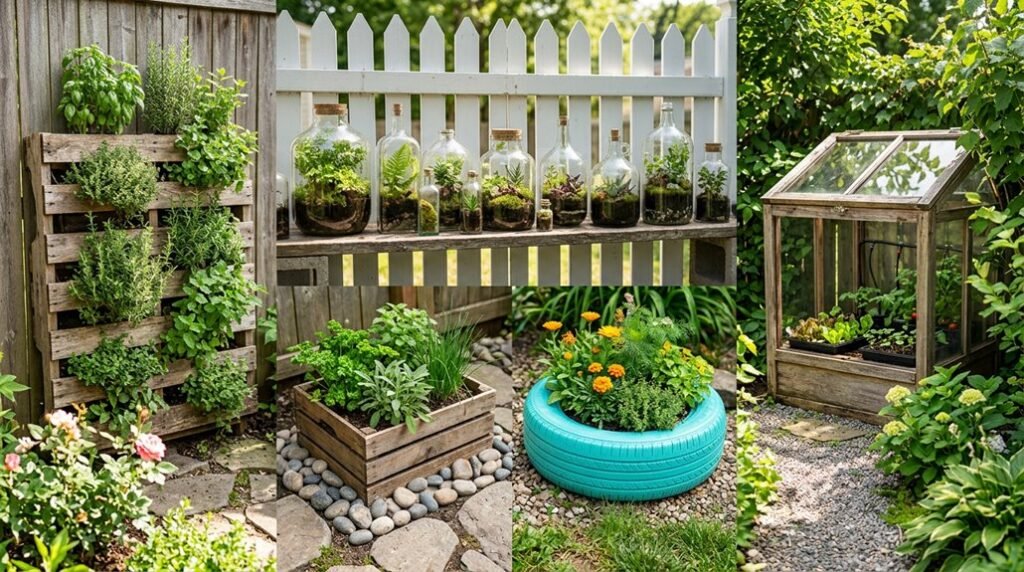
I’ve tackled backyard projects across every budget and skill level, and these five builds consistently deliver transformation without intimidation. From a $90 stenciled concrete refresh to hillside steps engineered for drainage and access, each solution balances structural integrity with straightforward execution.
Whether you’re anchoring lumber with rebar or sealing a finished surface, the common thread is accessible methodology. Here’s what separates a weekend warrior’s success from costly do-overs: precision at the planning stage.
Stencil Your Outdoor Concrete Patio for $90
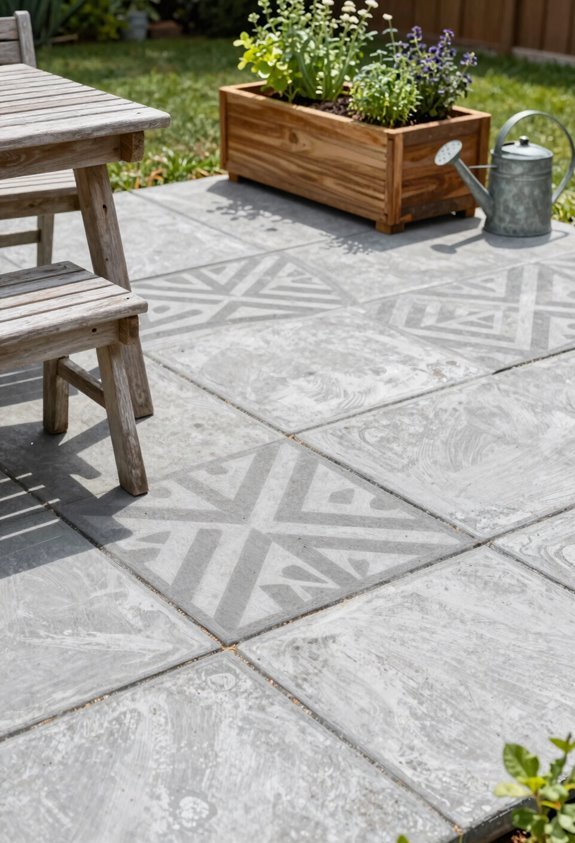
A single afternoon and ninety dollars can change your concrete patio from bland to striking with nothing more than a stencil and some patience. I’m walking you through Kristin’s approach, which proves professional resurfacing isn’t necessary for a beautiful outdoor space.
Her Instagram highlight breaks down every step, from stencil placement to sealant application. You’ll see how geometric patterns or faux-tile designs create immediate visual impact without contractor costs. The technique works on any concrete surface, and customization options let you match existing landscape elements.
This project stands out in my DIY collection because it delivers results that far exceed the effort invested. Readers consistently report that stenciled patios become their favorite outdoor space feature, drawing compliments from neighbors who assume professional installation. The accessibility matters: under $100 removes financial barriers that often block creative home improvements.
Build a $650 Backyard Bed Swing Nook
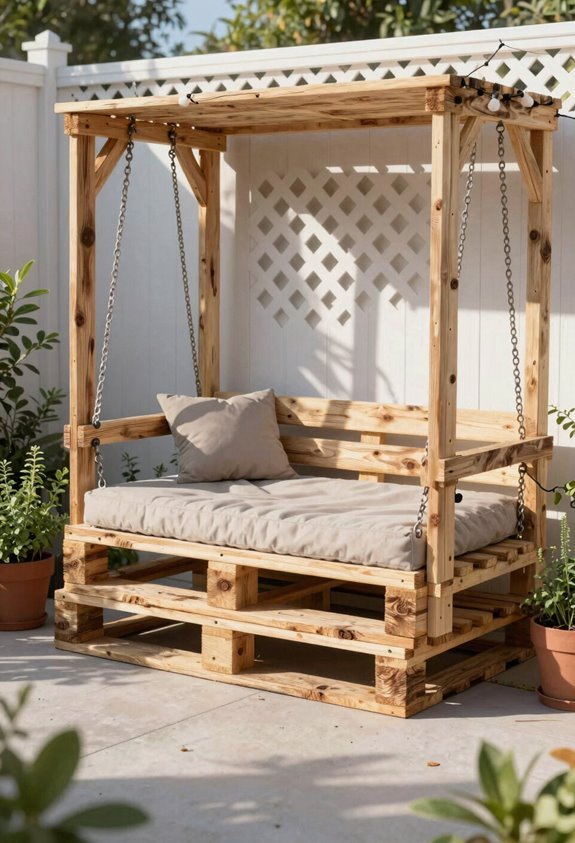
While professional outdoor lounging setups often demand thousands, I’ve found that $650 builds something far more personal: a proper bed swing nook that blurs the line between sunroom comfort and backyard breeze. My brother-in-law helped me construct the swing frame, and I scavenged tree stumps from a neighbor’s removal to serve as rustic coffee tables. I gave basic IKEA curtains an olive dye treatment to create that coveted indoor-outdoor drape effect.
The magic lies in sourcing: thrifted throw pillows, inherited lanterns, and pieces I already owned anchor the space without draining the budget. This backyard retreat doesn’t just add seating; it creates a destination where you’ll actually want to linger. The bed swing becomes your hammock, your reading chair, your afternoon nap, all suspended between sky and garden.
Build a Backyard Pergola Retreat for Under $1,100
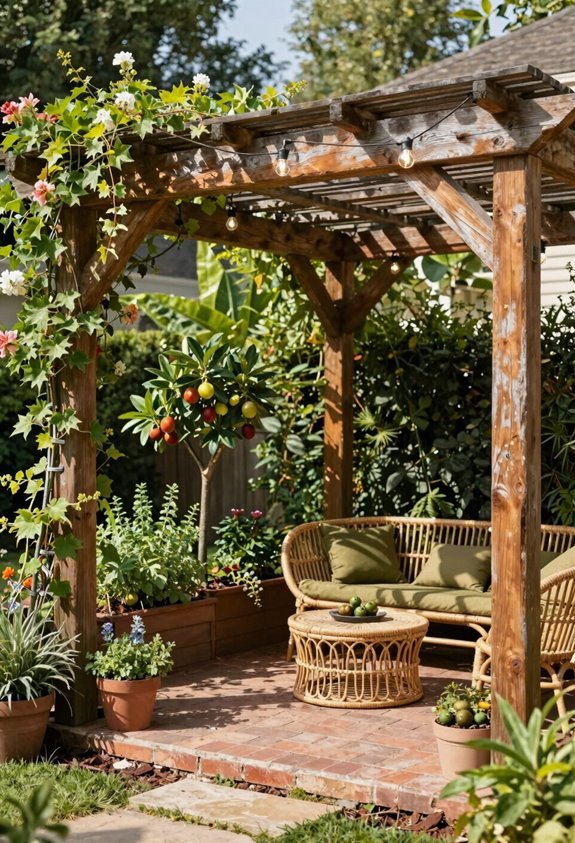
Why sink fifteen grand into a contractor-built pergola when $1,100 and a free weekend transform your slab into a legitimate outdoor room? I built mine using Toja Grid brackets, about $800 in hardware plus $300 for lumber, and anchored it to extended concrete for solid stability. No engineering degree required, just smart bracketry that shoulders the load confidently.
| Element | Purpose |
|---|---|
| Black stain finish | Creates striking, timeless presence |
| Cedar or pine beams | Deliver warm, backyard authenticity |
| Overhead grid pattern | Casts dancing afternoon shadows |
| Open framework | Invites string lights, vines, movie screens |
I left mine natural initially but plan to stain black after year one. Now my backyard hosts movie nights beneath a structure that looks built by pros yet came from my own two hands. Yours can too.
Install a Gravel Garden With Cedar Walkway and Retaining Wall
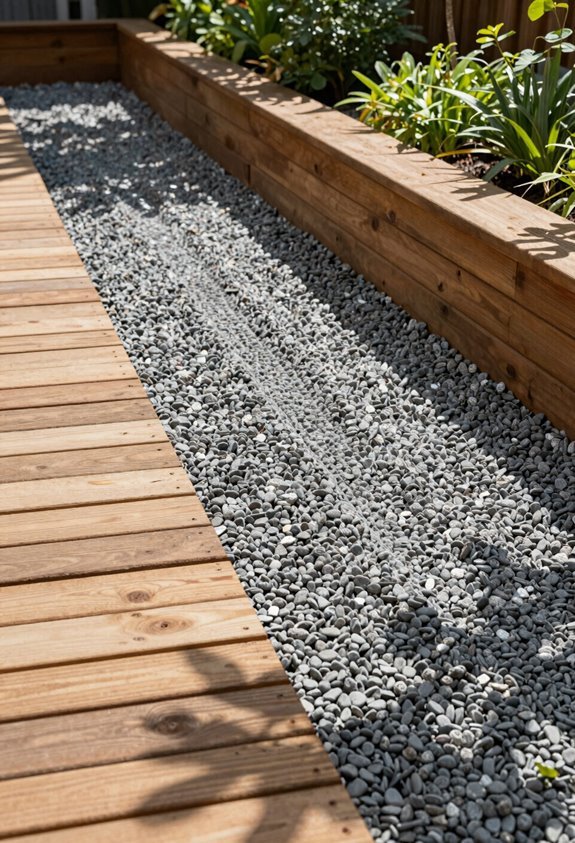
My pergola gave me shade and structure, but the ground beneath it needed purpose. I stripped away tired grass, then stacked repurposed pavers into a low retaining wall that anchors my gravel garden’s clean, defined edges. Pea-sized gravel fills the space, offering drainage and zero-maintenance ground cover that settles beautifully against the structure.
I laid a cedar walkway alongside, milling durable planks that weather to silver-gray while handling foot traffic year after year. The path bridges the slope between levels, so I graded carefully for proper runoff and safe footing underfoot. Over 2.5 years, this yard facelift took shape through strategic reuse: old fencing became trellis material, existing pavers found new life.
At roughly $2,700, these backyard garden ideas reward patience with cohesion.
Build Hillside Steps That Anchor Into Gravel Slopes
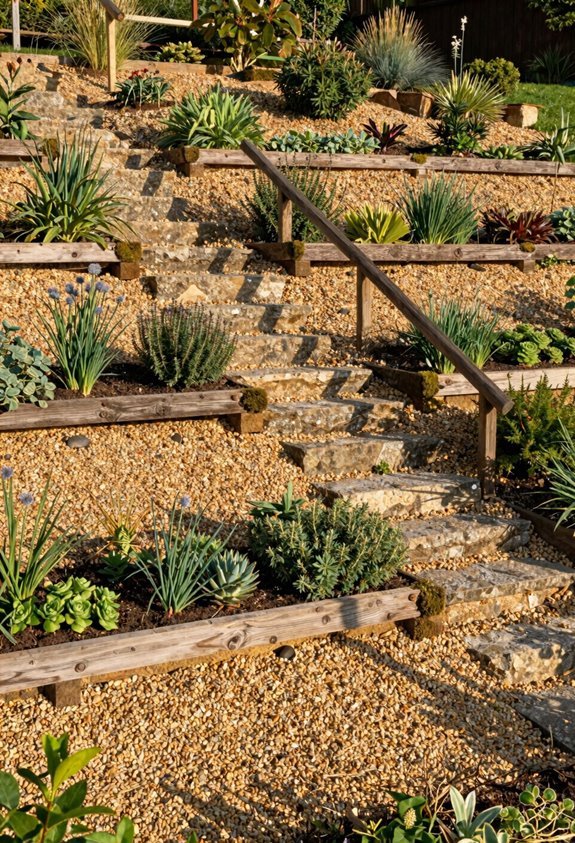
How steep is too steep for a gravel slope you actually want to climb? I’ve found that dividing your total height by six inches gives you the rise, while fifteen and a half inches of tread width keeps every outdoor ascent comfortable.
I build these hillside anchors using 6x pressure-treated lumber, typically 4x6x8 dimensions. Front boards meet side plates through predrilled holes, then I secure everything with lag screws and bolts for flush, unshakable joints.
The bottom step grounds itself with rebar driven through two back-drilled holes. From there, I work upward, bolting adjacent steps sequentially, checking level with each placement. Cut edges drink wood preservative; pea gravel fills gaps for drainage. Soil backfills behind, and suddenly your slope belongs to you.





