
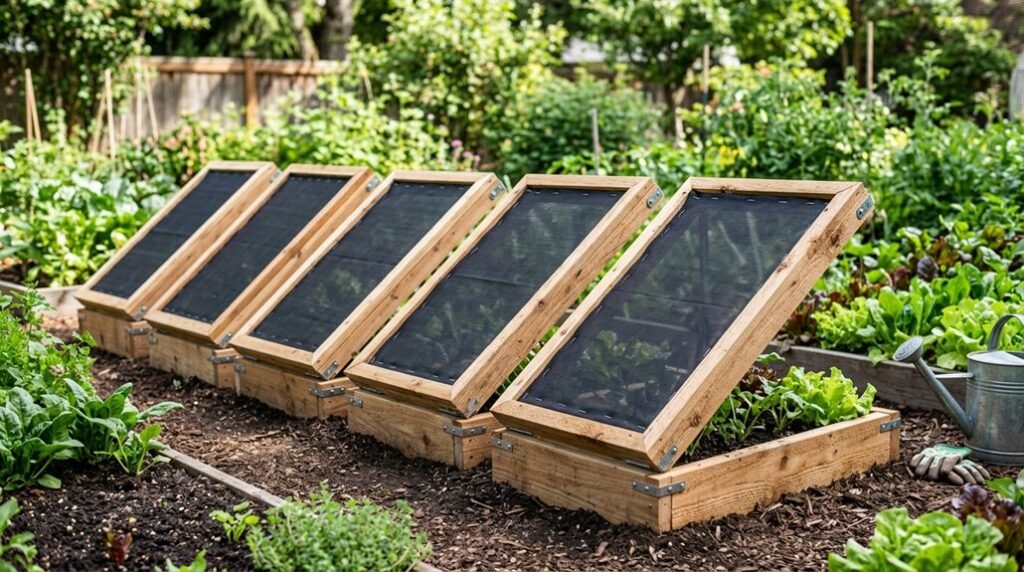
I’ve built dozens of raised bed covers over the years, and the best ones share a simple framework you can adapt in about sixty minutes.
Whether you’re battling cabbage worms, hungry birds, or sudden frost, the right cover saves your crop without draining your weekend.
I’ll walk you through choosing materials that match your climate, assembling lightweight hoops, and securing edges against wind.
Each build follows three clear stages, and most use supplies you can grab at any hardware store.
You don’t need advanced skills, just a plan, and the first step starts with understanding what’s actually threatening your plants this season.
Start With Materials That Fit Your Climate
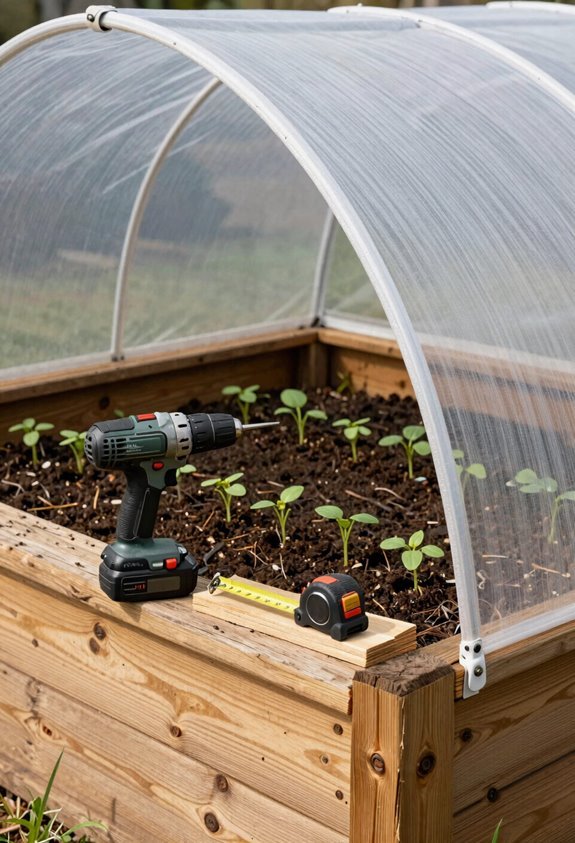
A few smart choices at the hardware store will save you headaches when the weather turns. I always start my garden bed projects by matching materials to my local conditions, and I’ll help you do the same.
In hot, sunny climates, I reach for breathable row cover cloth; it vents excess heat while filtering intense light. For cooler seasons, I switch to clear poly, which traps warmth and extends my growing window. I’ve found that 3/4 inch flexible pipe suits cold, windy regions perfectly, and I space hoops every three feet for sturdy, well-ventilated frames.
When frost threatens, I layer row cover beneath clear poly, creating a cold frame effect without sacrificing sunlight. In scorching zones, shade cloth prevents overheating and sun scorch. I always make certain water reaches my crops, using soaker hoses beneath covers or lifting edges to irrigate based on rainfall patterns.
Build Your Raised Garden Bed Cover Frame in Under an Hour
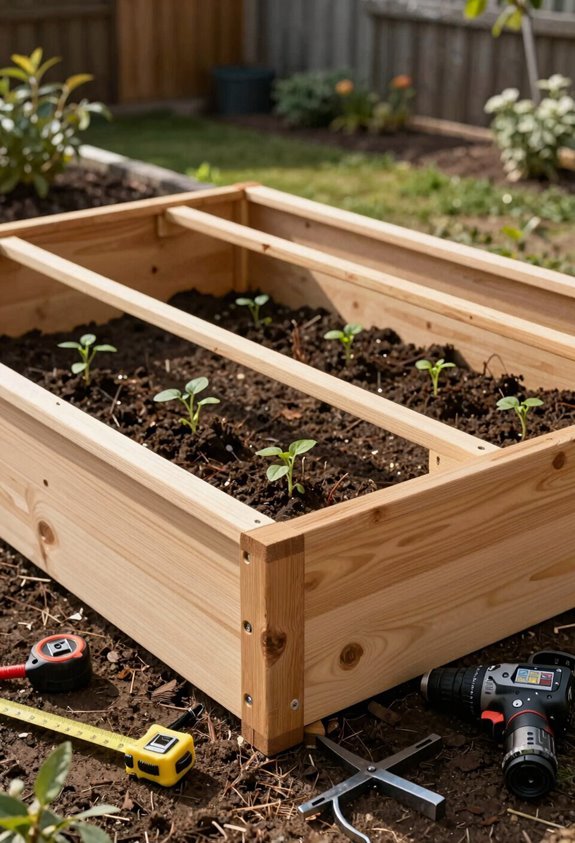
Building a sturdy frame doesn’t demand an entire afternoon, and I’ll walk you through the process I’ve refined over dozens of beds. I’ve learned hoop covers work best when supports anchor properly, so I start by installing one PVC pipe at each corner and midpoint of the longest sides, securing each with one-inch EMT conduit straps. I cut pipe to length, spacing hoops about every three feet for even arches.
I dig soil back slightly, letting hoops sit just below grade, then I attach them with washers, screws, or metal strapping to stop pivoting. For the arch itself, I slide half-inch PVC into opposing one-inch supports, completing all three arches before any covering. This method builds reliable structure we can count on season after season.
Pick Cover Material for Your Biggest Threat
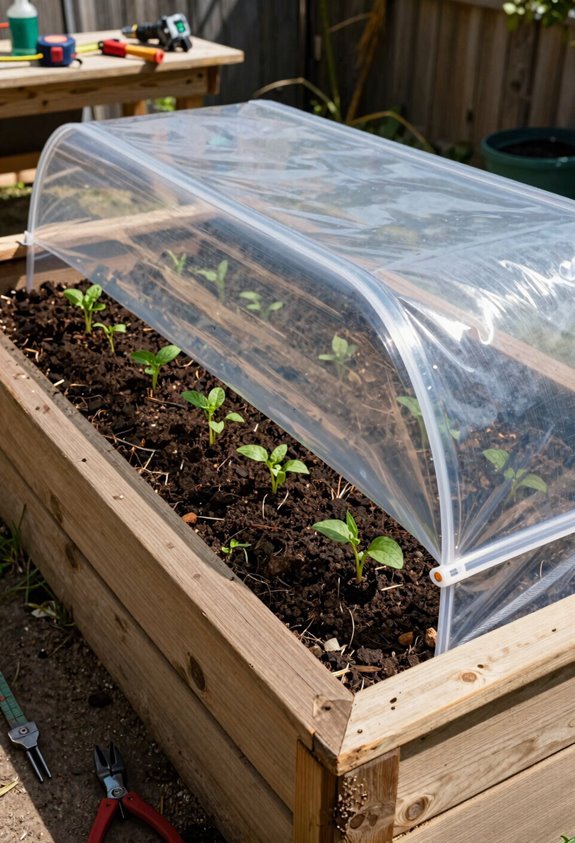
Why guess what your garden needs when you can match the cover to your actual problem? I choose row covers when worms attack my brassicas or flea beetles chew through my Pac Choi and kale, since they block pests while letting sunlight and rain filter through.
If birds are my main headache, I switch to netting, which I grab from garden supply stores or online. In hot climates, I avoid plastic year-round and reach for shade cloth instead, alternating materials to prevent overheating.
The key is sizing. I’ll cut my cover long enough to secure ends with rocks or weights, creating that complete seal my crops need. Different threats demand different defenses, and I’ve learned that getting this step right protects everything I’ve planted.
Weigh Down the Edges for a Tight Seal
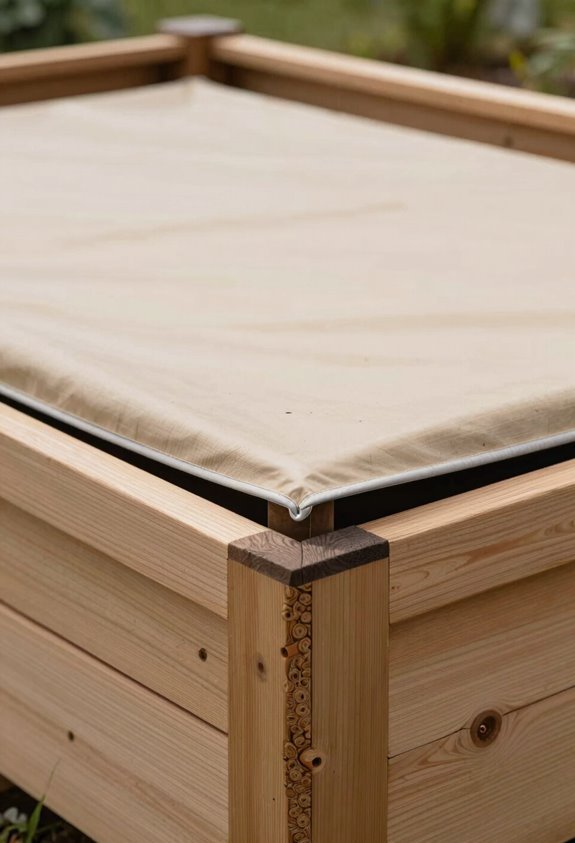
Precision matters when I’m securing my row covers, since even a small gap invites disaster. I always weigh down the edges with rocks or heavy wood pieces, pressing the ends flush against the ground with extra length tucked under the soil or bed edge to eliminate any entry points for pests.
I stretch elastic bands across the cut edges to keep everything taut, preventing sagging that could trap moisture or create wind pockets. Every few days, I walk my beds, scanning for lifted corners or loosened sections where determined critters might squeeze through.
When storms approach, I add extra ballast and anchor near stakes or clamps along my frame. This vigilance protects my investment. A complete seal means my plants do well, and I sleep soundly knowing my garden belongs to me alone.
Open and Close Your Cover for Watering and Pollination
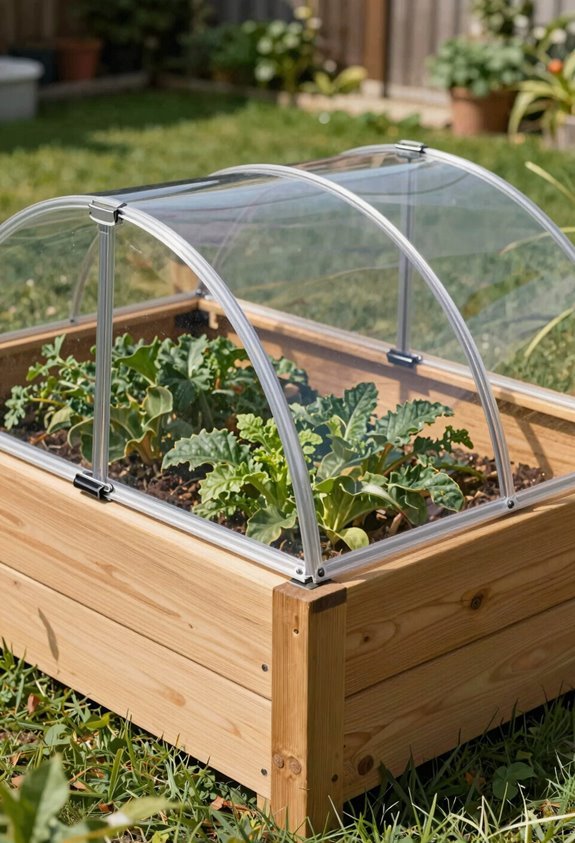
A sealed cover works wonders, but my plants still need care from time to time. Smart row cover planning means I can water without full removal; I simply lift or roll back one edge, hydrate thoroughly, then reseal promptly to preserve that protective microclimate my vegetables depend on.
When blossoms appear, I temporarily remove the cover entirely, watching closely for pollinator activity in my garden space. I always make sure there’s adequate slack before opening, preventing torn fabric or pinched stems that could damage tender growth.
My hoop system lets me hinge or lift specific sections, maintaining protection across untouched areas. After watering or pollination, I re-secure ends with rocks or elastic bands, restoring complete wind protection. This rhythm of access and enclosure keeps my garden healthy through every season.





