
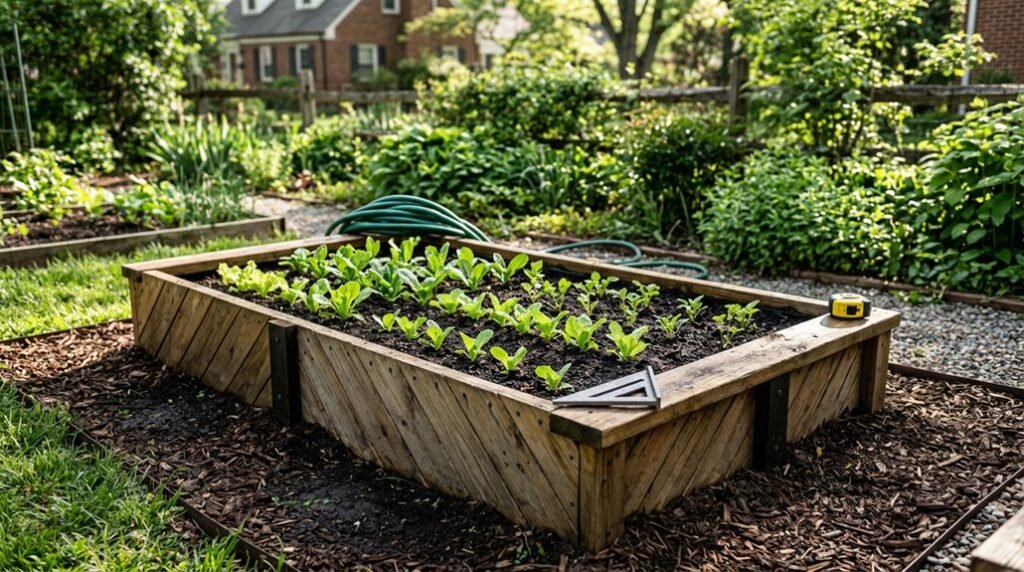
Building a raised garden bed isn’t rocket science, yet I’ve watched too many gardeners overcomplicate the process with unnecessary bells and whistles. I’ve built dozens of these structures over the years, and I’ll show you exactly how to create a durable, productive bed in about two hours without breaking your back or your budget.
The key lies in understanding your materials, your site conditions, and a few construction principles that separate amateur attempts from professional-grade results. You’ll want to stick around for the specifics on lumber selection and drainage design, because those details make or break your harvest.
Build a Raised Bed for Under $200 in Two Hours
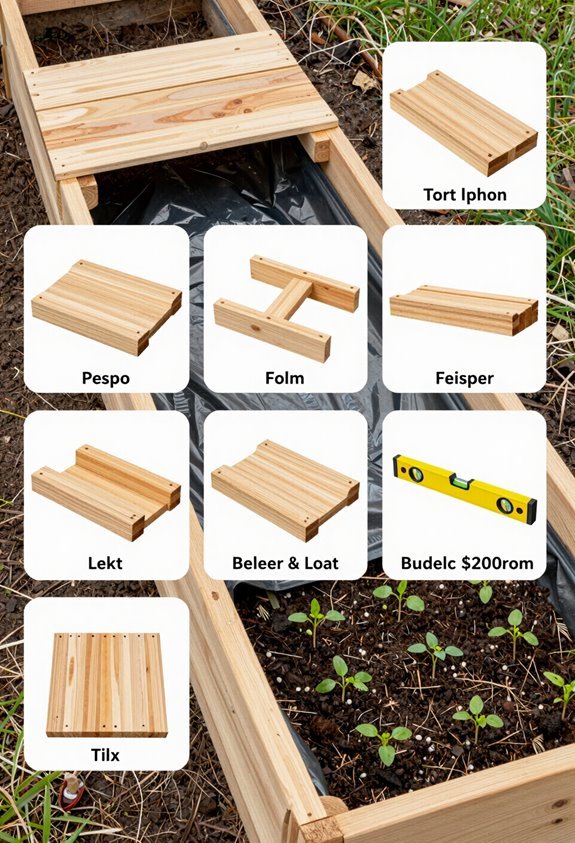
Why spend a fortune on pre-built planters when you can craft something better yourself? I’ve built dozens of raised beds, and I’ll show you how to complete one in two hours using cedar lumber and basic tools. This budget-friendly project costs under $200, turning raw boards into a sturdy, elevated growing space.
Cedar naturally resists rot, giving your raised bed years of service without harsh chemicals. I follow a simple cut list, fitting perimeter boards to legs with straightforward framing angles. The waist-high design protects leafy greens from ground pests and spares your back during tending.
Drainage matters, so I line the base properly. You’ll join countless growers who’ve found this accessible entry into productive gardening. Let’s get started.
Pick a Spot With Sun Access and Mower Clearance
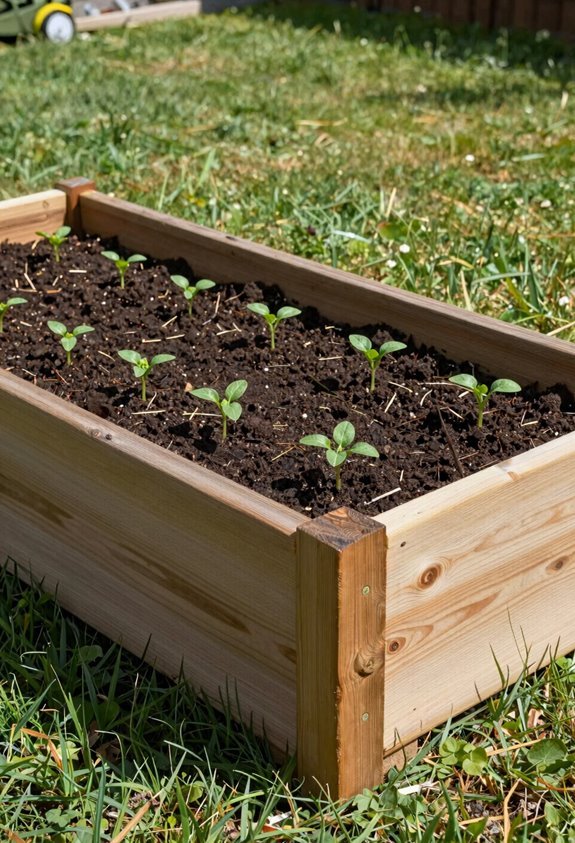
The right location converts a simple wooden frame into a bed that produces well, so I’ve learned to evaluate every potential spot with deliberate care.
The right location converts a simple wooden frame into a bed that produces well.
I hunt for sun exposure first, tracking which areas receive six to eight hours of direct sunlight daily. I maintain two feet of mower clearance on every side, protecting both my bed and my mower blade.
I avoid root zones beneath mature trees, since competing plants quietly steal moisture and nutrients. I verify level ground and hose reach, because uneven settling warps frames and distant water sources discourage consistent care.
The ideal location balances these practical demands with your daily movement patterns. When your bed sits where you’ll naturally tend it, gardening becomes integrated rhythm rather than imposed obligation.
Choose Cedar or Budget Lumber That Lasts
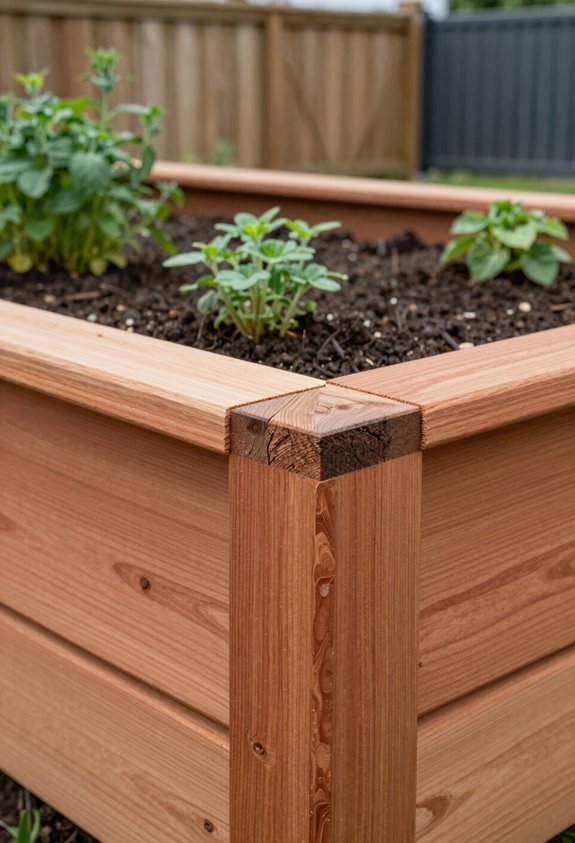
I’ll select cedar for my raised bed frame since its natural moisture resistance protects against rot, though pine or fir work when I’m watching expenses. I’m always careful to skip pressure-treated lumber entirely, because those chemicals can leach into my soil and affect what I grow. With boards cut to uniform four-foot lengths, I’ll have clean edges and straightforward assembly ahead.
Cedar Durability Benefits
When I’m choosing lumber for a raised bed that’ll sit in damp soil, I want something that won’t rot out in three seasons. That’s where cedar comes in strong. Cedar durability stands apart from standard softwoods because the natural oils in the grain actively repel moisture and decay. For any raised garden bed enduring constant watering cycles, this rot resistance isn’t optional, it’s essential protection.
These weatherproofing benefits mean I’m not rebuilding beds every few years, and I dodge the chemical concerns that come with pressure-treated alternatives when I’m growing food.
- Cedar contains natural tannins that fight fungal growth and insect damage without additives
- One cedar frame typically outlasts two untreated pine builds, saving replacement labor
- 2×6 or 2×8 dimensions balance structural strength with manageable weight for assembly
- Natural weathering to silver-gray maintains integrity while eliminating staining chores
Budget Lumber Options
Anyone building raised beds faces the same fork in the road: spring for premium cedar or stretch dollars with budget alternatives. I’ve tested both paths, and each delivers results when you plan smart.
| Lumber Type | Best For |
|---|---|
| Cedar boards | Long-term durability, natural moisture resistance |
| Pallet/reclaimed wood | Lowest cost, rustic community gardens |
| Pressure-treated | Mid-range budgets, temporary setups |
| Composite alternatives | Zero maintenance, urban environments |
For my standard 4×8 raised bed, I’ll grab 2×6 cedar boards and slice 8-footers into manageable 4-foot panels. Sure, cedar runs $100–$175 per bed, but budget-friendly lumber options exist. I’ve seen neighbors build productive beds from reclaimed maple; they just replace boards sooner. Choose lumber options matching your timeline, not someone else’s standards.
Treated Wood Considerations
Now that we’ve mapped out where savings live in lumber choices, it’s time to weigh what actually separates cedar from treated alternatives when soil meets wood. I gravitate toward cedar because its natural oils defy rot without factory chemicals, letting me grow food I trust. Treated wood costs less upfront, yet chemical leaching concerns linger; modern formulations reduce risk, but I still pause when roots drink deep.
Cedar 2×6 or 2×8 boards deliver decades of service without replacement cycles. Pressure-treated lumber demands liners if I want absolute peace of mind. Bed depth calculations change my lumber bill; deeper beds need sturdier stock. Reclaimed pallets tempt my wallet, though I inspect every board for hidden rot.
I match material to purpose, balancing longevity against budget without compromising what feeds my family.
Get Your Raised Bed Lumber Cut Free In-Store
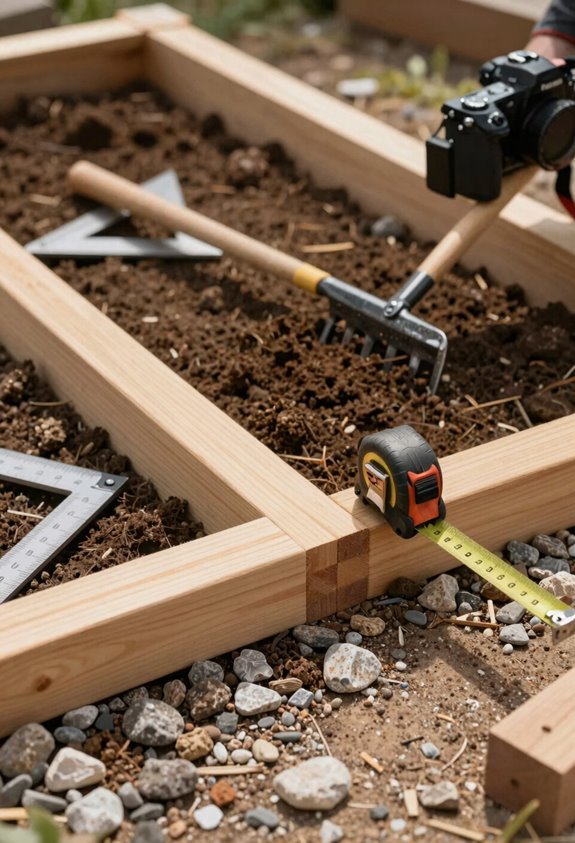
Most home improvement retailers will cut your lumber to specification right at the service desk, and I’ve found this saves both time and the frustration of imprecise home cuts. When I bring my raised bed lumber for in-store cutting, I can convert those unwieldy 12-foot and 8-foot boards into precise segments for my chosen bed dimensions.
This service delivers pre-cut lengths that match standard sizes like 4×6 or 4×8, so I’m walking out with pieces ready for assembly. The staff’s precision trimming creates cleaner joints than my circular saw ever manages, and I’m not wrestling long stock through my garage.
There’s real waste reduction here too. Those leftover cut pieces become painters’ pyramids or future project stock, so nothing heads to the landfill. I’m building smarter, not harder.
Build the Legs and Raised Bed Frame First
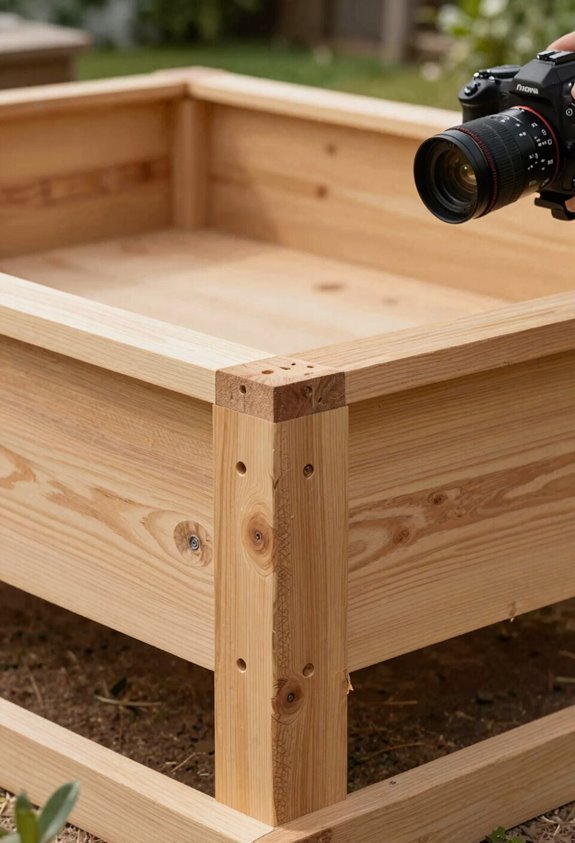
Where do I begin when the lumber’s finally ready? I start with the legs and frame, because every sturdy raised bed needs a solid foundation.
I build four legs by joining two long and two short pieces into leg supports, forming two “H” shapes. These connect the frame and create structural integrity at the joints.
Next, I cut the long sides to 3’11.75″ and short sides to 3’4″, assembling the outer perimeter. I attach the legs inside this box using pocket holes and 2×4 supports, which improves stability and prevents wobbling.
Secure leg assemblies with exterior-grade screws for weather resistance. Position pocket holes facing inward to hide them from view. Check corners with a carpenter’s square before tightening joints. Add internal 2×4 supports and a 1×2 base lip to carry the slatted floor.
I stand each assembly, connect them with perimeter pieces, and I’ve built my raised bed frame.
Assemble the Box and Slatted Floor Base
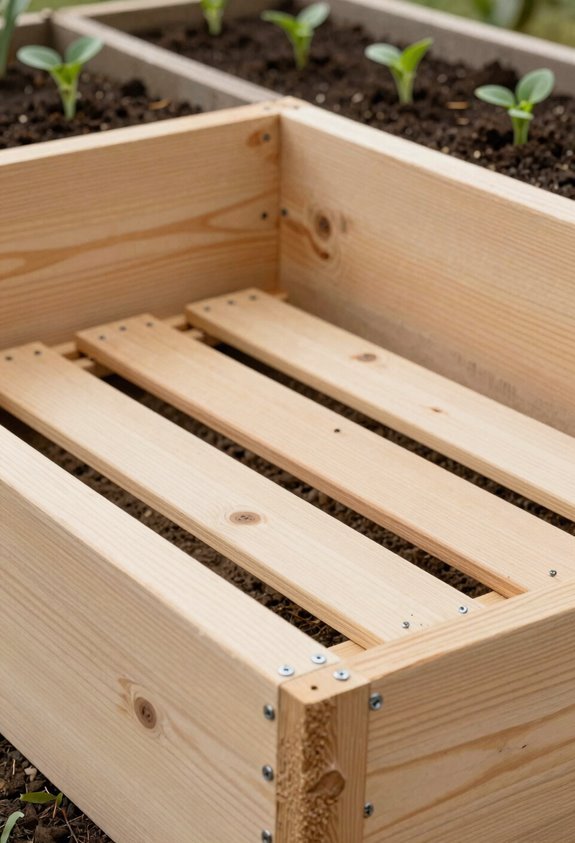
I’ll assemble the box by joining those H-shaped leg assemblies with the long side boards, then I’ll stand the whole frame up and wrap it with perimeter pieces to lock everything square.
For the floor, I’ll add that 1×2 lip around the bottom interior, then lay my slatted cedar boards with slight gaps so water escapes and soil breathes above the liner. These steps create the structural bones and drainage system your plants need to flourish.
Leg Assembly Steps
To build a sturdy foundation, I’ll start by joining the long and short leg pieces flush at one end, creating four L-shaped legs that’ll anchor the entire bed. Next, I’ll attach two completed legs to each leg support board, forming a stable frame that’ll carry your raised bed frame through seasons of growth.
- Secure corner joints with exterior-grade screws to prevent wobble
- Stand leg assemblies upright in an H-shape for balanced weight distribution
- Connect perimeter pieces to outline your growing space
- Add base supports beneath leg supports on both sides for structural integrity
This leg assembly creates the skeleton that transforms raw lumber into a welcoming garden home. With these supports locked in place, you’re building more than a planter; you’re crafting a community space where roots, both vegetable and human, can flourish together.
Slatted Floor Construction
Once the leg assemblies stand firm, I’ll connect the four legs with long and short bed pieces to form the box’s outer perimeter, using pocket-hole joinery to lock each corner tight. I’ll check frame alignment with a framing square before proceeding, ensuring every angle sits true and square.
Next comes the slatted floor: I’ll lay interior boards with small gaps between them to allow drainage, creating a lip along the edges that contains soil inside the raised garden bed. I’ll install a 1×2 inside the bottom edge to create that base lip, which holds everything secure and prevents leakage.
Finally, I’ll add bottom supports and leg braces for reinforcement. I’ll tighten all bolts and screws after the final panel sits flush, securing the structure completely.
Space Floor Boards for Drainage
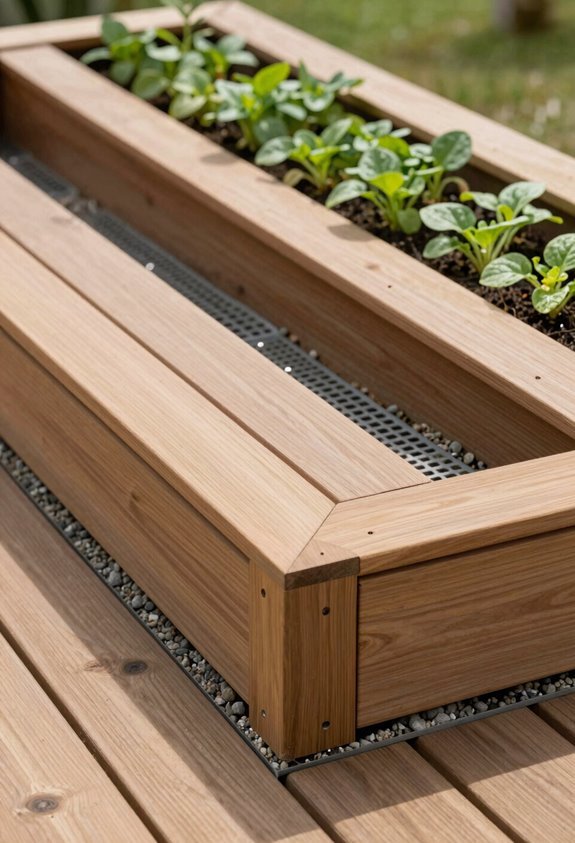
Although proper drainage rarely gets the spotlight, it’s what keeps your raised bed performing well through heavy spring rains and summer downpours. When I’m spacing floor boards for my raised beds, I leave intentional gaps: about quarter-inch between each board, to let water escape freely instead of pooling beneath the soil.
I always lay a weed barrier beneath the floor boards, which filters runoff while blocking invasive roots from below. I’ve found that drilling supplementary holes along the bottom edges boosts drainage capacity significantly. I elevate the frame slightly on compacted ground, creating clearance that lets air circulate through those gaps. I pair this spacing strategy with lighter amendments, since dense soil defeats the purpose of well-designed drainage.
These details turn simple containers into resilient growing systems.
Fill Your Raised Bed With Light Potting Mix
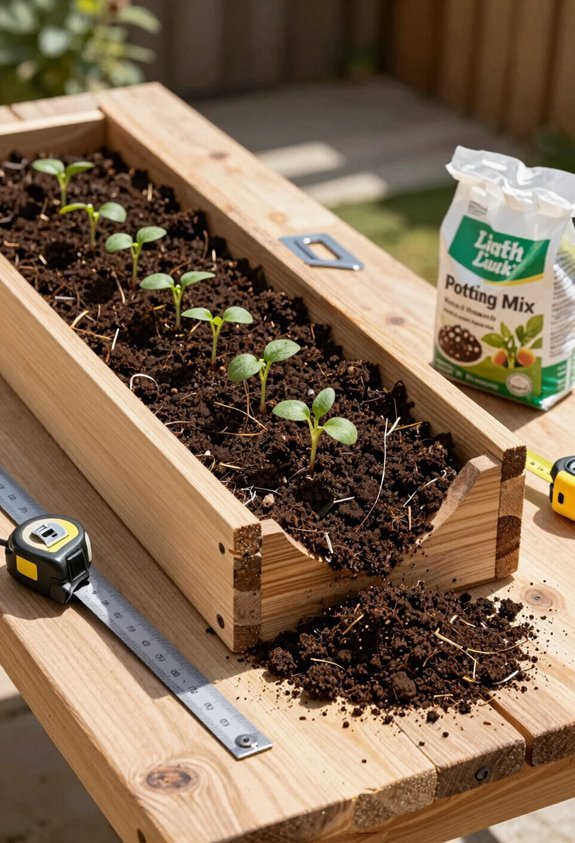
Why make drainage your top priority only to weigh it down with heavy soil? I use a lightweight potting mix designed specifically for raised beds, and the difference shows immediately. This blend supports strong root growth while keeping water moving freely through the elevated structure.
I blend in topsoil or compost with my potting mix to build organic matter that feeds future plantings. When the mixture feels overly dense, I work in a soil amendment like perlite or vermiculite, which opens up aeration channels and reinforces drainage throughout the bed.
I stop filling a few inches below the top edge. This buffer prevents overflow during watering, and it leaves room for mulch later. We’ve built something here that works with us, not against us.
Plant Leafy Greens and Herbs That Thrive
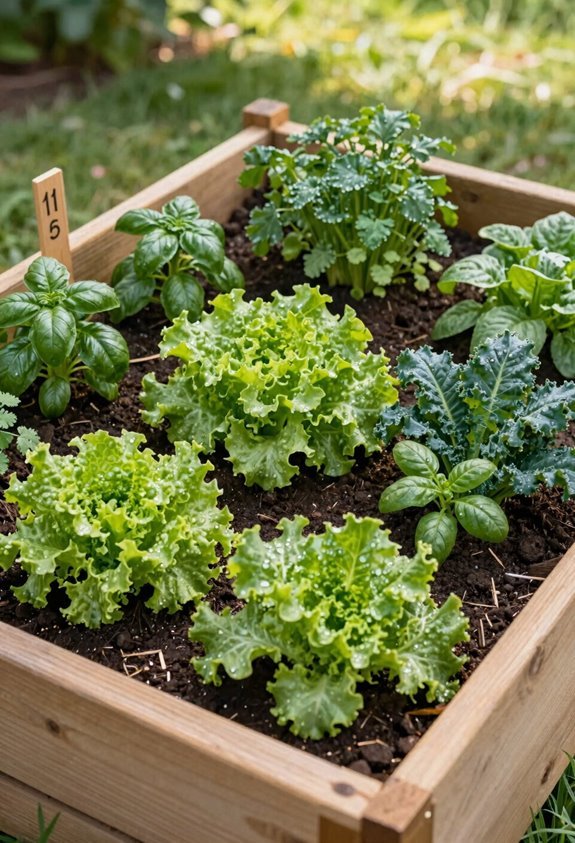
That filled bed is ready to work, and I know exactly where I’m starting. I’m planting leafy greens and herbs that’ll turn my raised beds into productive ground without breaking the bank.
I start herbs from transplants, tucking basil and cilantro into the soil mix first for immediate structure. I direct-sow kale and lettuce in neat rows, spacing seeds properly to avoid overcrowding. I appreciate how waist-height beds let me prune and harvest without strain, keeping my back comfortable. I rest easier knowing elevation deters rabbits and deer from my tender greens.
My compost-rich blend, sometimes fortified with aged manure, feeds these fast-growing crops beautifully. Within weeks, I’ll clip fresh leaves for dinner. This approach proves sustainable gardening belongs within reach.
Water More Often and Refresh Soil Yearly
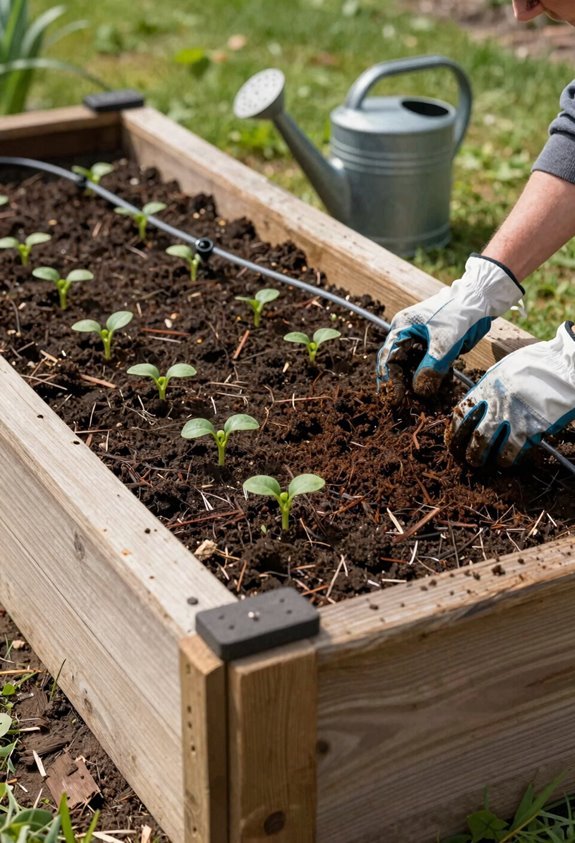
How do I keep my raised bed productive season after season? I water more frequently than I’d water ground gardens, especially during that first growing season when roots are establishing themselves in elevated soil.
I monitor moisture management daily, keeping soil consistently moist without waterlogging; root rot steals harvests from us all. My raised bed irrigation adjusts with rainfall and weather; that elevation dries faster than we expect. I track these patterns, tweaking frequency as conditions shift.
My drainage design includes intentional gaps, preventing stagnation that collapses soil structure after watering. Each spring, I commit to soil refresh by layering organic compost and topsoil, replenishing what plants consumed and improving aeration. This yearly renewal builds fertility we can rely on. Together, we’re cultivating resilience through attentive rhythm.





