
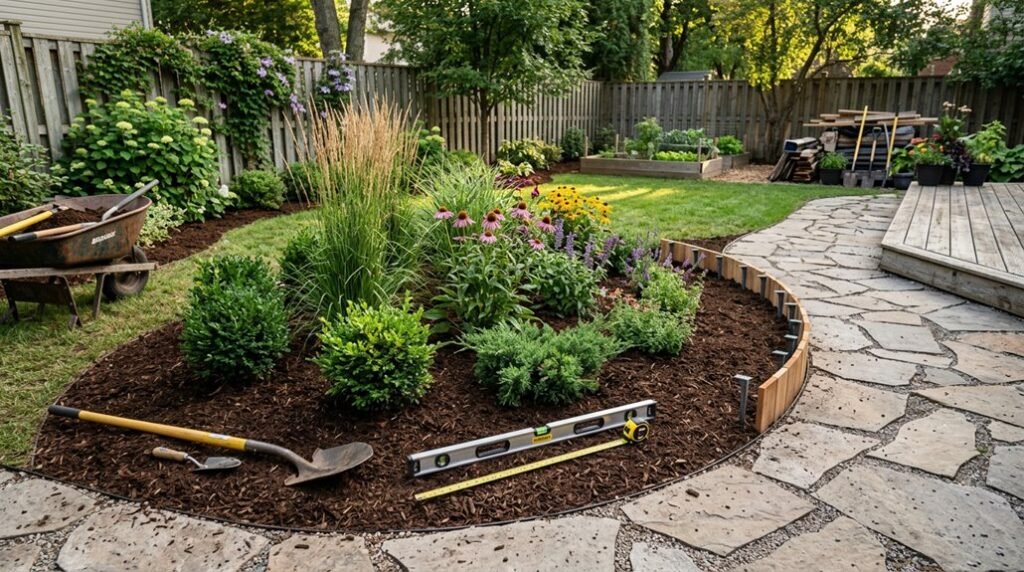
I’ve guided hundreds of homeowners through their first landscape designs, and the process always starts with observation, not excavation. You’ll measure boundaries, track sun patterns, and note drainage issues before touching soil. This groundwork prevents costly revisions later.
Next comes defining your aesthetic vision and translating it into bubble diagrams, then scale drawings. The real transformation happens when you layer outdoor rooms, place focal points, and select native plants suited to your microclimate. Budget phasing keeps projects manageable. But here’s what most beginners miss entirely, the critical step that determines whether your design succeeds or falters within five years…
Measure Your Yard and Map Sun, Shade, and Slope
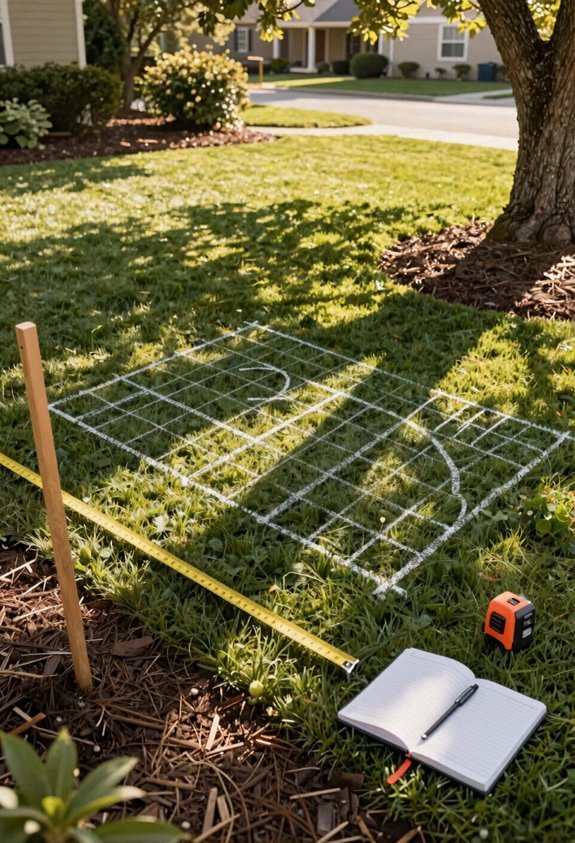
Where do I even begin with a landscape overhaul? I pull out a measuring tape and walk every boundary of my yard, recording lengths so I know exactly what I’m working with. This foundation changes vague dreams into workable plans.
Next, I carry out thorough site analysis, tracking where sunlight falls and shadows stretch from dawn until dusk. I note sun exposure hour by hour across seasons, because morning light behaves differently than afternoon blaze. I observe slopes too; water drainage isn’t glamorous, but ignoring it courts disaster. I sketch existing trees, sheds, and paths that already anchor my space.
With measurements mapped and sun patterns logged, I draft a scale plan showing circulation routes. This groundwork, built together, launches every successful landscape design.
Find Your Garden Style and Collect Inspiration
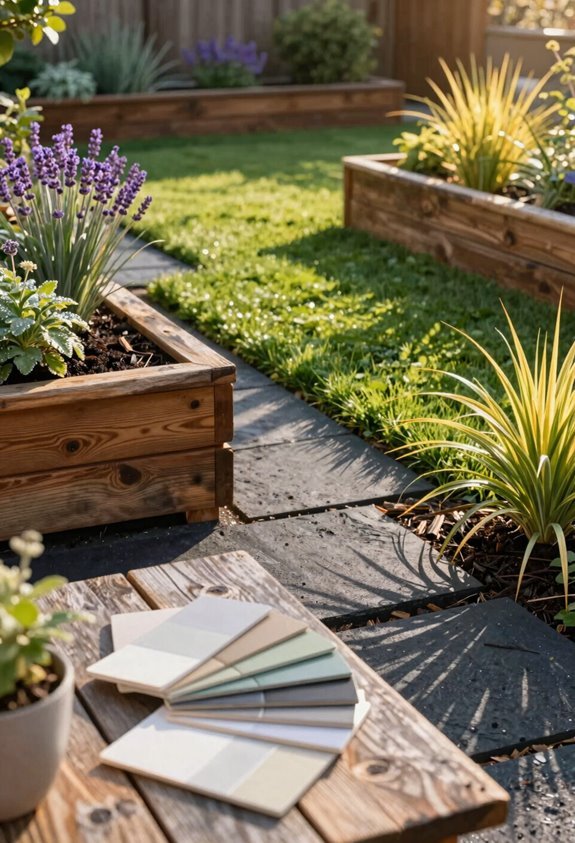
I’ll define my aesthetic early, because knowing whether I’m drawn to formal symmetry, cottage abundance, or minimal modern lines keeps every subsequent choice consistent and intentional. I’ll curate visual inspiration by gathering images that resonate: magazine clippings, Pinterest boards, or photos from neighborhood walks. This helps me build a reference library that grounds my decisions.
This collection becomes my compass, guiding color palettes, texture combinations, and structural elements toward a cohesive result that reflects what I want to live with.
Define Your Aesthetic
How do I want my outdoor space to feel when I’m finished? I ask myself this before choosing a single plant. I know landscape design succeeds when I’ve locked in my garden style early, making certain every element speaks the same visual language. My outdoor living area demands consistency, so I don’t mix formal symmetry with wild abandon without intention.
| Element | Formal Approach | Informal Approach |
|---|---|---|
| Structure | Geometric shapes, balanced Focal Points | Meandering paths, natural flow |
| Plants | Topiary, repeated forms | Longer grass, perennials, shrubs |
| Materials | Hard lines, deliberate containers | Natural stone, weathered wood |
| Maintenance | Scheduled, controlled | Seasonal, adaptive |
I gather inspiration photos that mirror my desired feeling. Whether I crave clipped precision or romantic chaos, my defined aesthetic guides every decision ahead.
Curate Visual Inspiration
Hundreds of saved images later, I’ve learned that curating visual inspiration isn’t passive collecting, it’s active editing. I sift through photos constantly, making sure each one earns its place in your vision board.
Your garden style emerges from this deliberate curation. When I collect symmetry-driven formal gardens alongside wild, romantic meadows, I watch your preferences crystallize. This clarity transforms your outdoor space from disjointed elements into cohesive experience.
I use these curated images to anchor every downstream decision. Focal points, color stories, hardscape-to-planting ratios—the inspiration you’ve gathered becomes your compass. The style you define now eliminates hesitation later, when you’re standing before nursery rows or facing contractor questions.
Your cohesive collection doesn’t constrain creativity; it channels it productively toward the garden you’ll recognize as unmistakably yours.
Draw a Scale Plan and Sketch Bubble Layouts
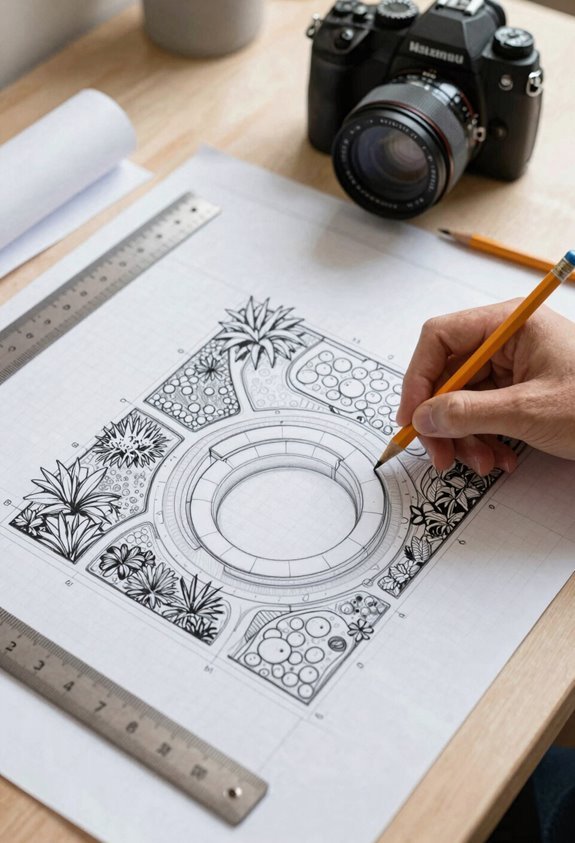
I’ll map your space with precision, starting with an accurate scale drawing that captures every slope and sun pattern. Then I’ll sketch bubble diagrams to organize your outdoor zones into functional, flowing areas before locking in the final layout.
This method keeps your project on budget and prevents expensive mistakes before breaking ground.
Mapping Your Space Accurately
Where exactly does your landscape journey begin? It starts with your feet firmly planted on the ground you’re about to transform. I walk every inch of my space, documenting what already exists; sun patterns shifting across the day, soil texture between my fingers, slopes that channel water, drainage quirks after rainfall. I note the immovable realities: foundation walls, mature trees worth keeping, buried utilities, rocky outcrops.
This inventory becomes my scale plan, drawn to a consistent ratio; quarter-inch equals one foot, perhaps. This creates a reliable blueprint where I test arrangements before breaking ground. I mark fixed elements with clear symbols, preventing costly surprises later.
This preparatory work grounds every subsequent decision, transforming abstract hopes into measurable reality. Precision here rewards me throughout the entire project.
Creating Bubble Diagram Layouts
With my scale plan in hand, I’m ready to loosen up and think big. I grab a fresh sheet and let ideas flow as loose, overlapping circles; no rigid lines, just possibilities. Each bubble represents a zone: a dining area here, a quiet corner there, pathways weaving between.
I’m mapping function and flow, testing how spaces relate before numbers matter. This informal sketching reveals what works, what feels cramped, what invites lingering. I move bubbles around, exploring sightlines from the kitchen window, tracing how morning light might travel. These quick visual groupings become my foundation, translating concepts into spatial relationships I can rely on. When I’m satisfied with the arrangement, I’ll transfer these tested ideas onto my scale plan, confident in the groundwork beneath.
Refining Scale Drawings
A scale plan locks my vision into measurable reality, bridging loose ideas and buildable design. I map my landscape to test arrangements on paper before breaking ground, creating a visual blueprint that guides both layout and budget decisions. Revisions here prevent costly on-site changes, letting me adjust spatial relationships and circulation paths with confidence.
I use bubble layouts to organize spaces before committing to details, sketching simple landscape bubbles that clarify flow, function, and zones. These diagrams test how activities and pathways connect, revealing how spaces feel from different viewpoints.
Alongside my drawings, I take careful inventory of sun exposure, soil conditions, drainage patterns, and slope. This groundwork ensures my scale plans and bubble layouts honor real constraints, transforming rough concepts into designs that truly fit my site.
Place Focal Points, Trees, and Walkways
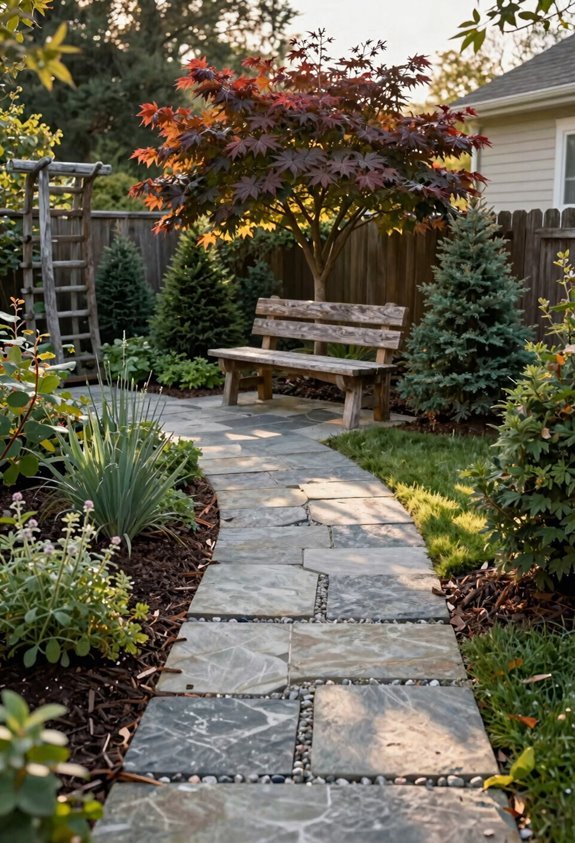
If you want your landscape to feel intentional rather than accidental, you’ll start by anchoring it with elements that command attention and guide movement. I place focal points, perhaps an urn, a striking specimen tree, or a sculptural piece, to create flow and draw your eye through the space. These anchors add personality while establishing invitation and cohesion.
When positioning trees, I’m deliberate about their mature size and growth habits. I site them to block wind, muffle noise, provide privacy, and cast cooling shade that lowers energy costs.
For walkways, I design main entry paths about four feet wide so two people walk comfortably side by side, while narrower paths create intimate routes through private garden areas.
Design Outdoor Rooms With Layers and Sightlines
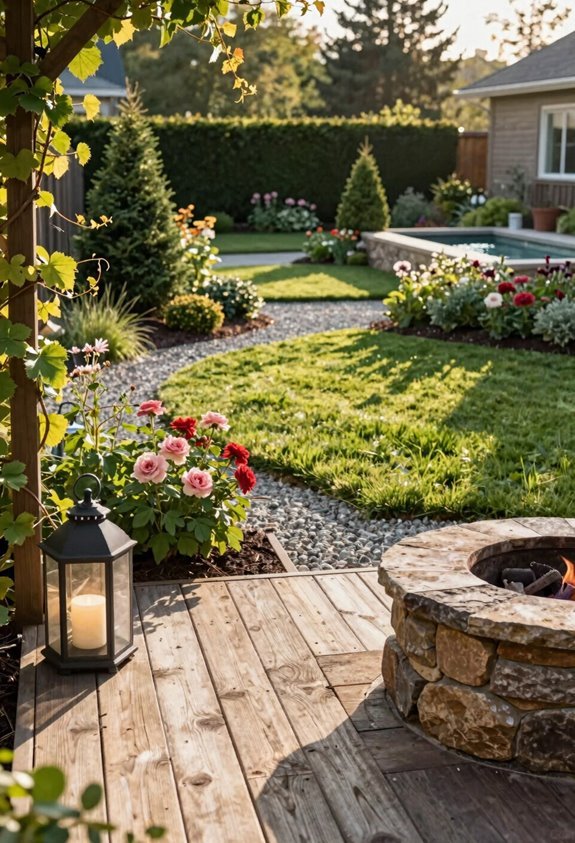
Though your yard may look flat on paper, I’ll sculpt it into distinct outdoor rooms that unfold as you move through them. I start with layers: tall plants at the back, medium in the middle, short in front. This tiered approach creates natural flow and eliminates visual clutter. I’ll mix textures across each layer, keeping plant forms crisp to maintain spatial rhythm without crowding.
Next, I align these layers with sightlines and lines of force, guiding your eye and your footsteps through cohesive views. Pathways and seating nest within these planted tiers, reinforcing each zone’s room-like quality while improving circulation.
I choose native, drought-tolerant species and permeable walkways, weaving sustainability into every vista. Together, we’ll build spaces that welcome you forward, layer after layer.
Add Storage, Lighting, and Native Plant Choices
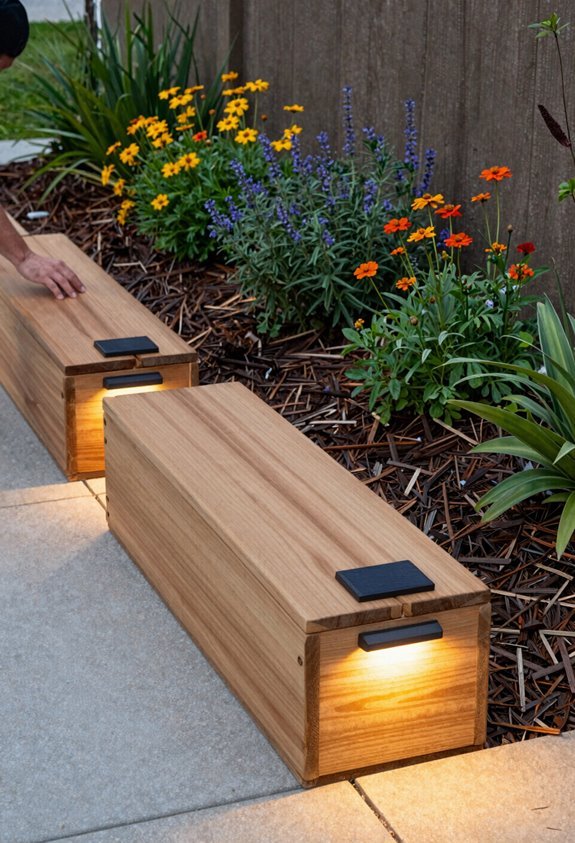
Where will your spade land when inspiration strikes? I plan for that moment by building storage right into my design from day one, listing every tool and supply I’ll need to house. I integrate sheds or garages thoughtfully, tucking compost and soil into hidden areas that keep the landscape clean while serving my workflow.
I place raised beds for vegetables and herbs where sun hits strongest, lining them with landscaping fabric to protect the wood and simplify irrigation. Native and drought-tolerant plants anchor my plantings, cutting maintenance while supporting local ecosystems. I weave in rain gardens that handle water with grace.
Lighting guides every evening path to my storage zones and key features, keeping steps safe while highlighting the utility spaces that make gardens function. I select native plants suited to my particular soil and light conditions, favoring species that have evolved alongside local pollinators and wildlife. These choices reduce the need for supplemental water and fertilizers over time, letting the landscape establish its own balance with the surrounding area.
Estimate Costs and Phase Your Build Over Time
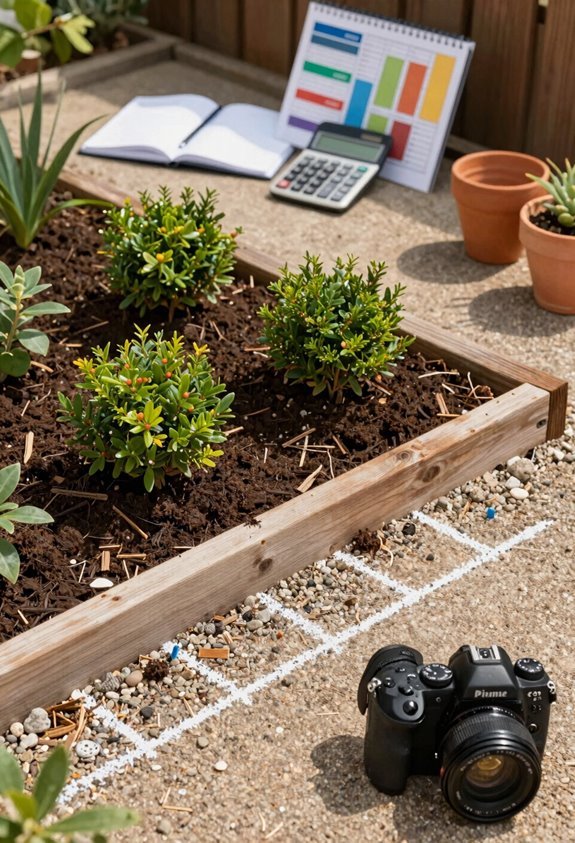
How do I keep a dream landscape from becoming a budget nightmare? I phase the build, tackling construction, planting, and finishing separately.
I start with clear cost estimates for each phase, covering materials, plants, tools, and any contractor fees. This keeps me grounded and in control.
I prioritize essentials first: seating, storage, and irrigation, so my outdoor space functions while I save for later improvements. These early wins build momentum and belonging in a space I actually use.
I align my timeline with seasonal planting windows and budget milestones, preventing scope creep and costly bottlenecks. Later phases bring cost-saving upgrades: durable materials replace temporary fixes, and affordable alternatives stand in for high-end features until I’m ready.
Patience changes overwhelming projects into achievable steps I complete on my terms.





