
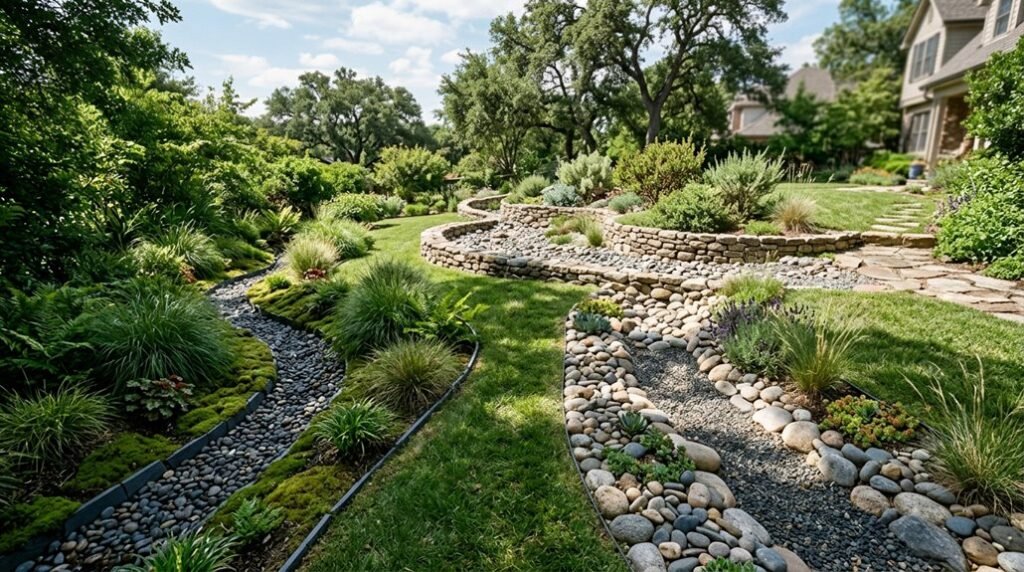
I noticed your downspout washes out the same corner every spring, and I realized you’d stumbled onto the first reason homeowners appreciate dry river beds.
These deceptively simple trenches solve drainage headaches while shaping genuine visual interest from the street.
The trick lies in building what nature would have designed.
Choose the Right Dry Creek Bed for Your Yard Type
Where should I start when I’m planning a dry creek bed that actually works for my property? I begin by evaluating my yard’s unique drainage challenges, since every landscape demands a tailored approach.
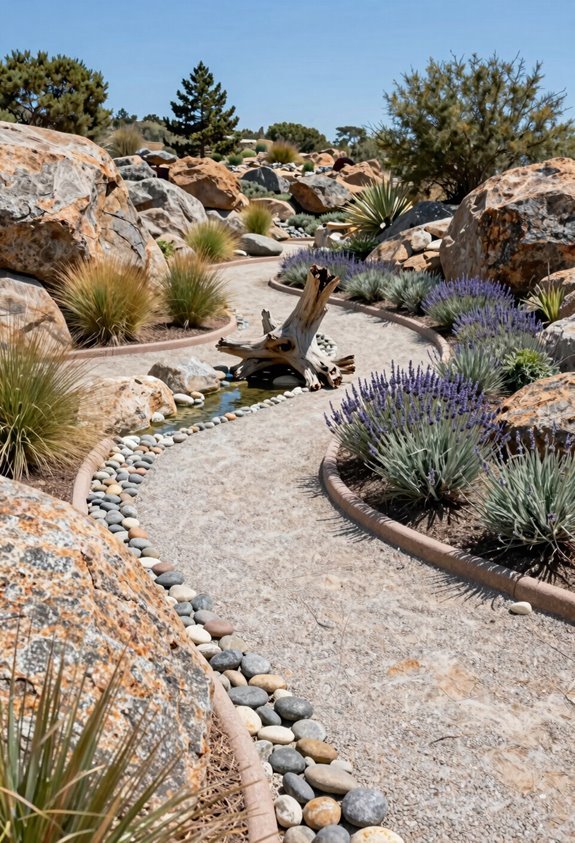
For my sloped areas, I’m considering a functional design that combines serious runoff diversion with visual appeal. I’ve learned that starting with a shallow trench, then laying heavy-duty landscaping fabric, creates the foundation I need. This porous barrier prevents weeds while letting water flow freely.
My edging strategy matters too. I’m positioning substantial boulders alongside river rocks in varying sizes, partially burying the larger stones for that authentic creek-bed look. The rounded stones catch light naturally, and their weight anchors curves perfectly.
Whether I’m tackling a soggy front-yard focal point or redirecting gutter output away from my foundation, matching the dry creek bed to my specific terrain guarantees lasting performance.
Build a Simple Dry Creek Bed for Erosion-Prone Slopes
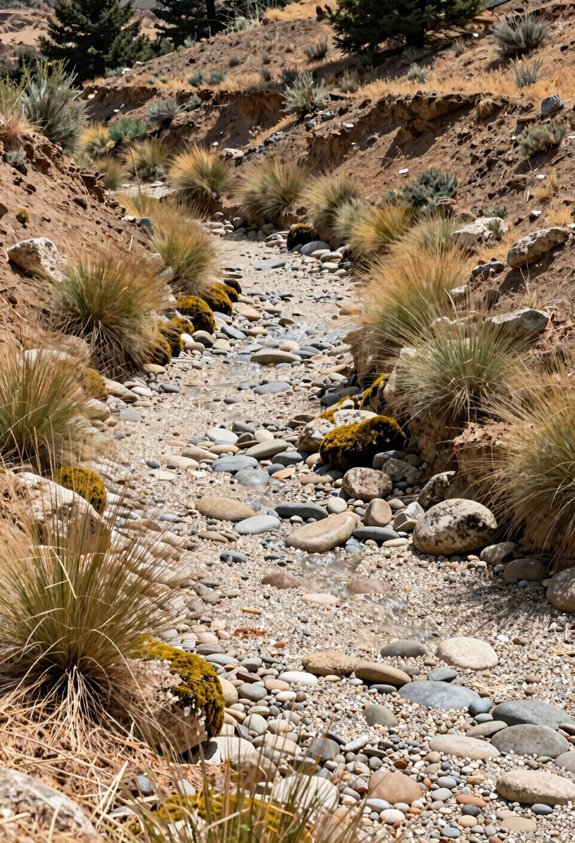
Once I’ve matched my dry creek bed to my terrain, I’m ready to tackle the actual construction on challenging slopes. Dry creek beds address erosion on slopes by channeling runoff into a gravel-filled trench, which reduces soil displacement by a considerable amount.
Matching terrain first turns a challenging slope into a canvas for erosion-fighting, naturally curved construction.
I’ll start by digging a shallow, naturally curved trench at the slope’s low point. Heavy-duty landscape fabric goes down next; this suppresses weeds and separates soil from rock. The gravel-filled trench creates my drainage base.
Now come the river rocks. I place the largest boulders first, partially burying them to anchor turning points and establish a natural aesthetic. Smaller rounded stones fill gaps around them.
I border everything with drought-tolerant plants; yarrow, rosemary, and foxtail fern stabilize edges with minimal upkeep. Two rock inlets plus a bottom outlet manage overflow, directing heavy rain toward my lawn safely.
Add a Bridge and Plants to Complete Your Dry Creek Bed
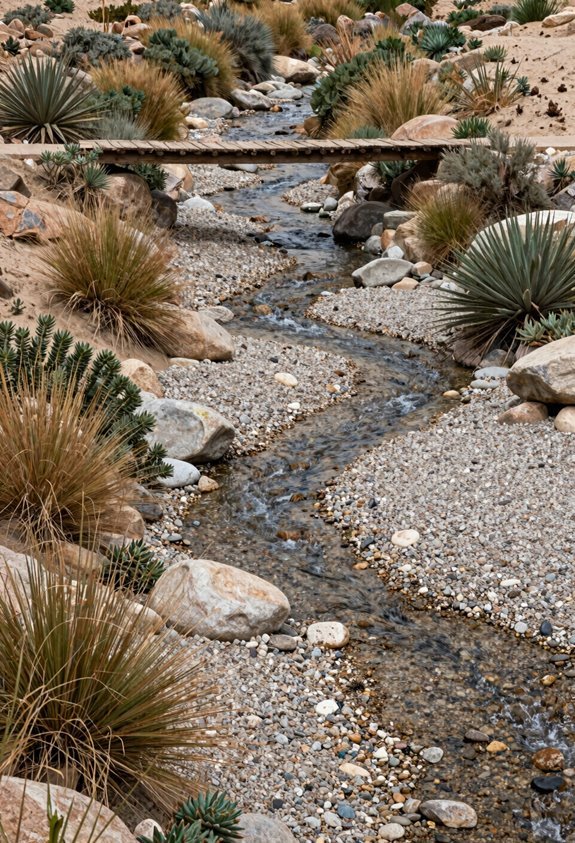
How do I transform a basic drainage channel into something truly special? I start by anchoring my dry creek bed with river rock and large boulders, then I add a bridge that invites you to pause and connect with the space.
I’ve learned that a wooden or garden bridge doesn’t just solve accessibility; it becomes the heart of your yard, drawing the eye while your drainage works quietly beneath. I pair this focal point with drought-tolerant plants nestled between stones, softening the edges and reinforcing that sense of place we all crave.
These landscaping features merge function with belonging, so your dry creek bed manages runoff effectively, yet it welcomes you home. With proper fabric and trenching beneath, you’ll control erosion beautifully. Your yard becomes both resilient and inviting, a space that truly earns its keep.





