
I built my first pergola on a slope I thought would defeat me, and that’s where most beginners freeze.
You’ll face frozen ground, warped lumber, and the mystery of whether your posts will ever sit plumb.
I’m going to walk you through ten steps that skip the guesswork, from calling 811 before you dig to bracing techniques that actually hold.
There’s one move I wish I’d known before mixing concrete.
Choose Where to Build Your Pergola
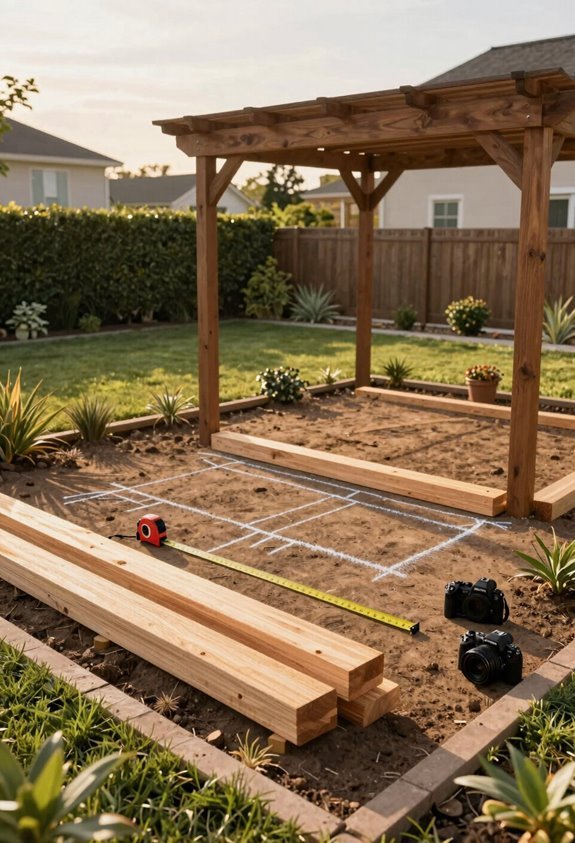
The location you choose will make or break your pergola’s functionality, so I’ll walk you through what actually matters before we break ground. I assess my available space first, deciding whether my structure anchors to the house, stands alone, or blends both approaches. My measurement routine starts with staking exact post locations, ensuring symmetry before I commit materials. I verify my layout matches standard kit dimensions: 12×12, 12×16, or 24×24 configurations, while checking setbacks against property lines.
Local codes matter here; I never skip permit requirements. I string lines for plumb alignment against overhead power lines, and I scope drainage patterns alongside sun orientation to maximize afternoon shade. My finished pergola deserves seamless patio integration, level footings, and breathable airflow. Precision now prevents costly revisions.
Sketch Your Pergola Design and Call 811
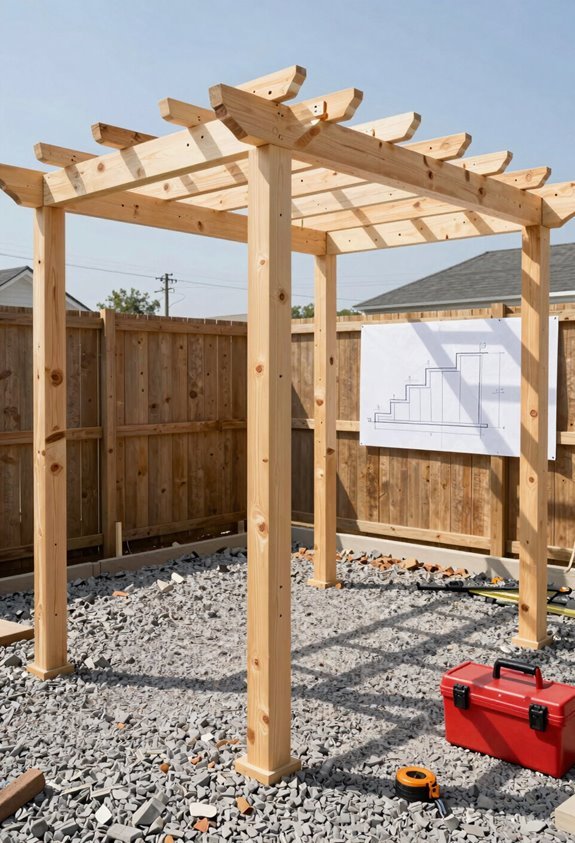
Before I break ground, I’ll sketch a precise footprint that maps exactly where each post anchors into the earth. I’ll stake out post locations, run string lines, and use a combination square to keep measurements consistent.
Calling 811 protects me from hitting buried utilities when I dig post holes, so I’ll make that contact well before excavation begins. I need to verify setbacks, HOA rules, and permits with local building departments, since timing restrictions can delay my timeline.
Determining post spacing now prevents costly errors later, and a clean sketch helps me order materials accurately. This preparation builds my confidence, and each careful mark brings me closer to a pergola that fits my space perfectly.
Order Pressure-Treated Lumber and Tools
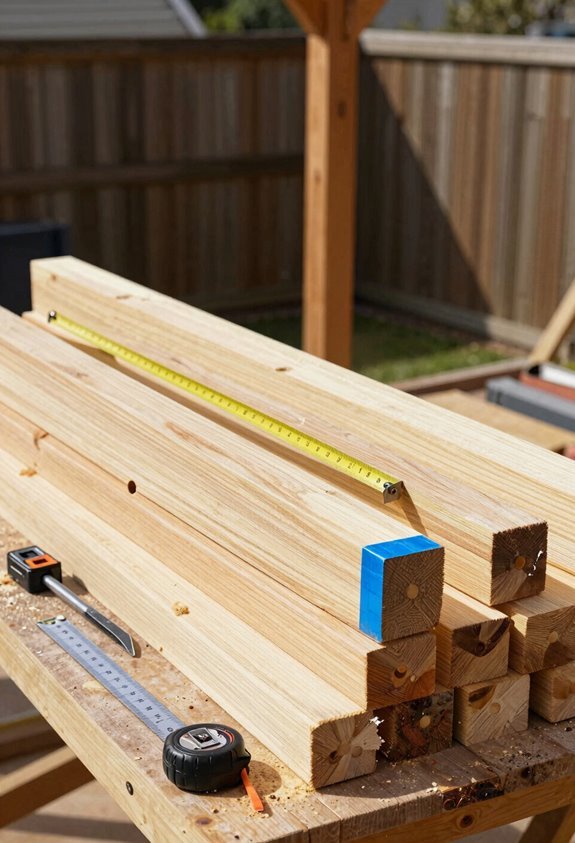
I’ll select pressure-treated lumber rated for ground contact, since my posts will sit in concrete footings and need protection against rot and termites. I’m also pulling together my essential tool inventory now: circular saw, drill with masonry bits, post level, and socket set, so I’m not scrambling mid-project.
Before I place any orders, I’m calculating material costs with a 10% buffer for cuts and mistakes, because running short on lumber mid-build isn’t a headache I want.
Lumber Selection Criteria
Selecting the right lumber sets the foundation for a pergola that’ll stand strong through seasons of sun and rain. I always choose pressure-treated lumber for any posts touching earth; it’s your best defense against rot and hungry insects underground.
During lumber selection, I map out every post, beam, and cross support early, checking whether my design needs special-order lengths. I install post bases when I can, but when posts meet soil directly, I focus on sealing and finishing the bottom two feet before installation. That barrier adds years of life against moisture and concrete contact.
Brown-stained boards blend beautifully with outdoor spaces, and I seal all exposed surfaces for extra armor. Your material list grows with project scale, so I calculate generously. Larger spans demand more posts, beefier beams, and extra fasteners to keep everything secure.
Essential Tool Inventory
Once I’ve mapped out my lumber with rot-resistant treatment in mind, I turn my attention to the tools that’ll transform those boards into a finished structure. I grab my measuring tape first, since every cut depends on accurate layout, and I pair it with a post-hole digger for setting my foundation posts at proper depth. My level becomes my constant companion, ensuring vertical posts and horizontal beams meet without wobble.
I stage my brackets and hardware by assembly step, checking that each connector matches my post dimensions and roof design. Pre-drilling prevents splits, and I keep clamps ready for holding joints steady. With these essentials gathered, I’m prepared to build something lasting, step by confident step.
Material Cost Planning
The pressure-treated lumber order forms the backbone of my budget, so I start by calculating board feet against current market rates while building in a fifteen percent buffer for grade variations and cut waste. I select Pressure-Treated Pine for posts touching soil, since it resists rot and insects where moisture lingers longest.
Checking lumber size availability early prevents frustrating delays, and I confirm whether beams need special ordering. My hardware list must match structural specs exactly; brackets, bolts, and fasteners carry the load.
I include concrete mix for solid footings that won’t shift. Sealing cut ends and post bases now extends lifespan significantly. Finally, I budget for every tool upfront, avoiding mid-project runs that break momentum and strain friendships I’ve asked to help.
Dig Post Holes to Frost Depth
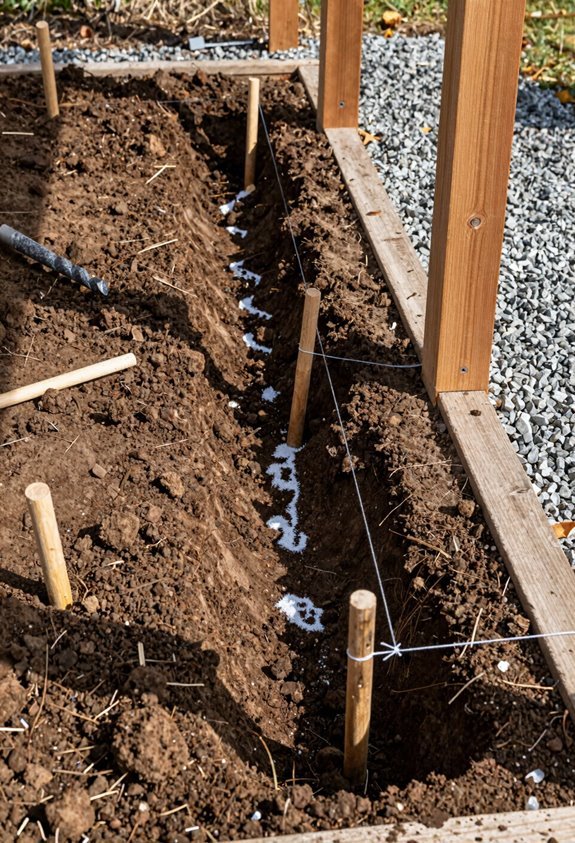
Before you set a single post, you’ll need to dig holes that reach below your area’s frost line, typically 30 inches for freestanding pergolas, to keep your structure from shifting or heaving when temperatures drop. I grab my post-hole digger and ground break bar, working methodically through soil until each hole meets proper depth. This step anchors your project in regional building wisdom, connecting you to fellow builders who’ve learned that cutting corners here risks everything above.
I add a gravel base for drainage, then position each post. I check every side with my level, making certain of plumb alignment so the concrete sets true. The masonry line stretched between stakes keeps posts aligned as I prepare. When the concrete cures, your foundation will hold firm through every season.
Set Posts in Gravel and Brace Plumb
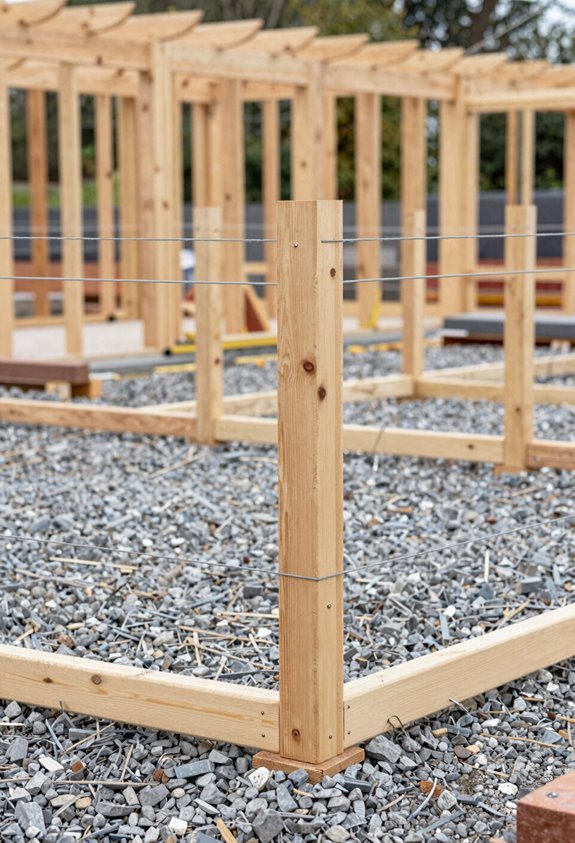
I’ll set the first post in its hole, pack gravel underneath for both drainage and a solid leveling base, then I’ll check it with a post level to keep it plumb on every side. Once I’m satisfied with the alignment, I’ll install temporary braces to lock that position in place before I move on to the remaining posts.
Getting this foundation right matters enormously, so I’m taking my time here to make certain every post stands perfectly true before the concrete ever flows.
Post Positioning and Alignment
Once you’ve dug your holes to spec, roughly 24 inches across and 30 inches down, I drop the first post into place and immediately backfill with gravel, which gives me wiggle room for leveling and keeps water from pooling around the base. I check plumb on all sides with a long level, then brace it temporarily with 1×2 supports.
For the remaining posts, I mark my layout with stakes and run a masonry line to maintain perfect alignment across the structure.
- Drive stakes at each corner to map your layout before setting posts
- Verify plumb on adjacent faces to prevent twisted alignment
- Backfill with gravel first, leaving concrete for final securing
- Brace each post with two 4-foot 1×2 pieces at opposing angles
- Sight down your masonry line to catch subtle shifts before they compound
Gravel Base Preparation
With every post positioned and aligned on your layout lines, you’re ready to lock in that foundation. I place the first post in its hole, then pack a gravel base at the bottom for drainage and initial leveling. This small step prevents water damage and gives you wiggle room for adjustments.
| Task | Tool | Purpose |
|---|---|---|
| Set post in hole | Shovel | Establish starting point |
| Add gravel base | Level | Drainage and stability |
| Check plumbness | Post level | Verify vertical accuracy |
| Secure alignment | Mason’s line | Maintain post alignment |
I check plumbness on all sides with my level, then brace temporarily with 2×4s against layout lines. Once everything reads true, I pour concrete around each post. Wait for the bag’s cure time before removing braces; patience here builds the solid base your pergola deserves.
Temporary Bracing Setup
How do you keep a post perfectly upright when concrete’s still hours away from setting? I use temporary supports to hold every post plumb while I work, making certain nothing shifts before the foundation sets solid.
Temporary bracing becomes your best friend during this phase. I set each post in gravel, then drive stakes and run a masonry line to establish alignment across the entire layout. This reference keeps me honest as I position subsequent posts.
Here’s how I keep everything true:
- Drive 1×2 braces four feet long, angling them into the ground to lock posts plumb
- Check alignment with a masonry line stretched between layout stakes
- Verify plumb on adjacent faces using a long level or post level
- Brace between posts with 2×4 or 2×6 members for lateral stability
- Allow concrete cure time per manufacturer instructions before removing supports
Mark and Attach Cross Beams Level
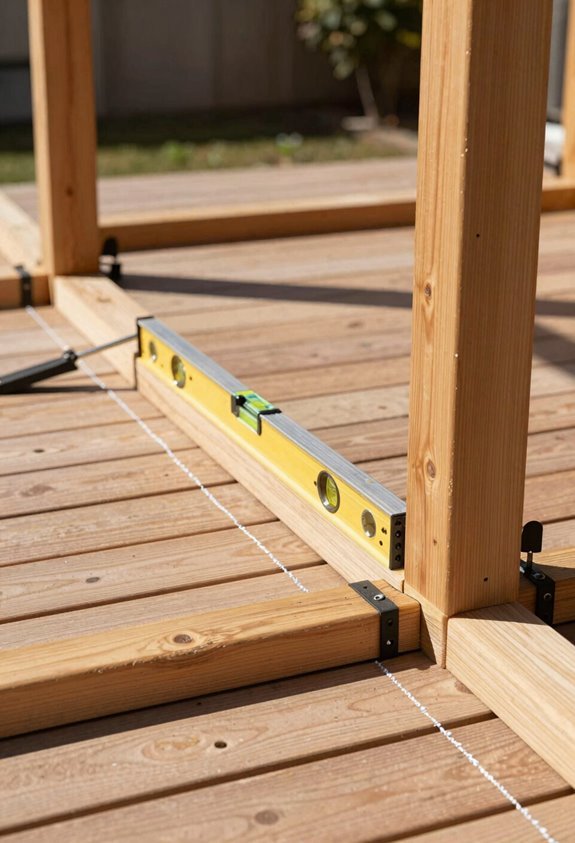
The first beam sets the tone for everything above it, so I’ll take my time getting this right. I’ll mark the bottom height for cross beams on each post, running my level across to maintain a consistent reference point that connects us to solid craftsmanship.
My 2x3x12 braces hold the beams steady while I work, keeping everything level and stable through each adjustment. I’ll lay the beams on these supports, driving temporary deck screws to secure the positioning before I commit to permanent fasteners.
With my long auger bit, I’ll drill pilot holes straight through beams and posts. Then I insert galvanized bolts with washers and nuts, tightening until the cross beams draw firmly against the posts. I’ll double-check for square and level alignment before moving forward.
Notch and Bolt Beams to Posts
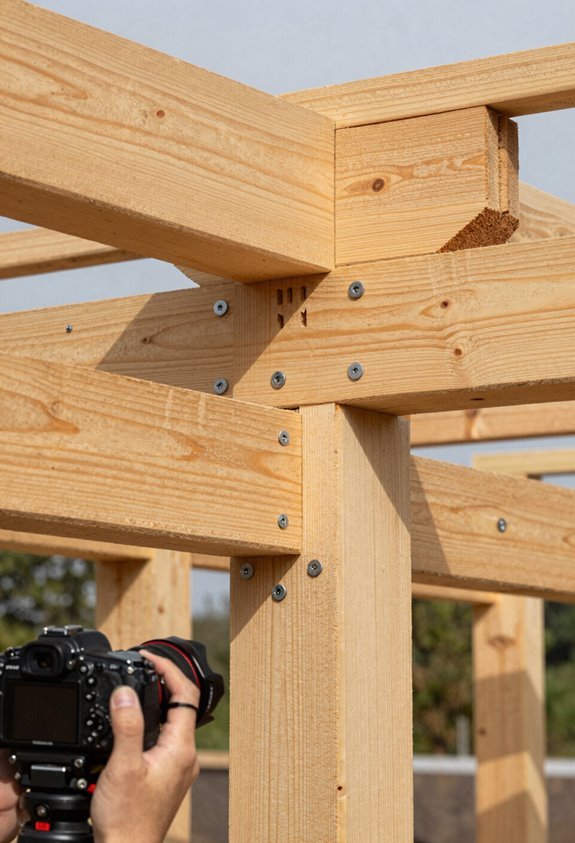
Once I’ve confirmed my cross beams sit level and square, I’ll turn to the real work of making these connections permanent. I mark the bottom height of each beam on the posts, then brace them temporarily with 2x3x12 lumber so nothing shifts while I work. I notch beams carefully, making sure the crown faces upward and end overhangs stay equal for clean sightlines.
Next, I drill bolt holes through both beams and posts using a long auger bit, about ten inches, creating clean passages for hardware. I insert galvanized bolts with washers and nuts, tightening until the connection feels solid. This is where your pergola changes from temporary to true.
- Mark beam heights clearly on each post before cutting
- Brace everything square with 2×3 lumber during assembly
- Drill bolt holes straight through beams and posts together
- Seat beams flat with crowns up for proper water runoff
- Secure with galvanized bolts, washers, and nuts for strength
Space and Secure Shade Joists Evenly
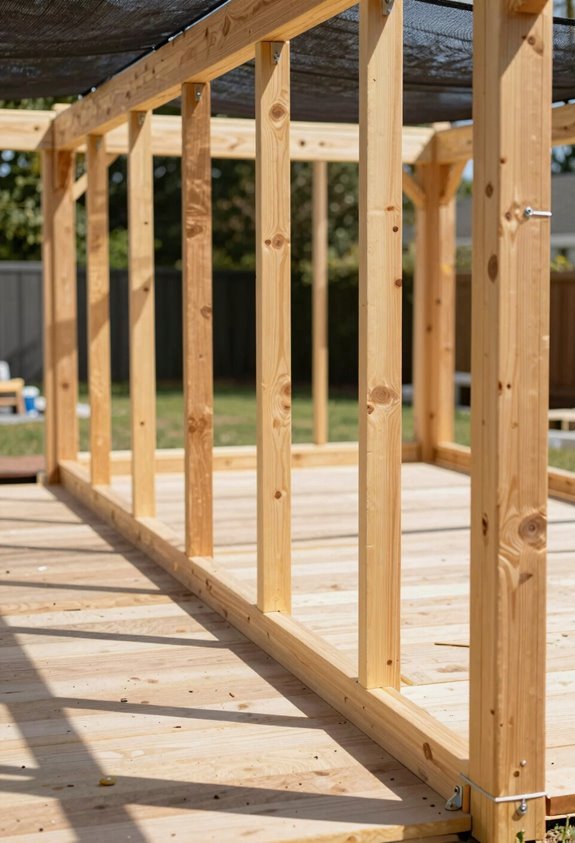
I start by centering my first shade joist, then work outward with equal gaps on each side to create balanced coverage across the entire span. I drive 3 1/2-inch screws at 45-degree angles through the cross beams, maximizing shear strength while keeping each joist firmly locked in place.
With a level and string line, I check alignment before final tightening, making sure my spacing stays consistent and parallel from end to end.
Joist Spacing Guidelines
Why does proper joist spacing matter so much for your pergola’s longevity and appearance? It provides structural integrity and that polished, professional finish we’re all after. In my pergola construction experience, I’ve learned that precise spacing guidelines turn a basic frame into something memorable.
I start with a detailed plan, mapping joist spacing across the total run length for balanced load distribution. I adjust from 16 inches to 10 inches on center when tighter even coverage suits the design. I place joists atop cross beams, securing them with 3 ½-inch screws driven at 45 degrees.
I grab a buddy for this step; long joists get heavy and unwieldy at height. I use jointers or spacers to lock in consistent gaps, allowing airflow and uniform shade distribution.
Secure Attachment Methods
The backbone of any lasting pergola sits in how firmly its bones connect, so I’m meticulous about every attachment point from posts to joists. I drill through beams and posts with a 10-inch auger bit, creating clean paths for galvanized bolts that resist corrosion and maintain strength through seasons. Temporary 1×2 supports hold posts plumb while I work, and I rest cross beams on 2x3x12 braces, securing them with deck screws before final anchoring.
I space shade joists at 16 inches initially, then tighten to roughly 10 inches for balanced load distribution and even shading. Each connection gets washers and nuts tightened firmly, creating a rigid system that won’t shift. These galvanized bolts, properly seated with washers, transform individual pieces into one unified structure you’ll trust completely.
Seal or Stain Your Pergola Wood
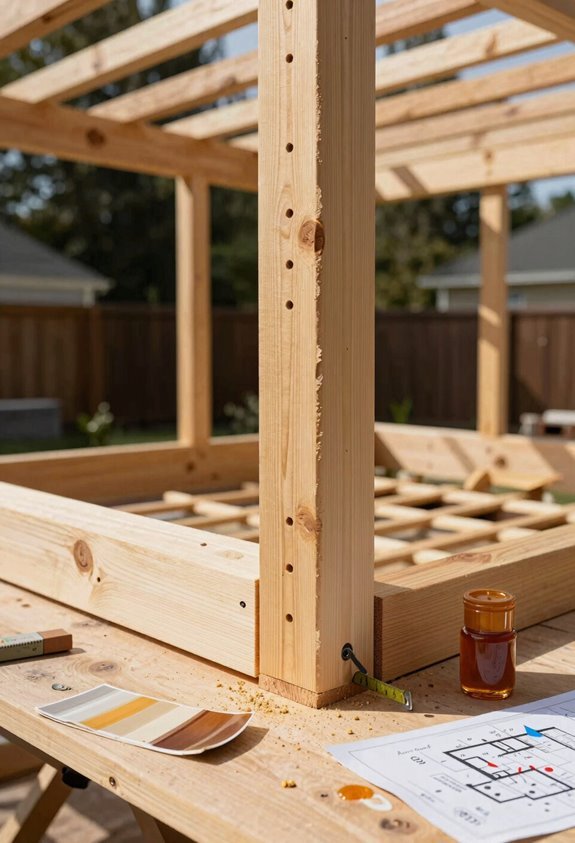
Once your pergola stands complete, you’ll want to protect that investment with a proper seal or stain. I wait until construction finishes and the wood dries completely before starting, since trapping moisture causes rot. You’ll join countless DIYers who’ve learned this lesson the hard way.
I always choose exterior-grade, weather-resistant products compatible with pressure-treated lumber. Before sealing, I clean the surface, sand rough areas, and let any pre-stain conditioner cure properly. Consider sealing the bottom two feet of posts where ground contact speeds decay.
- Wait for full dryness before applying any finish
- Select weather-resistant sealants designed for exterior use
- Clean and sand thoroughly for proper adhesion
- Seal post bases to block ground moisture
- Schedule maintenance checks every 3–4 months
This routine keeps your structure beautiful and durable for years.
Install Lattice and Schedule Maintenance
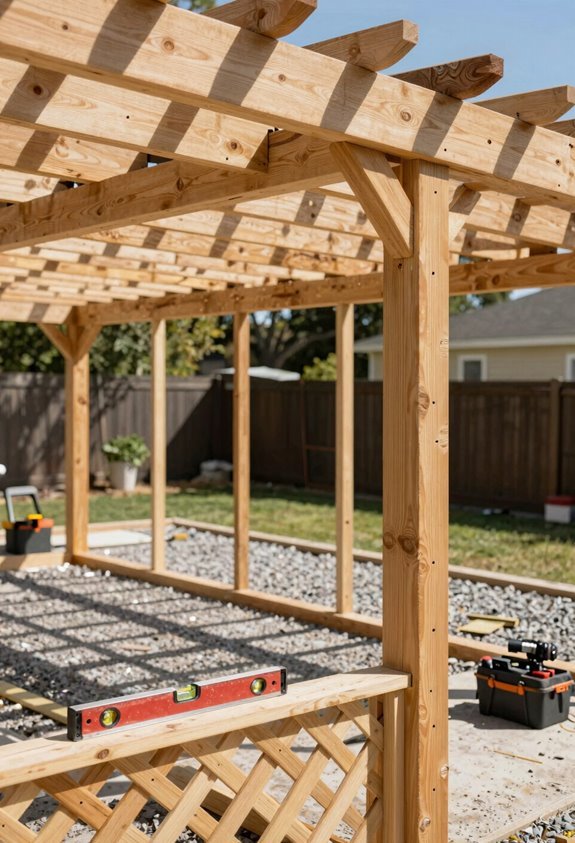
Where exactly should you position that lattice panel you’ve been eyeing? I mount mine flush against the beams and posts, securing each panel with exterior-grade screws or sturdy brackets once the framing’s complete. You’ll want evenly spaced slats that balance privacy with airflow, creating gaps wide enough for vines to climb but tight enough for shade.
I always apply weather-resistant coatings, exterior stain or paint, before installation, protecting the lattice from sun damage and moisture intrusion. This step saves headaches later.
For maintenance, I inspect my lattice every three to four months, checking for loose fasteners, warping, or water damage. I reseal or replace sections promptly, keeping the structure sound. Consistent care extends your pergola’s life significantly, and you’ll feel proud maintaining something you built yourself.





