
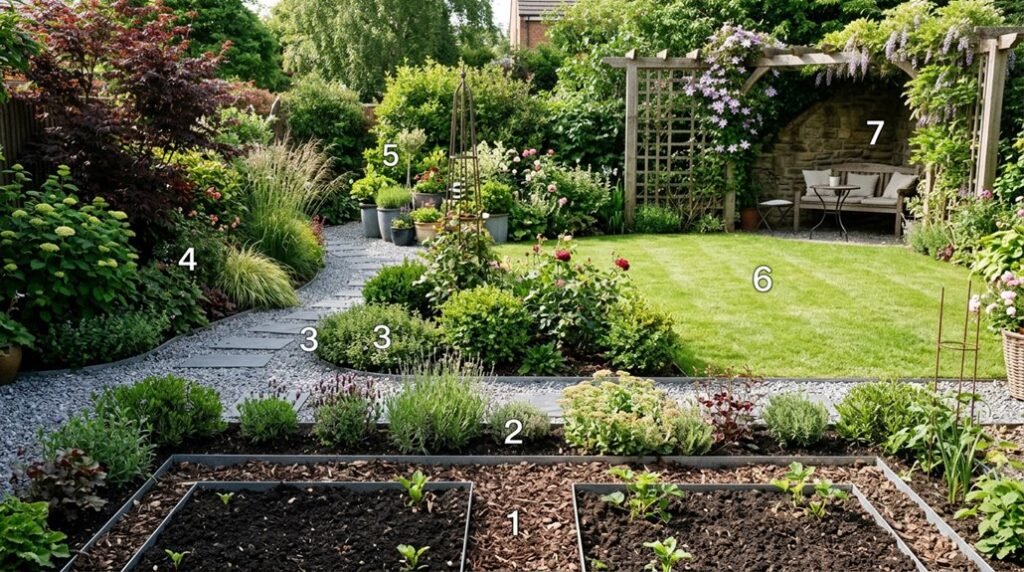
A blank yard intimidates, yet it liberates. I’ve reshaped dozens of empty lots into cohesive outdoor spaces, and I’ve learned that success hinges on methodical planning, not artistic genius. You’ll need seven clear steps, starting with vision and ending with execution. The first one surprises most homeowners.
Gather Inspiration and Define Your Landscape Style
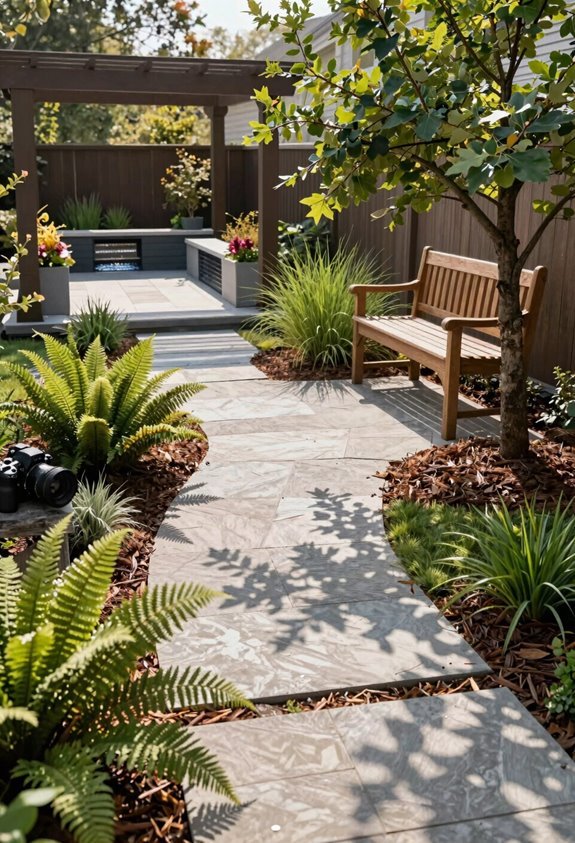
Where do you begin when your yard feels like a blank canvas? I start by gathering inspiration from Pinterest and Houzz, searching for gardens that speak to me. I save images that catch my eye, then step back to find patterns. Do I gravitate toward clean modern lines, or do cottage gardens with wild abundance feel like home?
This process reveals my preferred style, which becomes my compass. When I’ve identified whether I’m drawn to naturalistic plantings or structured traditional beds, decision fatigue melts away. Every choice, materials, colors, plant types, aligns with this vision. If I’m stuck, I reference garden style guides to narrow my options. My inspiration becomes practical direction, making my landscape feel cohesive and authentically mine.
Map Your Yard With a Scale Drawing
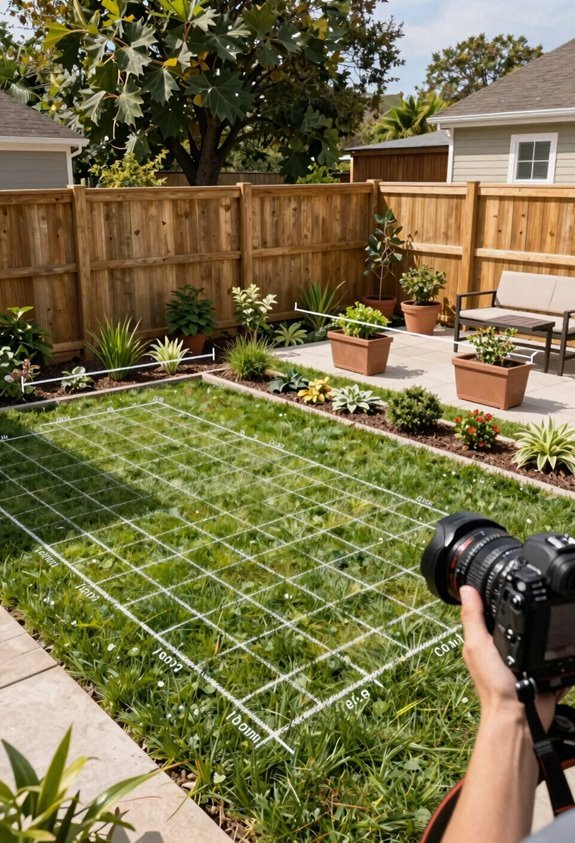
A blank yard becomes manageable once I’ve put it on paper. I grab a long tape measure and walk my property perimeter, converting every foot into squares on graph paper; one square equals one foot, to build my scale drawing.
This scaled foundation changes abstract space into measurable reality. I check each line against actual dimensions, correcting errors before they cost me later. Sometimes I need speed, so I pull up Satellite mode on Google Maps, print the image, and trace that starting point.
For boundary certainty, I hire a site surveyor; their legal assessment makes sure my scale drawing respects true property lines. I mark compass directions and note existing features, giving me the spatial clarity to plan with confidence.
Analyze Sun, Shade, and Drainage Patterns
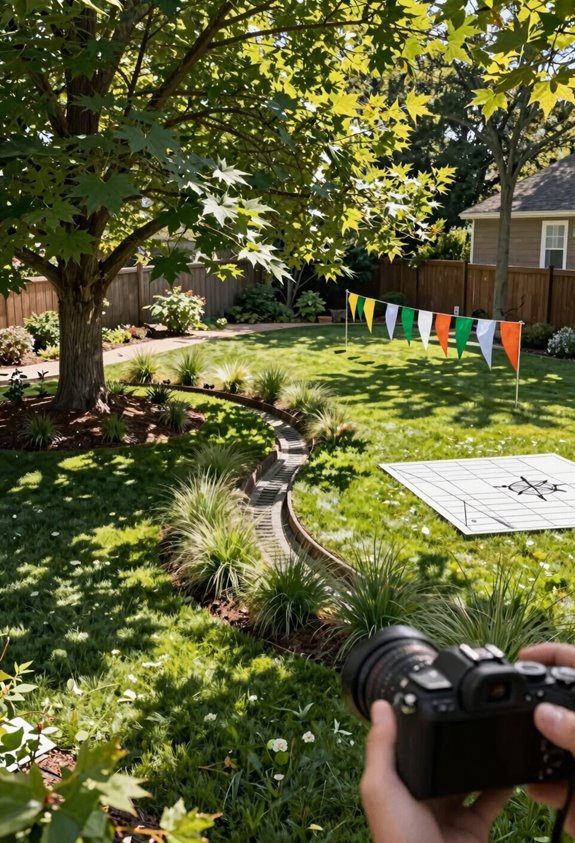
I’ll map sun exposure zones across my yard first, marking where full sun hits six-plus hours versus shady spots under three, since this guides every plant choice and seating area placement. Then I’ll evaluate drainage conditions by noting where water pools after rain, which tells me where moisture-loving species do well and where I’ll need grading or French drains to protect sensitive plantings.
Finally, I’ll assess wind patterns and grade changes, because prevailing westerlies and slope variations create microclimates that affect everything from tree sturdiness to outdoor comfort.
Map Sun Exposure Zones
How precisely does sunlight travel across your property? I track sun exposure across every hour, marking where light lingers six hours or more versus where shade dominates. Morning sun kisses east-facing beds gently, while south and west zones absorb intense afternoon rays that demand resilient plant choices.
I sketch these patterns directly onto my scale plan, creating distinct zones for full sun, partial shade, and deep shade. This mapping prevents costly mistakes, like placing shade-loving hostas where they’ll scorch or sun-hungry tomatoes in dim corners.
I also note prevailing winds, since breezes affect microclimates and inform where I’ll later add screening. My site inventory now holds essential data: where heat builds, where cool pockets form, and how light shifts seasonally. This foundation guides every plant selection, making sure each species lands where it’ll belong.
Evaluate Drainage Conditions
Water’s behavior across a landscape reveals itself through patience and observation. I watch where puddles linger after rain, noting low spots and slope changes that signal where drainage needs attention. These observations guide my decisions about rain gardens, swales, or permeable hardscapes that turn problems into features.
| Drainage Zone | Visual Cues | Solution Options |
|---|---|---|
| Soggy Low Spots | Standing water, moss growth | Rain garden with moisture-loving plants |
| Steep Slopes | Erosion channels, exposed roots | Terracing with retaining walls |
| Compact Surfaces | Sheet runoff, dry soil nearby | Permeable pavers, gravel beds |
I mark these patterns on my scale plan alongside sun zones, creating a complete picture. This integrated approach helps my drainage solutions complement plant placement and hardscape locations. Together, we’re building something that works with nature, not against it.
Assess Wind Patterns
Where does sunlight actually fall across my yard throughout the day? I track this movement to build my landscape design on reality, not assumption.
My north-facing home gives me south-facing backyard sun, while east zones catch gentler morning rays. I mark full sun and full shade zones on my scale plan, accounting for trees, sheds, and neighbor structures that shift patterns. Wind matters too; I note prevailing directions, often west to east, so I can shelter tender plants and position windbreaks strategically.
I map morning-to-evening sun arcs across each season. I flag shade cast by mature canopies and built structures. I chart wind corridors that stress plants or create comfort zones, and overlay drainage patterns where water pools or flows.
I document permanent fixtures like AC units and meters, planning access routes that respect both maintenance needs and growing space.
List Your Must-Have Outdoor Features
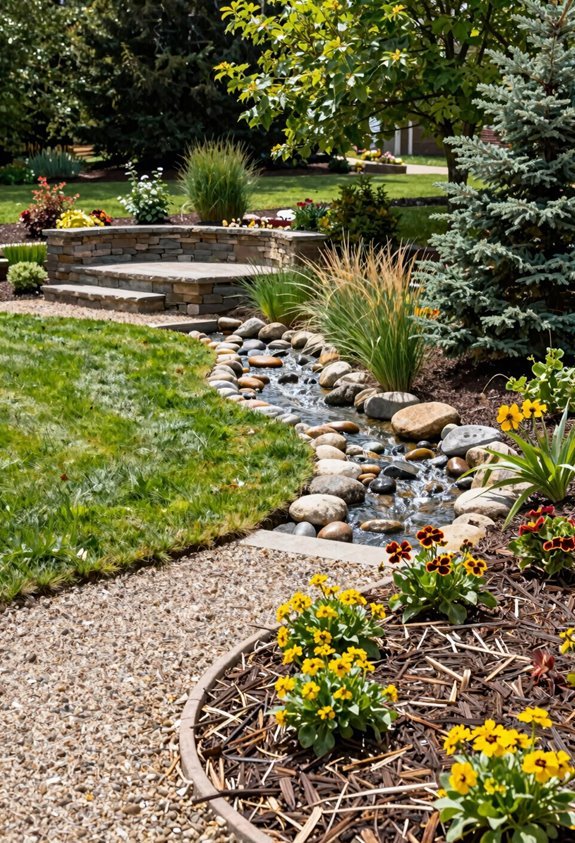
What exactly do I need from my outdoor space? I start my landscape design planning by listing must-have features that’ll make my yard feel like home: a cozy seating area, a patio for morning coffee, privacy screens from neighbors, play zones for kids, and a BBQ spot for weekend gatherings. These aren’t luxuries; they’re the foundation of how I’ll actually live outside.
I think about distance and function, ensuring paths connect my entry points to each zone naturally. I pull inspiration photos to refine my style, whether modern lines or cottage charm, letting them guide my plant and material choices. By establishing these core goals now, I’m creating a yard where everyone feels welcome, and where I belong.
Sketch Layouts With Bubble Drawings
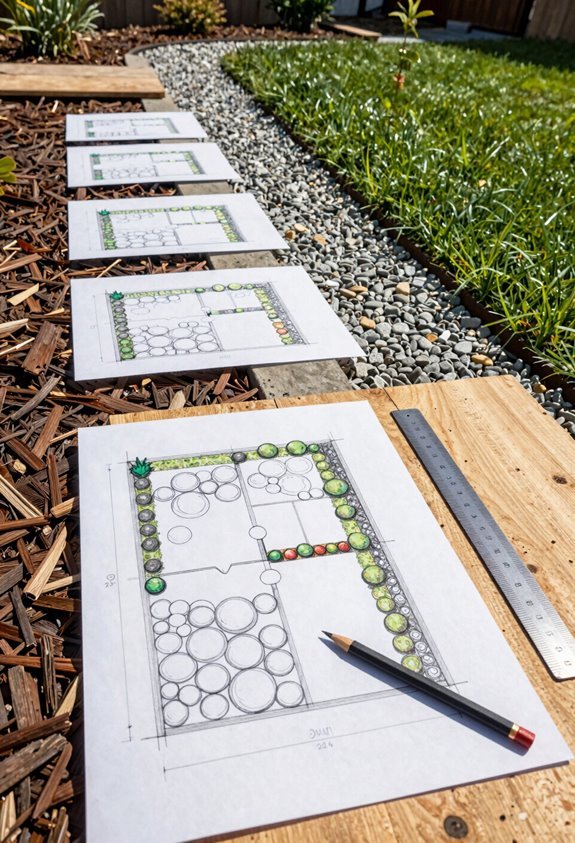
How do I translate outdoor dreams into workable plans? I start by measuring my yard’s perimeter with a tape, then transfer those distances to graph paper where one square equals one foot. I verify every measurement before moving forward, because accuracy anchors everything that follows.
Now comes the creative heart of landscape design, bubble drawings. I sketch simple circles, squares, and organic shapes directly onto my scaled plan to map zones and features quickly. This method lets me experiment without commitment.
Here’s how I build my layout:
- I begin with two interlocking bubbles to establish distinct outdoor rooms
- I expand by adding shapes for seating, paths, and planting areas
- I reference my Pinterest and Houzz inspiration photos for placement guidance
- I iterate multiple copies, narrowing options until the plan fits my space
Choose Plants and Materials for Your Conditions
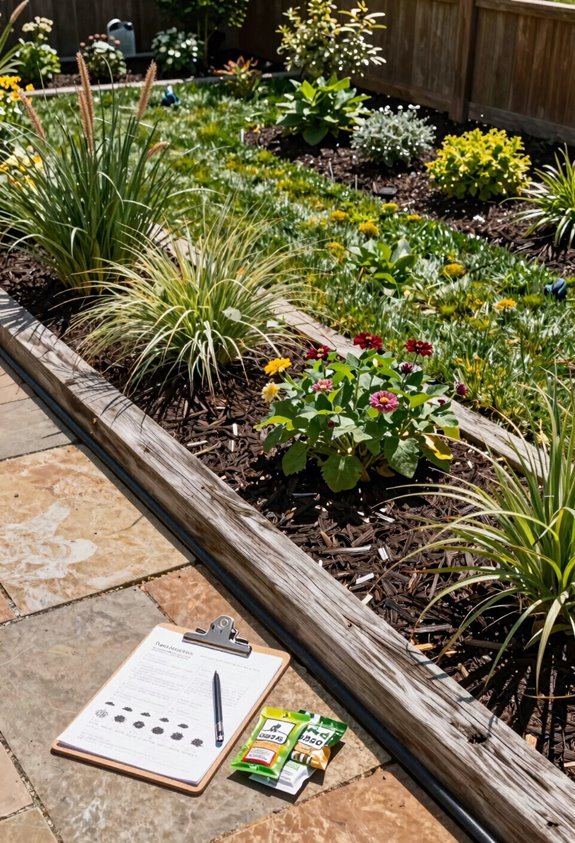
I match each plant to its ideal zone using my site inventory, then select hardscape materials that complement those conditions without competing. I balance soft and hard elements by applying the Golden Ratio to bed curves, checking that my mass plantings of 7–9 specimens create visual weight against stone or wood features. I verify mature sizes on every tag, spacing River Birch and other specimens to prevent future conflicts with foundations or walkways.
Match Plants to Conditions
Before you place a single plant in the ground, you’ll need to match your selections to the conditions your yard actually offers, not the garden you’ve imagined.
I use my site inventory to map microclimates, then assign plants accordingly. Here’s how I apply landscape design principles:
Match sun exposure, soil type, drainage, and wind exposure to each plant’s needs. Respect mature dimensions using plant tags to avoid future conflicts. Balance texture, color, and bloom timing for year-round interest. Group in odd-numbered masses with anchor specimens for structure.
River Birch reaches forty feet tall and twenty-five feet wide, so I place it where it belongs. When plants do well in their assigned zones, the whole landscape feels intentional and welcoming.
Select Appropriate Hardscape Materials
Where do patios, pathways, and walls fit within your living landscape? I think about hardscape materials as the backbone that holds your garden rooms together, creating spaces where you’ll gather and move through nature.
I choose hardscape materials that complement my plantings and soil conditions, integrating permeable pavers or natural stone to improve drainage while maintaining cohesion with nearby structures. I consider scale and placement carefully, balancing patios and walls with plant sizes so softscape and hardscape interact harmoniously.
I soften edges with planting beds, using contrasting textures and colors for visual interest. I plan my sequence so hardscape installation precedes soil preparation and irrigation layout, ensuring efficient workflow.
I test materials for durability in my climate, selecting drought-tolerant, low-maintenance surfaces when building water-wise landscapes that welcome everyone home.
Balance Plants and Materials
How do I make sure my plantings and hardscape work together rather than competing for attention? I start with landscape design considerations that honor my site’s unique conditions, selecting plants that do well in my specific sun, soil, and drainage while letting them soften material edges with room to grow.
I match plant styles to my garden’s personality, using curated inspiration to guide color and texture choices. I check mature dimensions on every tag, preventing future conflicts with my patio and foundation.
I mass plant in odd numbers, 7, 9, or more, to build cohesive, impactful focal points that feel intentional. I apply the Golden Ratio to bed proportions, aiming for roughly 9–10 feet of width on a 16-foot length.
This balance creates spaces where I truly belong.
Budget and Build: DIY or Hire Pros
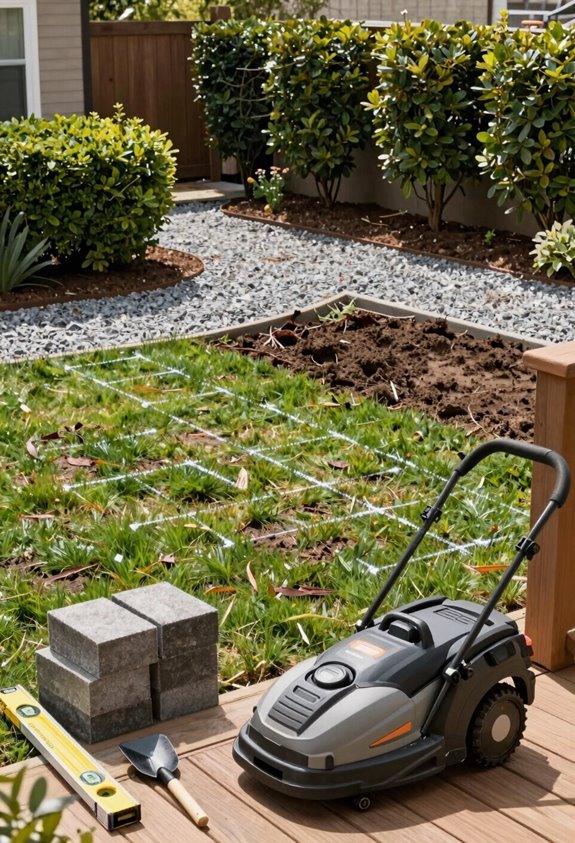
Whether I’m tackling my first landscape overhaul or renewing an established yard, I need to weigh my options carefully. I’m choosing whether to DIY or hire pros, and this shapes my entire project timeline, detailed cost structure, and final aesthetic results considerably. I’ll assess my comfort with landscape pieces, soil health, and irrigation complexity before deciding my own path.
| Feature | DIY Approach | Hiring Pros |
|---|---|---|
| Cost | Lower upfront, learning curve | Higher investment, expertise |
| Control | Complete creative freedom | Guided collaboration |
| Support | Online forums | Structured professional advice |
Many nurseries provide free designs and consultations, making certain I’m never navigating this budget and build: diy or hire pros decision alone. We all start somewhere, and structured guidance helps me belong to this welcoming community of confident, capable homeowners today. I deeply value this professional support and structured community.





