
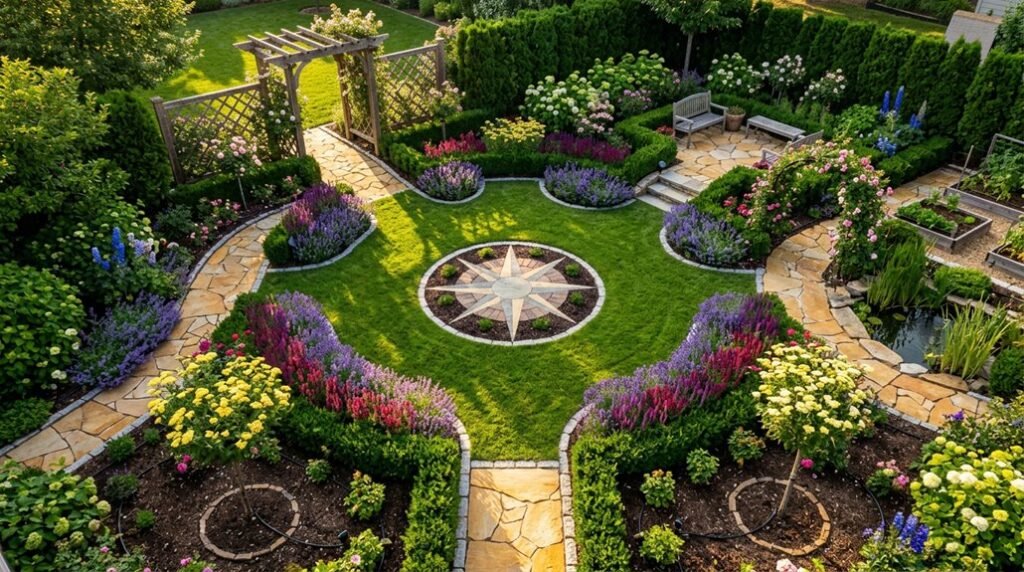
I’ll test whether a structured seven-step approach truly changes overwhelming outdoor spaces into coherent, livable gardens. I’ve seen too many homeowners rush into planting without first understanding how their house connects to the land. They end up with disconnected patios that never feel quite right.
The solution lies in treating your property as an extension of your interior, using interlocking zones that flow naturally from one function to the next. I’m going to show you exactly how master planners think about this, starting with the one measurement that changes everything.
Find Your Style and Gather Garden Inspiration
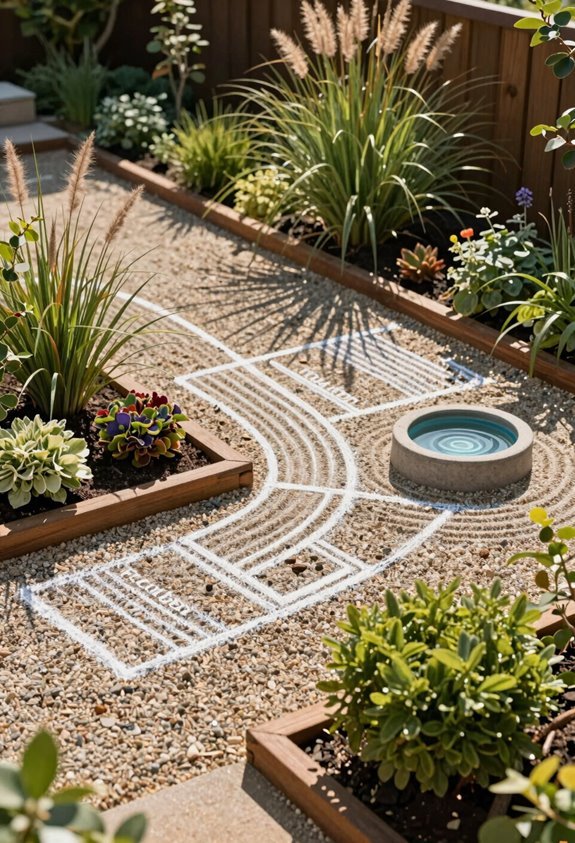
Where do I begin when I’m staring at a blank yard with no clear vision? I start by gathering inspiration from Pinterest and Houzz, saving landscape photos that speak to me. As I collect images, I notice patterns emerging: certain colors, textures, and forms keep appearing. These patterns reveal my true garden style, whether that’s modern minimalism or cottage abundance.
My chosen garden style then guides every decision, from plant selection to hardscape materials. I keep a dedicated notebook with my photos, notes, and measuring tools organized for easy reference. Though scale planning comes later in my process, I acknowledge its importance early. By understanding my aesthetic preferences now, I build confidence and create a cohesive foundation. This clarity turns overwhelming possibilities into an achievable vision I can truly call my own.
Measure Your Space and Create a Garden Layout Plan
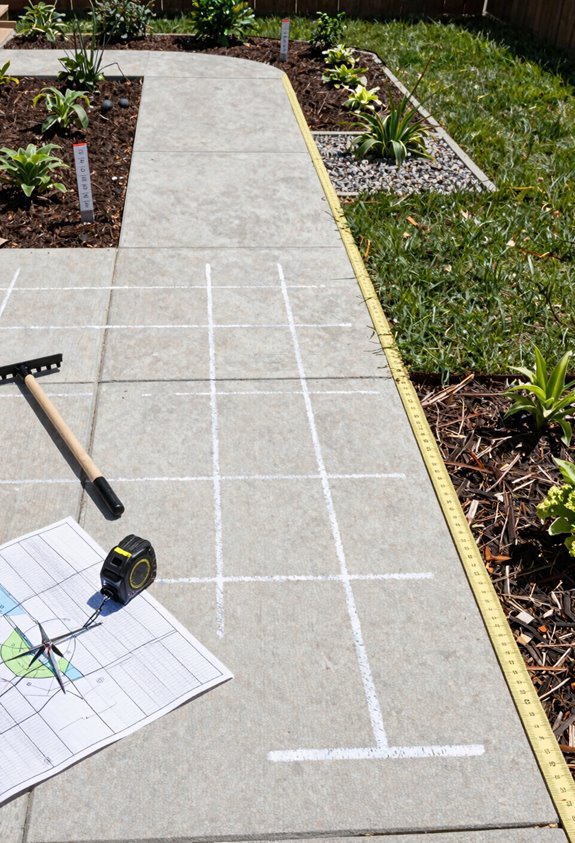
How do I transform a vague yard into something I can actually work with? I start with perimeter measurement, walking the boundary with a long tape measure and recording every distance. I translate these numbers onto graph paper, letting one square equal one foot, building my scale plan from the ground up.
When I’m short on time, I pull up Google Maps in Satellite view, print the overhead image, and trace my property lines for an accurate base map. I mark sun exposure by labeling north, south, east, and west, so I know where full sun hits and shade lingers. I complete a thorough site inventory, noting obstacles, existing features, and grade changes that will shape my decisions.
Finally, I sketch zoning shapes, two interlocking forms that define distinct areas, testing bubble drawings until the layout feels right.
Assess Your Site: Sun, Wind, Drainage, and What’s Already There
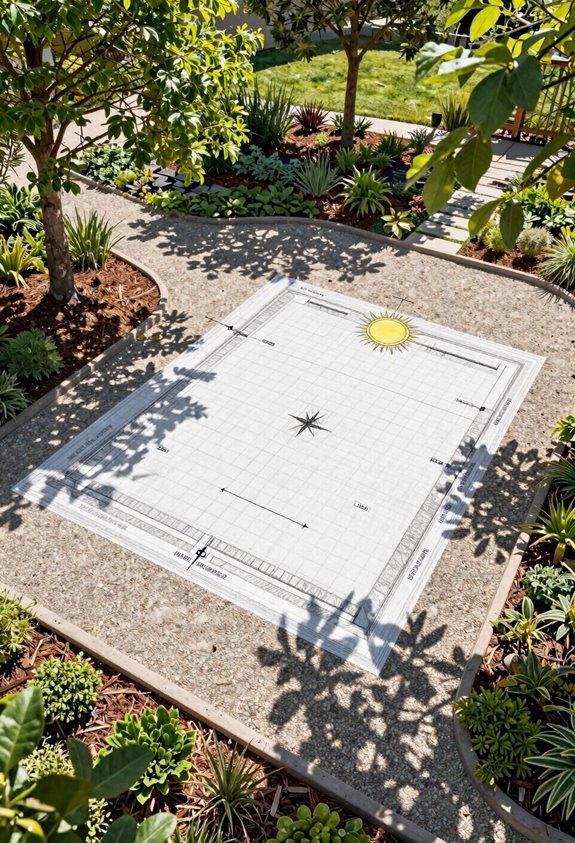
I start by tracking how sunlight moves across my yard, marking full-sun zones and shady pockets on my plan so I know exactly where heat-loving vegetables or shade-tolerant ornamentals will thrive. Next, I note prevailing wind patterns and drainage quirks, those soggy low spots and quick-drying slopes, because microclimates dictate both plant selection and seating comfort.
Finally, I inventory every existing element, from utility boxes to privacy gaps, so my new layout works with what’s already anchored to the site.
Sun and Wind Patterns
Before I commit to any plant selection or bed placement, I take time to read my site’s natural patterns. Understanding how sun and wind move across the space will determine whether my garden does well or struggles.
I start my site analysis by creating a sun and shade map on scaled paper, marking full sun zones where light pours in for six-plus hours and noting shady pockets that receive three to four hours or less. I track sun exposure across seasons, watching how trees and structures cast shadows that shift throughout the year.
Next, I study wind patterns, recording prevailing wind direction and any blustery corridors that could stress delicate plants or steal warmth from seating areas. This careful observation reveals microclimates within my garden layout, helping me position windbreaks where they’ll matter most and place sun-loving specimens where they’ll do well.
Drainage and Existing Features
Sun and wind patterns tell only part of the story, so you’ll want to look at what happens when rain hits the ground. I walk my site after storms, watching where water pools and where slopes shed moisture too fast. This site assessment reveals drainage challenges that shape every planting decision.
I map existing features carefully: AC units, spigots, utilities, since these permanent elements dictate where I can dig and plant. I note grade changes that affect accessibility and water flow, then position moisture-loving plants near downspouts.
My sun exposure observations from earlier now pair with this drainage knowledge, guiding me toward solutions that work with nature rather than against it.
Define Your Needs and Sketch Interlocking Design Concepts
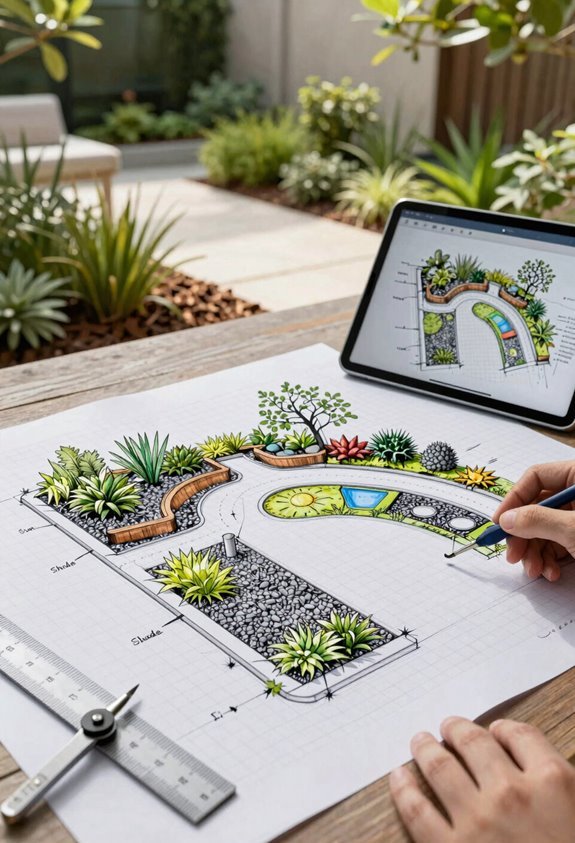
I start by listing what I actually need from my outdoor space: seating nooks, vegetable beds, maybe a play zone. Then I translate those priorities into simple bubble sketches on scaled paper. These loose, interlocking shapes help me test how zones might flow together before I commit to hardscape or planting plans.
Through a few quick iterations, I’ll refine these concepts until each area has clear purpose and proportion relative to the whole.
Assess Your Requirements
Where do you begin when every garden magazine shows you something wildly different? I start with a wish list that captures what I actually need: seating, dining, play areas, privacy, maybe vegetables. Then I grab inspiration photos to identify what draws me in, noting plants and styles that feel right.
I tape together a scale plan of my yard, accounting for sun exposure throughout the day. Using bubble drawings, simple circles and squares, I sketch interlocking zones directly onto copies of that plan. These quick iterations let me test arrangements without commitment. I refine shapes until spaces flow together naturally, always checking against my list. This process builds confidence, helping me create a garden that reflects my own needs rather than a magazine fantasy.
Map Functional Zones
How do you translate scattered ideas into a coherent garden plan? I start by grabbing my scale plan and sketching two interlocking shapes that carve out distinct functional zones, perhaps a circle for gathering and a rectangle for dining. I test seating, patios, and planting beds within these boundaries, letting inspiration photos guide what each zone actually does for my life.
I draw quick bubbles on multiple copies of my scale plan, comparing how different interlocking configurations feel. When hardscape edges meet softscape curves, I turn those shape ideas into planting bed perimeters, blending structure with greenery. This integration creates natural flow between zones, so moving from cooking to lounging feels effortless.
I adjust, refine, and trust the process until every space earns its place.
Draft Conceptual Sketches
Once I’ve mapped my functional zones, I grab a pencil and start roughing out bubble drawings directly on my scale plan. I use simple circles and squares to place features, beginning with two interlocking shapes that define how my zones connect.
I translate these scale plan concepts into quick conceptual sketches, testing feasibility before committing. I create two or more design iterations, refining each time to narrow options that fit my actual yard size. My inspiration photos from Pinterest guide my patterns, helping me visualize how plant beds might wrap around hardscape perimeters for cohesion.
These bubble drawings reveal how zones relate, showing where pathways flow and where privacy feels right. Through iterative sketches, I discover the interlocking shapes that make my garden feel intentional, connected, and truly mine.
Build a Master Plan That Connects Structure to Your Home
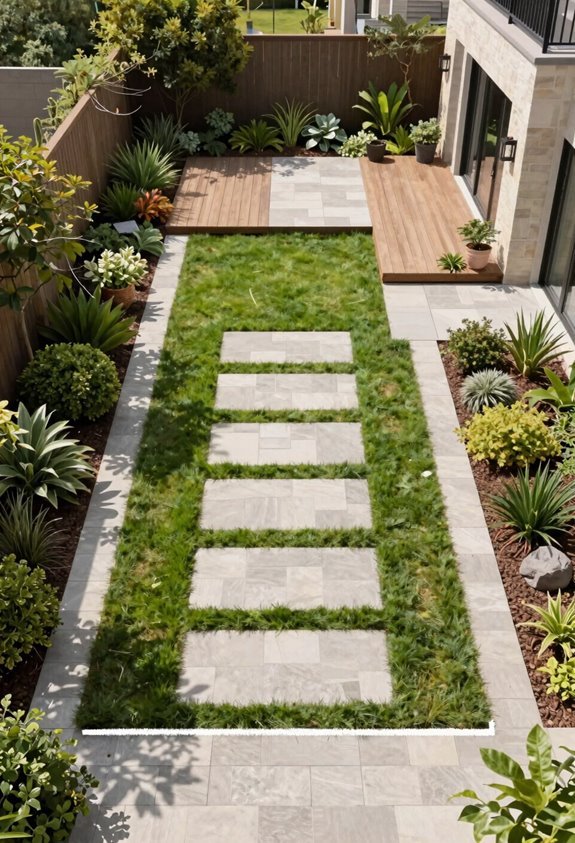
Because I want my garden to feel like a natural extension of my home rather than an afterthought, I start with a master plan that maps how walls, paths, and gathering spaces connect to the house’s architecture. This layout becomes my blueprint for coherence, showing circulation routes that guide movement and sightlines that frame views from indoors to out.
I think of it like an architect’s plan: it organizes structure and connections before details, stopping short of finish selections. Bubble drawings help me test ideas quickly, refining what works before committing.
Once complete, my master plan serves as important communication with family and contractors, aligning expectations and guiding construction. It helps every element support belonging, weaving garden and home into one intentional, welcoming whole.
Budget Wisely and Choose DIY or Professional Help
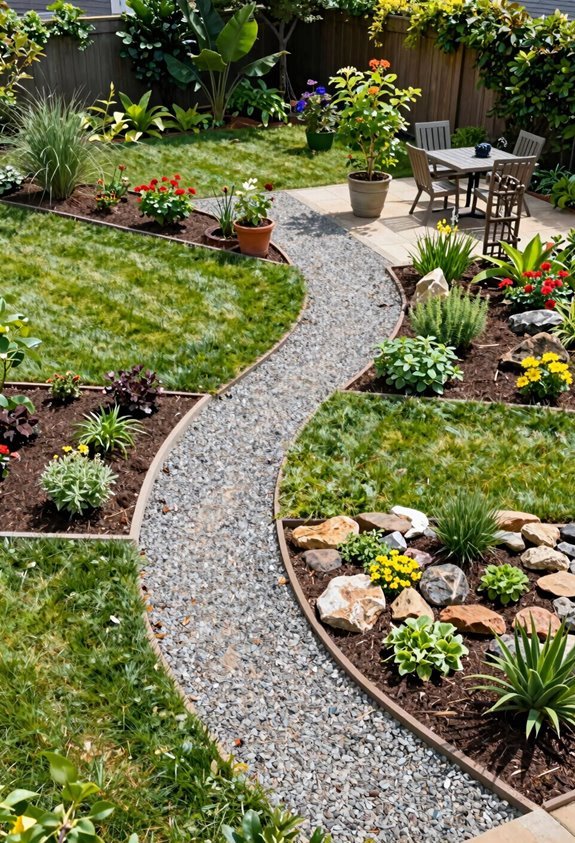
With my master plan in hand, I turn to the numbers that will bring it to life, knowing that smart budgeting protects both my vision and my wallet. I develop cost estimates from my planting plans and material choices before breaking ground, preventing over-ordering and expensive changes during installation.
My scale drawings reveal when design elements feel too small, too large, or ill-proportioned, saving money I’d otherwise waste on mistakes. I use specialized cost-calculation tools with area-based multipliers to forecast total project expenses accurately.
I weigh two paths: tackling this as a DIY project, which demands understanding landscape components and personal design execution, or hiring a professional for planning expertise. On-paper exploration costs far less than on-site experimentation, letting me test layouts cheaply before committing resources.
Design Detailed Planting Plans for Each Garden Area
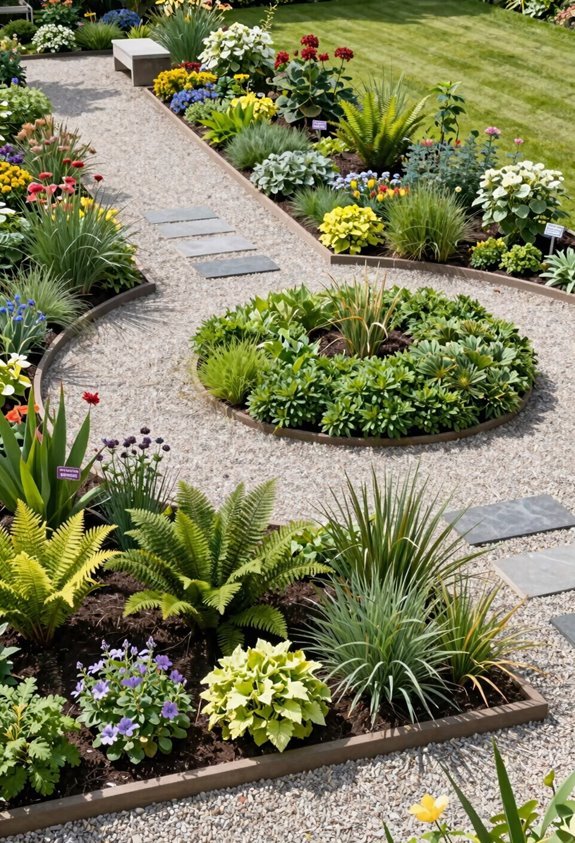
The master plan gives me the skeleton, but planting plans are where the garden takes shape. I break my garden areas into zones, developing individual planting plans that specify exact choices, quantities, and how everything fits together.
These plans serve dual purposes: they’re my planting plans budgeting tool and my procurement guide, detailing exactly what to buy and when. In larger spaces, I’ll create multiple planting plans to coordinate and manage complexity.
I use them to research and vet ideas, checking that my selections match site conditions like light exposure and moisture levels. They guide my spacing decisions, companion pairing, and maintenance needs, turning abstract concepts into executable steps. This bridge between design and implementation organizes scattered ideas into a cohesive, healthy landscape I can build with confidence.





