
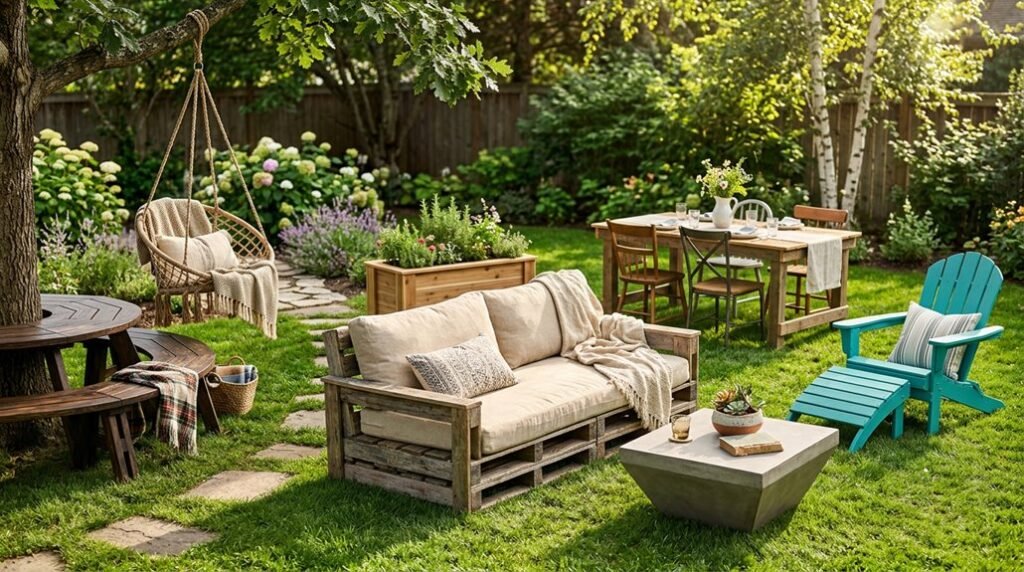
Most outdoor furniture fails not from rain itself, but from trapped moisture that warps joints and rots wood from within.
I’ve learned that elevation, drainage gaps, and exterior-grade sealants matter more than the wood species you choose.
This weekend, I’ll show you seven builds that account for that reality, using biscuit joints, pocket screws, and galvanized fasteners where they actually count.
Each project balances durability with real aesthetics you won’t find in big-box sets.
Build an Outdoor Garden Bench With Curved Comfort
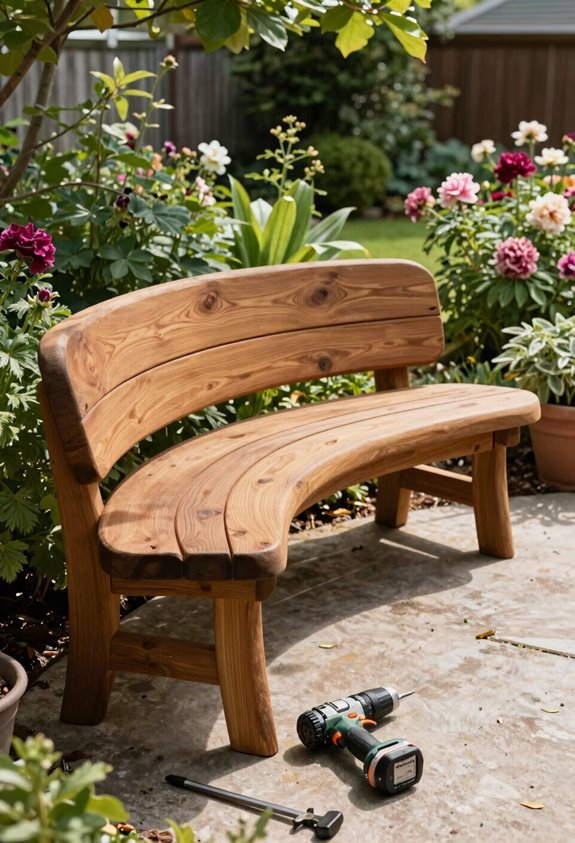
Why settle for generic patio seating when you can craft something that truly fits your space? I’m building this garden bench because curved seating transforms an ordinary backyard into a gathering place where people actually want to linger.
You’ll need moderate skills for this weekend project, and I’ll guide you through biscuit joints with a joiner or a router if that’s what you have on hand. The joinery creates real stability against weather and weight.
My curved seating design isn’t just for looks; it cradles the body in ways flat boards simply can’t match. Choose your wood wisely, and you’re investing somewhere between $100 and $500. That’s custom furniture with ergonomic originality, built by your own hands, ready for years of outdoor living.
Make a Simple 2×4 Outdoor Chair for Beginners
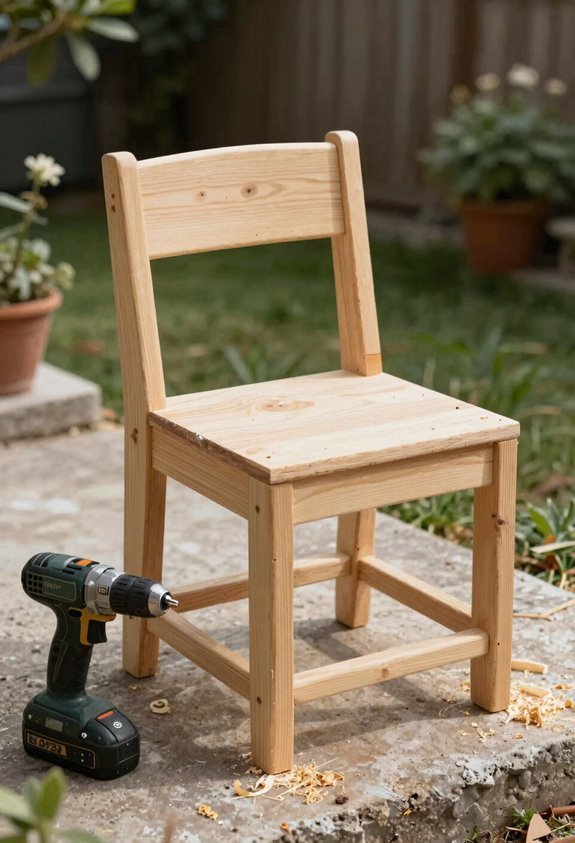
I’ll grab my measuring tape, circular saw, sander, and drill, since these four tools handle everything from rough cuts to finished joints. Cutting the 2×4 lumber demands precise measurements, so I’ll mark each board carefully before making clean, square cuts that guarantee tight assembly later.
The assembly process follows straightforward joinery techniques, letting me build a sturdy frame, attach the seat slats, and secure the backrest in just a few hours.
Required Tools Overview
Before diving into cuts and joinery, you’ll need to gather a modest toolkit that won’t overwhelm your garage or your budget. I recommend a measuring tape, circular saw, sander, and drill; these four essentials handle most beginner outdoor projects with confidence.
You’ll find this same setup in plans from Ana White and similar sources, where “Download Plans Here” connects you to communities of makers building everything from chairs to table designs. Since this build uses standard 2x material, you won’t need specialized equipment. Optional cushions affect your finish choice, but the tools remain constant.
Paint or stain comes after assembly, so focus first on accurate measurement and clean joinery. With these basics, you’re already equipped to start building alongside thousands of fellow beginners.
Cutting 2×4 Lumber
While you’re eager to see finished boards come together, I’ve learned that patient, accurate cuts make every subsequent step smoother. I grab my measuring tape and mark each piece of 2×4 lumber with a sharp pencil, double-checking every length before I power up my circular saw. These beginner chair plans specify common 2×4 material, so you’re working with sturdy, cost-effective stock that’s perfect for outdoor furniture that lasts.
I set up a stable cutting station with sawhorses, keeping my work area clear and well-lit. When I cut, I let the blade reach full speed first, then guide it steadily through the wood without forcing it. Clean, square cuts now mean your joints will seat properly later. I sand each fresh edge immediately, removing splinters that could snag cushions or skin.
Assembly Process Steps
Where do you start when all those cut pieces are finally ready? I always begin the assembly process by laying out my patio furniture components on a flat surface, checking every measurement twice before driving the first screw.
- Attach the front and back legs to the seat supports, making sure everything stays square with a carpenter’s square.
- Secure the armrests to the legs using exterior-grade screws, pre-drilling to prevent splitting.
- Fasten the back slats between the rear legs, keeping even spacing for comfort and drainage.
- Sand all surfaces with 120-grit paper, then apply your protective finish.
This straightforward joinery brings your chair together in hours, not days. You’ll feel real satisfaction watching raw lumber change into functional patio furniture you built yourself.
Create a Stone-Top Patio Table for Under $30
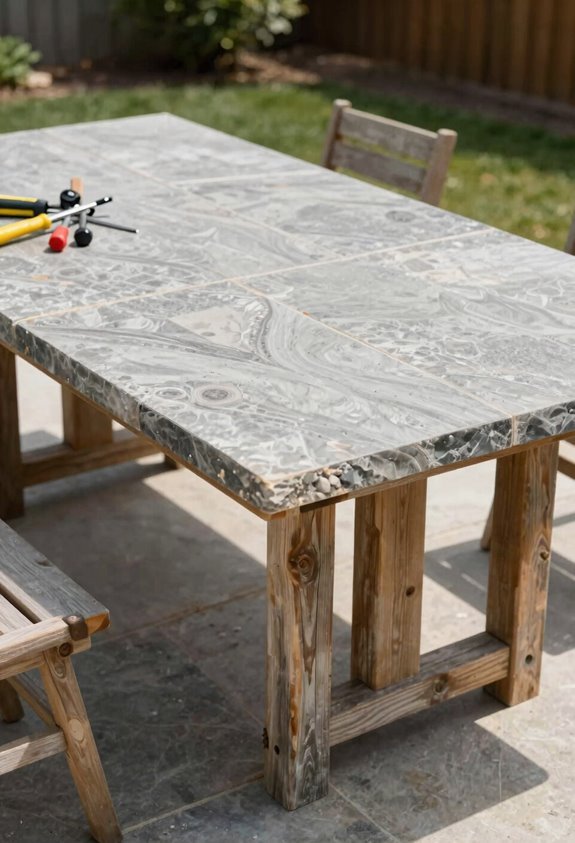
Why settle for flimsy big-box store furniture when you can craft something far more striking in a single afternoon? I’ll show you how to build a stone-top patio table that improves your small backyard into a welcoming gathering space without draining your wallet.
This outdoor furniture project takes about three hours from start to finish, and I’m betting you’ve already got most tools on hand. Grab your miter saw and basic screwdrivers, counter-sinking skills will give you that clean, professional finish we’re after.
Your top material drives the cost, but you’ve got beautiful options: slate, granite, limestone, marble, or decorative tile all work well. I kept my build under $30 using remnant tile. The sturdy base supports a simple, durable surface that looks like you spent hundreds.
Build a Wind-Proof Base for Your Patio Umbrella
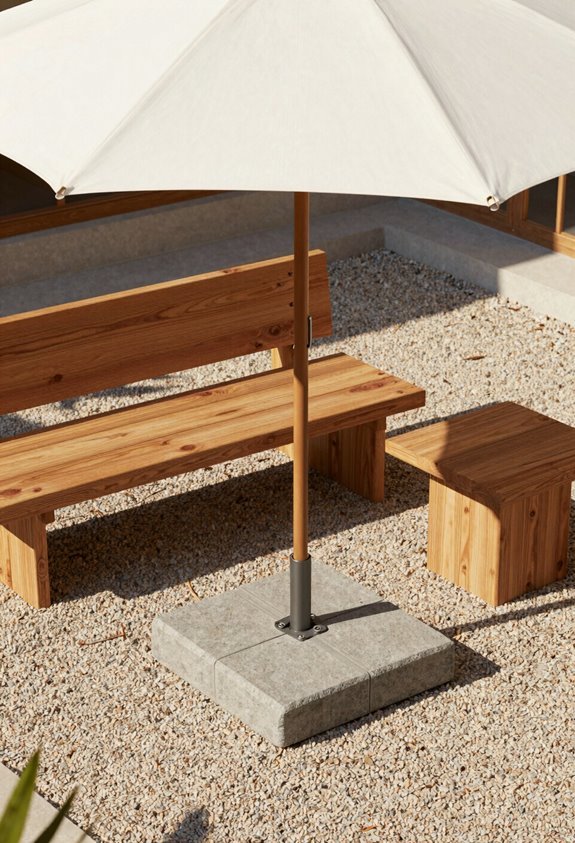
I’ve built enough patio umbrellas to know a gust of wind can turn leisure into hazard fast, so I always start with a wind-resistant frame that locks the canopy steady. For this base, I pair rugged No. 2 cedar with smooth, knot-free stock up top, balancing heft against clean looks without overcomplicating the cuts.
You’ll pocket-screw the frame, miter your joins tight, and finish inside a weekend, leaving you with shade that stays put when weather moves in.
Wind-Resistant Design Features
How often does a sudden gust send your patio umbrella tilting precariously across the deck? I’ve learned that building a wind-resistant umbrella base means understanding how weight distribution and anchoring work together to keep your shade exactly where you want it.
Here’s what separates a stable base from a wobbly afterthought:
- Mass matters: Concrete or sand-filled chambers lower your center of gravity dramatically, creating an anchor that laughs at sudden gusts.
- Wide footprint: A broad, low profile resists tipping forces better than tall, narrow designs ever could.
- Secure post attachment: Pocket screws driven through cedar or plywood collars grip the umbrella pole without wobble.
- Quick-release hardware: Stainless steel bolts let you break down and store the base when storms approach.
Your weekend project becomes a reliable backyard companion.
Material Selection Tips
When you’re standing in the lumber aisle, the real question isn’t which wood looks prettiest: it’s which materials’ll actually hold your umbrella steady through a summer storm. I reach for plywood and No. 2 cedar for the base, pairing them with cedar or pressure-treated boards up top. This combination gives your outdoor space the stability and weather resistance we’re all after.
Your patio deserves better than a wobbly shade solution that’ll send your umbrella sailing across the yard. Pocket screws and a miter saw’ll help you achieve those precise joints that matter. Factor in fasteners and quality sealant when budgeting: your weekend project deserves materials that’ll last. The right wood choices turn a basic build into something that truly anchors your summer afternoons.
Quick Assembly Steps
A sturdy umbrella base starts with cutting your plywood and No. 2 cedar to size, and I typically build mine in four manageable phases over a single weekend. This wind-proof design keeps your outdoor table shaded and secure when gusts arrive.
I cut the plywood platform and cedar supports with my miter saw, creating precise pockets for the umbrella pole. I join the cedar frame using pocket screws, building substantial weight that anchors against lifting forces. I layer additional cedar boards inside the frame, stacking density where stability matters most.
I seal all plywood edges and stain the cedar to match existing outdoor furniture, protecting your investment from moisture.
This assembly delivers professional-grade results without overwhelming complexity.
Assemble Classic Outdoor Adirondack Chairs
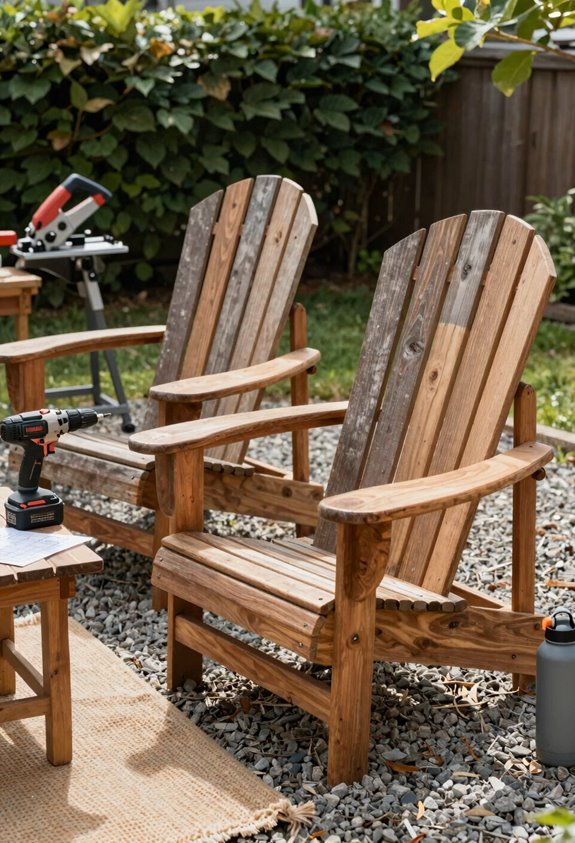
Because I’ve built several sets of Adirondack chairs over the years, I can confirm that these projects suit beginners perfectly with basic tools. You’ll need a measuring tape, circular saw, sander, and drill, plus standard 1x or 2x lumber or pressure-treated pine. Downloadable plans from creators like Ana White walk you through each cut and joint with precision.
This outdoor furniture staple cradles you with its signature curved seat and angled backrest. Build a single Adirondack chair for about $20-50, or expand your collection with matching love seats and side tables. The designs adapt easily to your space and style preferences.
Sand thoroughly, assemble with exterior-grade screws, then finish with stain or paint. Your weekend investment yields decades of comfortable, weather-resistant seating that welcomes everyone to gather.
Make a Mediterranean-Style Tile Table With Metal Legs
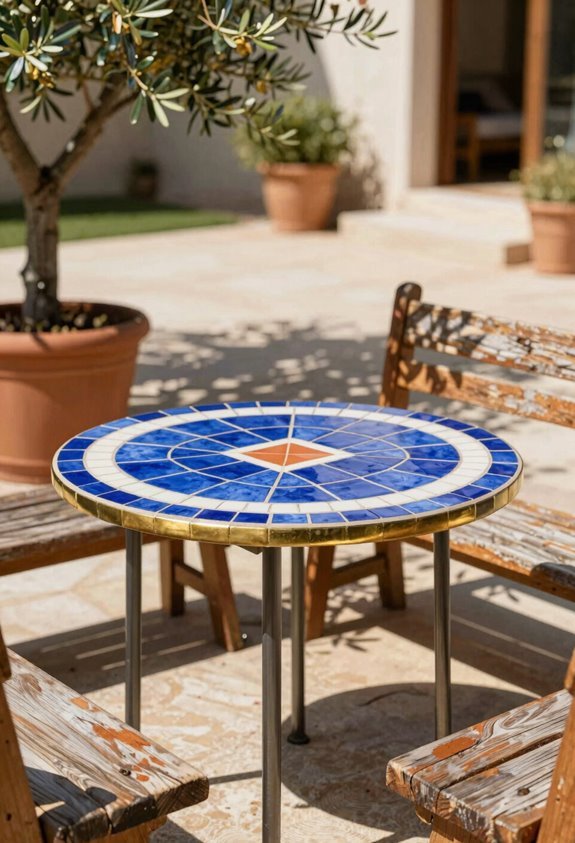
Why settle for ordinary patio furniture when you can craft something that transports you straight to a coastal villa? I built this Tile-Top Table last summer, and it became the centerpiece my patio needed.
This OutdoorFurniture project blends woodworking with artisan tiling. I started with a plywood substrate, then arranged Mediterranean mosaic Tile in flowing patterns that catch evening light beautifully. Metal legs provide industrial contrast to the handmade top.
Here’s what awaits you:
- Select weather-resistant porcelain or ceramic Tile in azure, terracotta, and cream tones
- Cut plywood substrate to 36 inches round, ensuring level surface preparation
- Apply thinset mortar with 1/8-inch notched trowel for permanent adhesion
- Grout joints with epoxy-based compound, sealing against moisture intrusion
Budget runs $100-$500 depending on materials. Precision matters here, but the result rewards patience.
Weatherproof Your Builds for Year-Round Durability
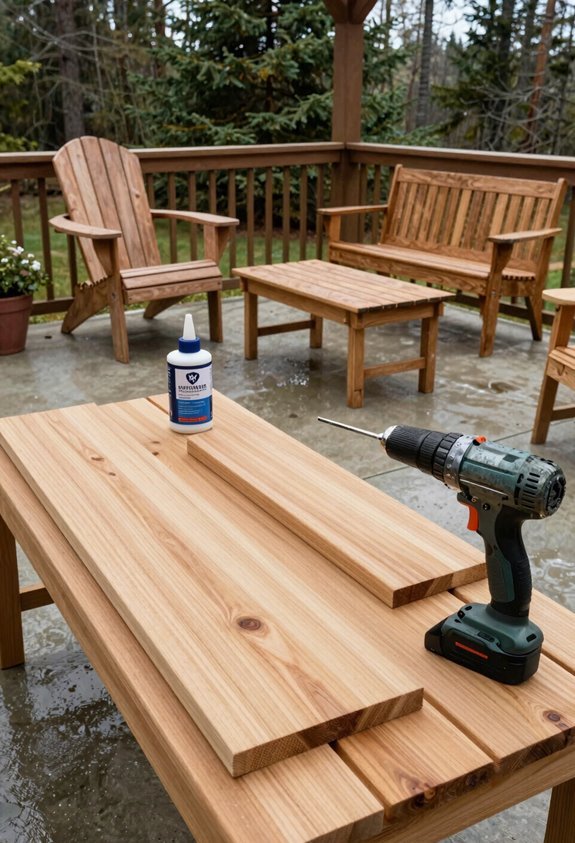
How do I guarantee my weekend builds endure decades of monsoons and midsummer heat without warping? I start with cedar or pressure-treated pine, woods that naturally resist rot, then seal every cut edge with outdoor-grade finish. Weatherproofing demands attention to details we often overlook.
I elevate my outdoor furniture slightly off the ground, preventing moisture from wicking upward through hidden joinery. I choose galvanized or stainless fasteners exclusively; corrosion weakens structures from within. Every one to three years, I reapply protective coatings before surfaces show wear. When winter approaches, I cover pieces or move them to shelter.
These practices change weekend projects into lasting investments. Your craftsmanship deserves protection that matches the effort you’ve invested.





