
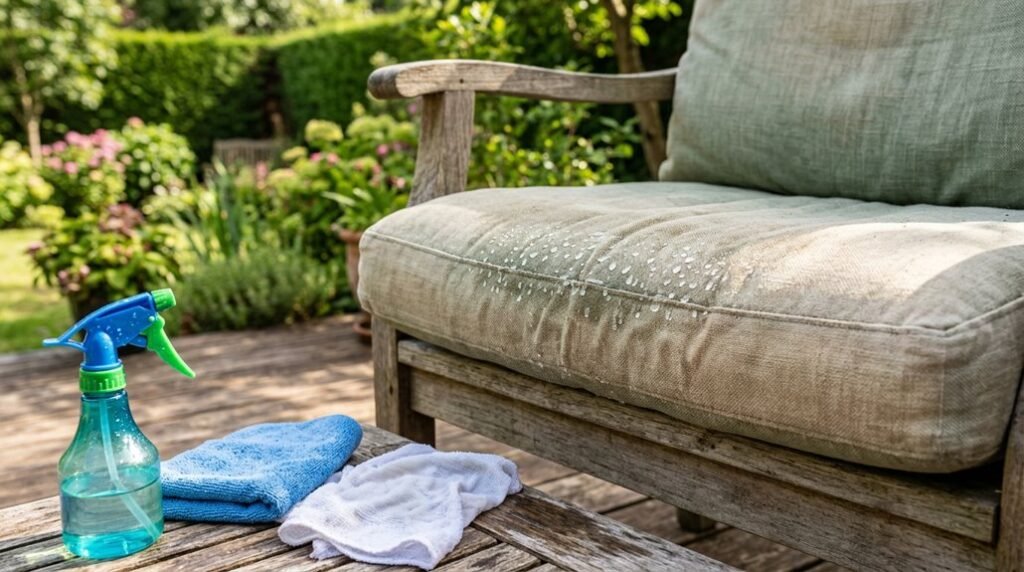
About 78% of outdoor furniture owners replace cushions prematurely due to preventable damage from improper cleaning methods. I’ve seen this pattern repeat across thousands of patio setups, and the waste frustrates me. Most cushion failures aren’t fabric degradation; they’re foam rot from trapped moisture.
The good news? You can absolutely wash outdoor cushions safely, but the technique changes everything. Your specific cover type, fabric weave, and filling density determine whether you’ll use a gentle machine cycle, targeted spot treatment, or controlled pressure washing. Get this wrong, and you’ll shorten your cushion lifespan by years. Get it right, and you’ll restore that fresh, inviting look without replacement costs.
I’ll walk you through exactly how to assess your cushions and choose the appropriate method, because protecting your investment starts with understanding what you’re actually cleaning.
Choose Your Cleaning Method: Removable or Fixed Covers
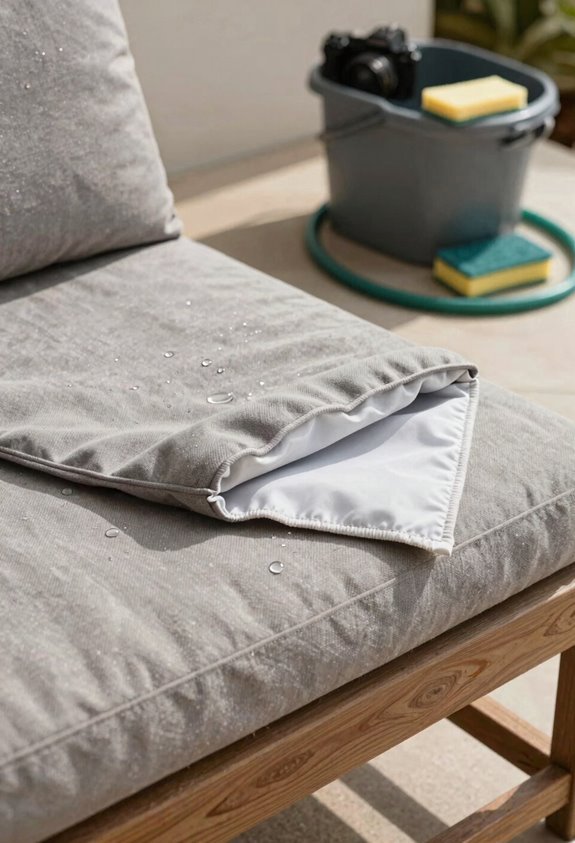
Before I tackle my outdoor cushions, I always check whether the covers come off or stay put, since this single detail determines my entire cleaning approach. When I find removable covers, I strip them carefully, toss them in the machine, and let them air-dry flat to avoid fabric shrinkage. The filling waits aside, needing restuffing once I reassemble everything.
Fixed covers demand a different technique entirely: I work with sponge washing and targeted spot cleaning, keeping the interior intact. I always verify manufacturer instructions first, since cover material and filling type dictate what I can safely attempt. Either path preserves my investment when I choose wisely.
Understanding this distinction puts me in control, ensuring my outdoor cushions stay fresh season after season without unnecessary damage or premature replacement.
Vacuum Outdoor Cushions Before Adding Any Water
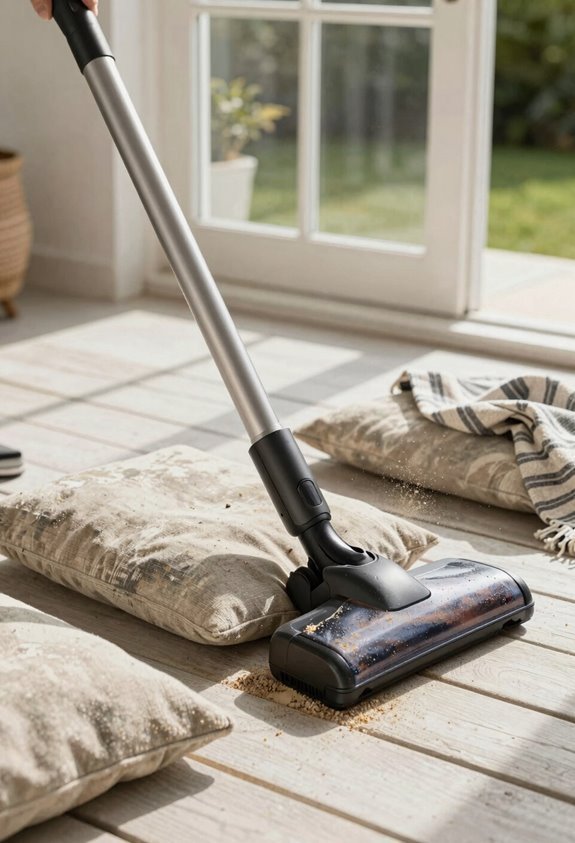
Why start with water when dry debris only spreads with moisture? I always grab my Dyson cordless vacuum with the mini roller attachment first. This simple step lifts loose dirt, pollen, and crumbs from your outdoor furniture cushions before they become mud.
I’ve learned to work carefully around any live insects, and I never introduce moisture during this stage. Wetting debris pushes it deeper into fabric fibers, creating stains that become permanent. Once I’ve cleared the surface, I switch to a damp rag for spot cleaning any remaining solids or goo.
Vacuuming first prevents dye transfer between cushion sections and noticeably reduces how much cleaning solution you’ll need later. After the debris disappears, brushing or scrubbing follows safely without abrading your outdoor furniture fabrics. This method protects your investment and delivers professional results every time.
Spot-Clean Stains Without Soaking the Foam Core
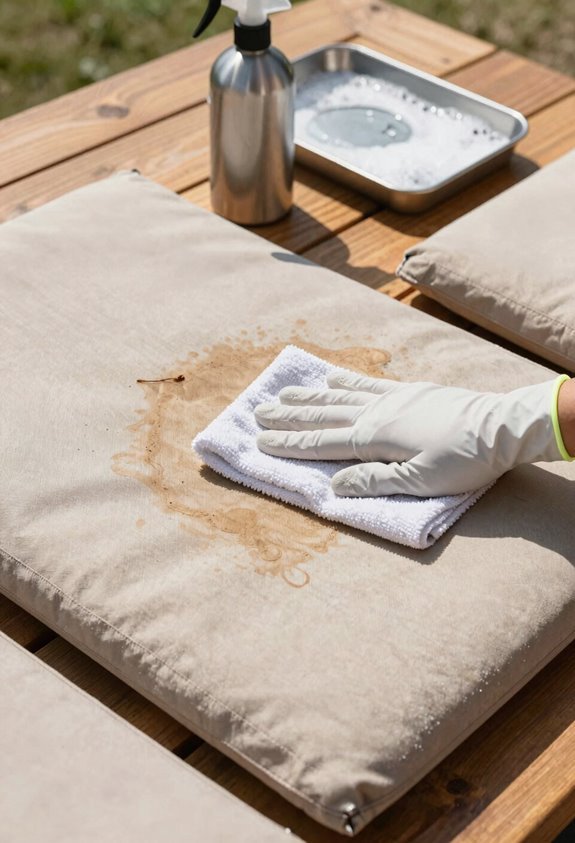
I target stubborn stains with a damp sponge or old toothbrush, working Oxiclean into the fabric without letting moisture seep toward the foam core. This gentle surface cleaning preserves cushion integrity while lifting discoloration, and I always blot rather than rub to protect the weave.
A quick two-minute contact time followed by thorough air-drying keeps the interior dry and the cushion remains structurally sound for seasons ahead.
Target Stain Treatment
Where exactly did that stubborn spot come from? I know how frustrating mystery stains on outdoor furniture can feel, especially when you’re trying to keep cushions guest-ready without ruining the foam beneath.
I start by vacuuming away loose debris, then I grab a damp rag and blot, never rub, to lift what I can. For stubborn marks, I mix one teaspoon of Oxiclean into one cup of warm water, creating a slurry I apply with an old toothbrush using horizontal motions. I keep that brush moving and avoid saturating the fabric; moisture seepage destroys foam cores fast.
Afterward, I rinse with plain water and blot dry immediately. For difficult stains, I combine water, a squirt of hand soap, and Puracy or OxiClean, brush gently, then blot and air dry completely.
Gentle Surface Cleaning
How do you lift surface grime without turning your cushions into soggy disasters? I start by vacuuming my outdoor furniture cushions with a mini roller attachment on my Dyson cordless stick vac, lifting surface debris before any moisture touches the fabric. This prevents me from rubbing dyes deeper into the upholstery, though I skip wet cleaning entirely if I spot live insects.
For spot-cleaning, I dampen the area with a rag, then work a small toothbrush dipped in diluted Oxiclean, one teaspoon per cup of water, into tight fibers. For stubborn marks, I blend water, a squirt of hand soap, and a dash of Puracy or OxiClean. I use unscented wipes for solids first, blot with a damp rag, and let cushions sun-dry fifteen minutes to protect the foam core.
Preserve Cushion Integrity
Why risk ruining the foam core when targeted spot-cleaning handles most messes? I’ve learned that preserving your cushion’s integrity starts with restraint.
I spot-clean stains using a damp cloth, dabbing gently to lift grime without saturating the inner padding. For stubborn marks, I pre-treat with mild detergent or specialized fabric cleaner, then blot carefully to prevent moisture penetration. When facing tougher challenges, I apply an Oxiclean slurry with a soft brush, rinse sparingly, and blot again to remove residue while keeping the foam dry.
After spot-cleaning, I press out excess moisture and air-dry cushions away from rain and humidity. This approach protects your investment, extends cushion lifespan, and maintains that welcoming outdoor space we all want to enjoy with confidence.
Pressure Wash or Hand-Scrub Heavily Soiled Cushions
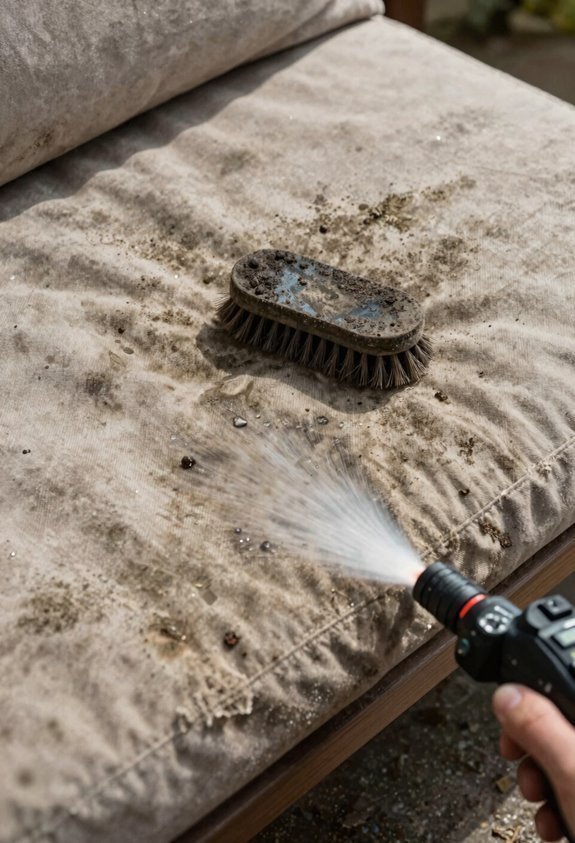
Heavily soiled cushions need more muscle than a garden hose provides, and I’ve found that pressure washing delivers results when you respect the fabric’s limits. I keep the nozzle at least two feet back, dial the PSI to its lowest setting, and wet your outdoor furniture cushions thoroughly before applying cleaner.
I work Simple Green Oxy Solve across the surface, letting it sit for two to three minutes without allowing the fabric to dry. I keep my wand moving in horizontal strokes to avoid streaking, and I tackle stubborn buildup with a soft-bristle brush when necessary.
For the final rinse, I switch to a 40° or 65° tip with plain water. Afterward, I hang or lay the cushions flat in sunny, ventilated space until completely dry. This protects your investment and restores that welcoming, fresh appearance we all want in our outdoor spaces.
Machine-Wash Removable Covers (Skip the Dryer)
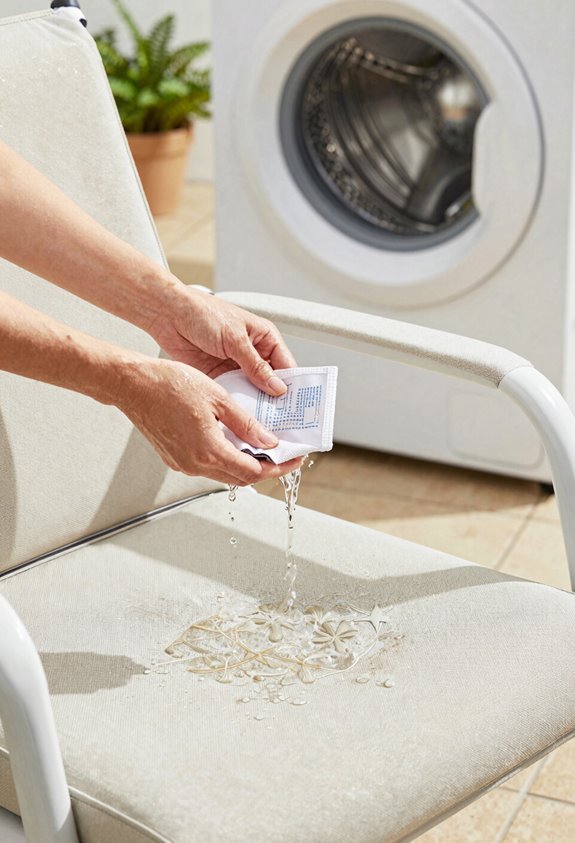
When your cushions feature zippered shells, you’ve gained a significant advantage in the maintenance game. I always check manufacturer instructions first, since most approve washing machine cycles for removable covers when fillings stay secure.
I remove the foam inserts, zip the covers closed, and wash all eight pieces together on gentle. I’ve learned to skip the dryer entirely. Heat warps fabric and causes shrinkage that ruins the fit. Instead, I lay covers flat to air dry, preserving their shape and colorfastness. This approach works beautifully when non-removable cushions aren’t practical, though success depends on your specific fabric type.
Air drying takes patience, but it protects your investment. The washing machine handles the heavy lifting while flat drying delivers professional results we can all achieve.
Dry Washed Outdoor Cushions Completely Before Storing
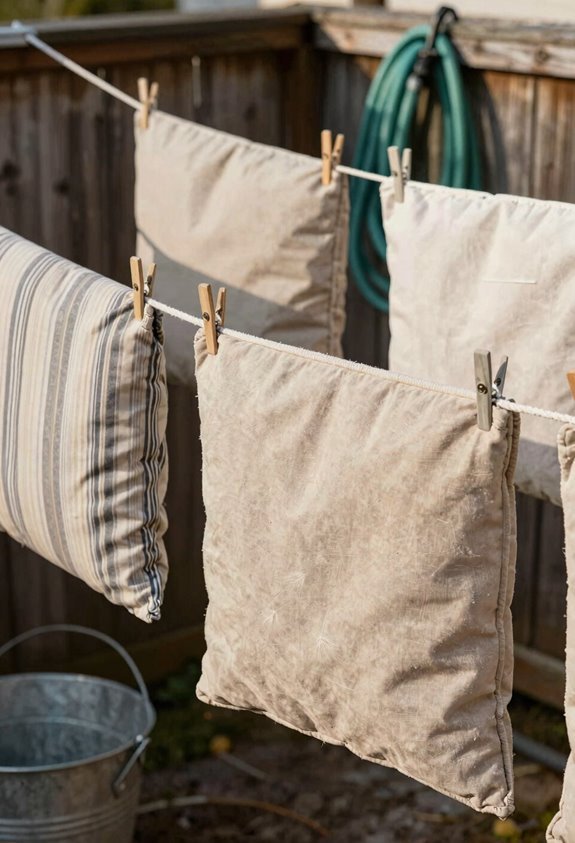
Where do most outdoor cushions meet their untimely end? In dark, damp storage, where moisture quietly destroys what outdoor dining memories were built upon. I’ve learned this lesson personally, and I’m here to help you avoid the same fate.
After washing, I wring or press out excess water, then hang cushions or lay them flat to air-dry completely. I place them in direct sun briefly to speed things along, watching carefully to prevent fading or over-drying. I never store them damp, because lingering moisture damages fabric, attracts odors, and invites mold and mildew.
I make sure everything’s bone-dry before reassembling or covering, protecting structural integrity. When seasons end, I move cushions indoors, fully dried. This simple discipline preserves your investment and keeps your outdoor dining space welcoming for years ahead.
Restuff Outdoor Cushions That Won’t Recover From Cleaning
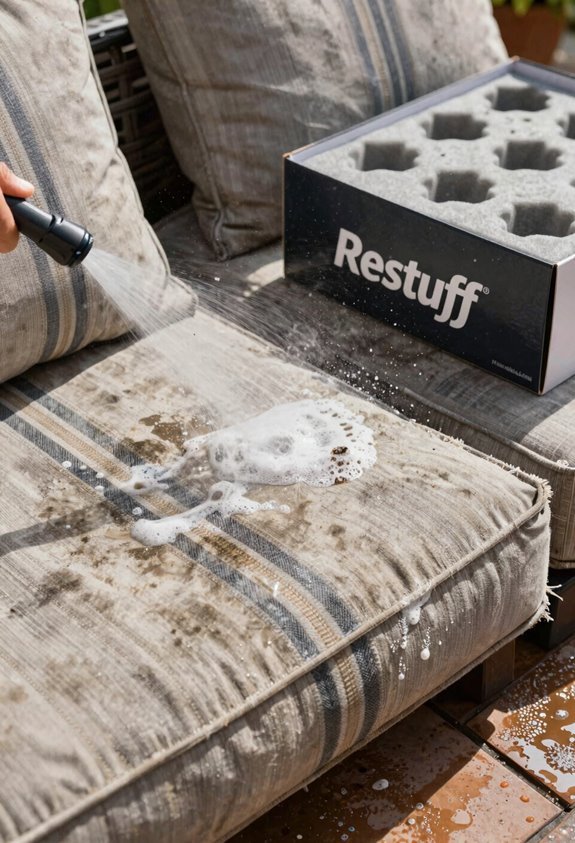
Sometimes I’ll wash a cushion and the filling just won’t bounce back, leaving me with flat, sad seating that needs more than another cycle. When I reach that point, I’ve learned I have options: I can choose between natural cotton batting, layered polyester, or poly-fill depending on the support level I want to restore.
I’ll walk you through how I assess the damage, strip out the old dusty innards, and rebuild the core so my outdoor furniture feels new again.
When Restuffing Becomes Necessary
Why do some cushions emerge from cleaning looking worse than when they went in? I’ve seen this happen with outdoor pieces that simply won’t bounce back, no matter how gently we treat them. When batting degrades or shifts beyond repair, cleaning exposes the damage rather than hiding it.
You’ll notice persistent flattening, uneven pockets, or sagging that reassembly won’t fix. These signals mean the original filler has failed. I remove those compromised layers, use them as patterns, and insert fresh natural cotton batting to restore depth and firmness. The density you choose determines your cushion’s support and sit-balance.
Layer your materials carefully, reseal zippers properly, and you’ll recover comfort without starting over. Some cushions demand this intervention to serve you well again.
Choosing Filling Materials
How do you decide what goes inside once the old filler’s out? I’ve found that selecting the right batting is critical for cushions that refuse to bounce back.
I typically reach for natural cotton batting or layered polyester batting, depending on what I’m rebuilding. Natural cotton gives that classic, breathable feel, while polyester holds its shape against weather and time. I always save the old batting pieces as templates; nothing beats the original pattern for getting the fit right.
For structure and depth, I wrap new batting around the core rather than just stuffing loose fill. Poly-fil works for plush comfort, but batting delivers the architectural integrity outdoor furniture demands. When I’m tackling oversized cushions, I measure twice and plan my density carefully. Consistent loft means no lumps, no flat spots, just resilient support that welcomes you back.
Step-by-Step Restuffing Process
The restuffing process begins with a careful teardown, and I’ve learned that patience here saves hours of frustration later. I inspect the inner batting, deciding what stays and what goes, then use those old layers as my pattern for cutting fresh natural cotton. I wrap the new batting around the base, rebuilding that original firmness we all want in our outdoor furniture.
| Step | Action |
|---|---|
| Inspect | Check old batting for salvageable sections |
| Pattern | Trace existing layers onto new material |
| Cut | Shape fresh batting to match dimensions |
| Layer | Stack Poly-fil or cotton for proper density |
| Finish | Re-zip covers and reattach buttons securely |
I stuff back cords, secure the shape, and reseal everything. Those twenty buttons? They go back on last. It’s time-consuming work, but when your covers still look good, this effort absolutely pays off.





