
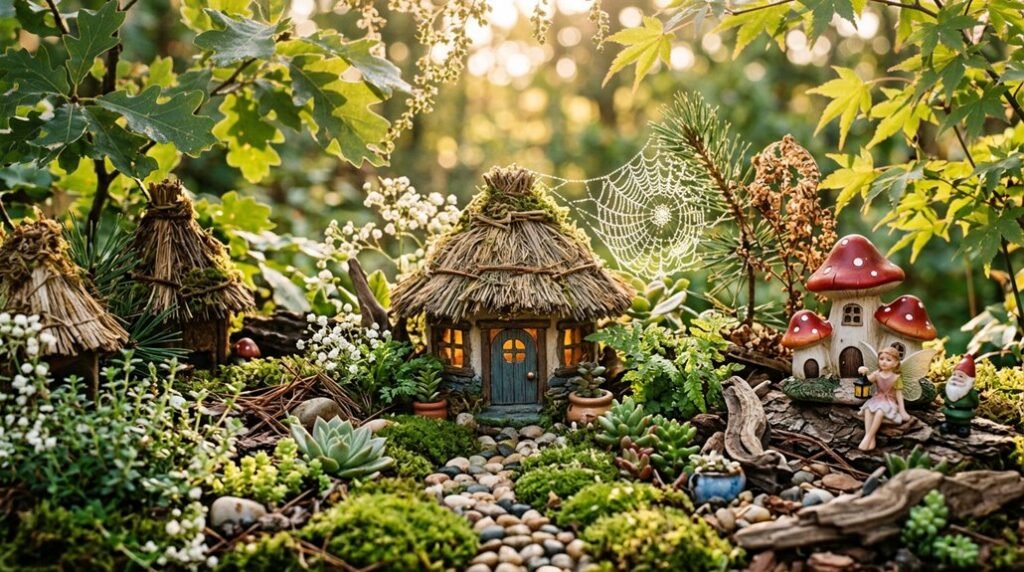
Like Alice peering through the keyhole, I’ve discovered that miniature worlds reward the patient observer. This weekend, I’ll guide you through ten accessible builds that turn ordinary containers into immersive habitats. You’ll master polymer clay sculpting, living roof construction, and ambient lighting design. The first project awaits.
Choose Your Container and Garden Location
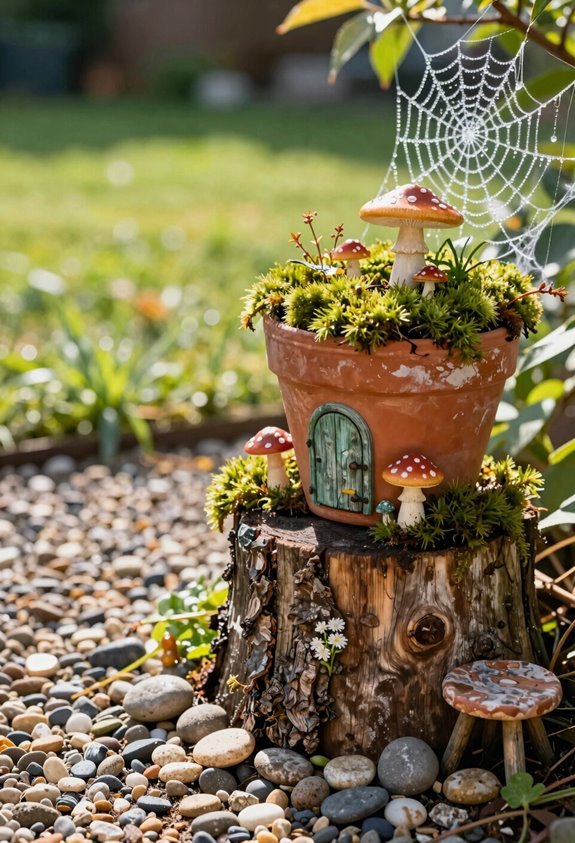
Where do you begin when building a fairy garden? I start with container choice and outdoor location, because these decisions shape everything that follows.
I prefer terra cotta pots for their breathability and classic aesthetic, though any vessel with drainage holes works. Without proper water flow, roots rot and plants fail. I always assess sun exposure before committing; matching light conditions to plant needs prevents frustration later.
For visual impact, I plan one or two focal pieces first, then build around them. Tiered planters create natural elevation changes that draw the eye upward and outward. I position everything in a sheltered spot, shielded from harsh wind and pounding rain. Stability matters. Your fairy garden does well when you’ve built its foundation thoughtfully.
Sculpt a Polymer Clay Fairy Door for Trees or Rocks
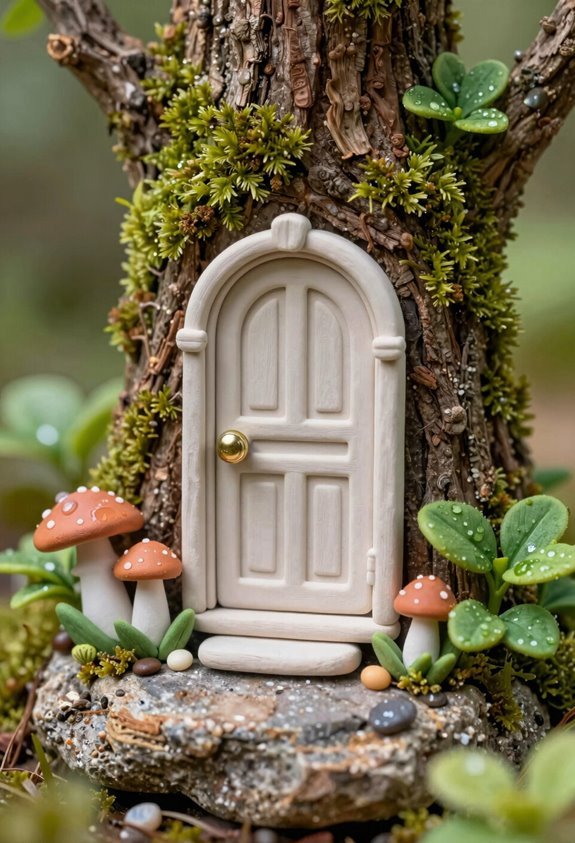
Once I’ve settled on a container and location, I turn my attention to the details that’ll bring real personality to the space. I reach for polymer clay, an ideal medium for crafting durable outdoor decor that withstands the elements without toxic curing fumes.
I shape a rectangular slab with a rounded top, carving a small arched miniature doorway into the center. I press in a tiny doorknob, add faux hinges, and texture the surface to mimic weathered wood grain. After baking at low heat for roughly fifteen to thirty minutes, I cool the fairy door completely.
For basement rock or tree attachment, I clean the surface thoroughly, then secure the piece with waterproof craft glue. I complete my DIY fairy garden vision with a mossy surround, earthy paint accents, and an optional threshold that invites wonder.
Shape Mini Toadstools and Succulents From Polymer Clay
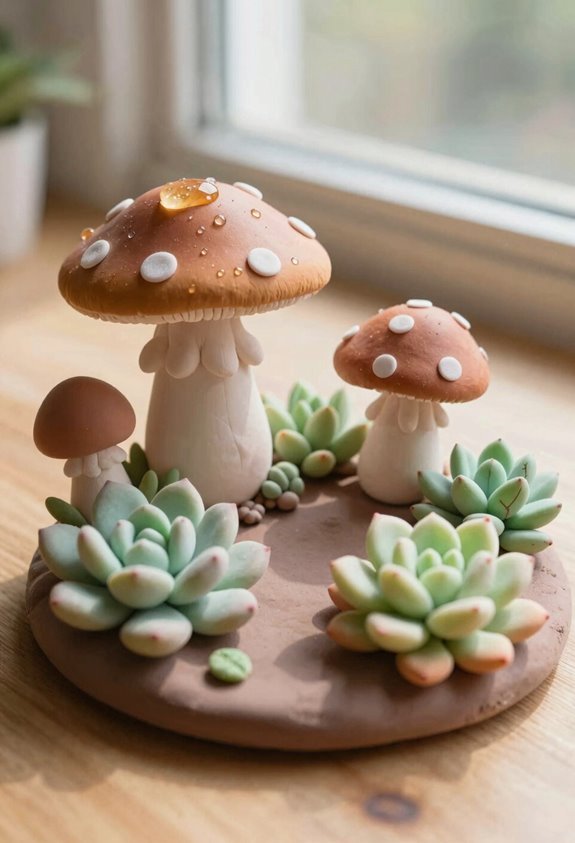
Polymer clay’s color spectrum becomes my palette for sculpting tiny woodland accents that’ll survive seasons outdoors. I roll bakeable clay into classic red-and-white toadstools with varied cap shapes, or craft miniature succulents in greens and metallics for my DIY fairy garden. These pieces bake quickly in a standard oven, achieving the outdoor durability miniature gardening demands.
I cluster toadstools around tiny succulents, creating lightweight vignettes I position anywhere. The polymer clay withstands weather while maintaining detail, keeping my fairy garden fresh year-round.
- Blend colors for custom toadstool spots and succulent tones
- Shape varied cap silhouettes to avoid repetitive forms
- Bake per manufacturer instructions for full curing
- Position clusters near living plants for seamless integration
Build a Popsicle Stick Fairy House With a Living Roof
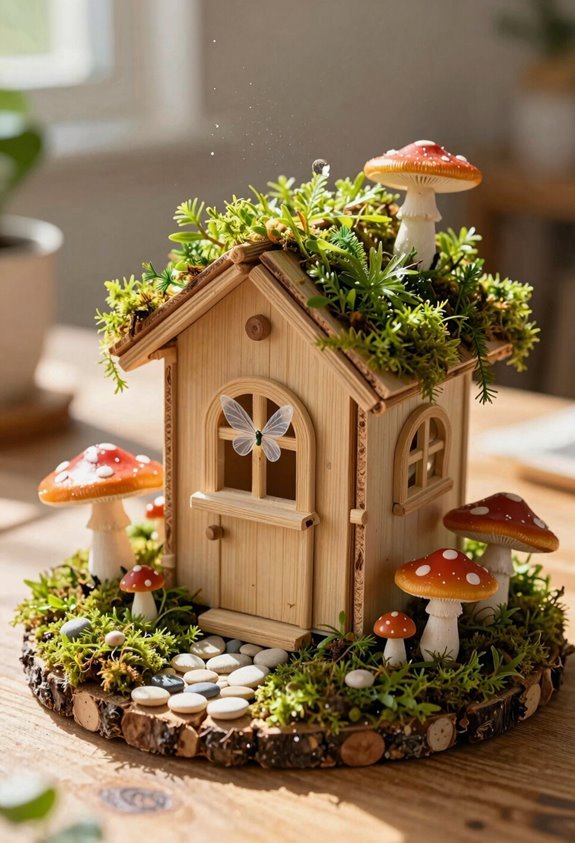
I’ll start by gathering my materials, then I’ll build the structure using waterproof adhesive and layered craft sticks for weather resistance. Once the walls and peaked roof are assembled, I’ll add the living roof by securing moss panels or ground-cover plants to create that seamless, organic finish.
The process rewards patience, but the result anchors any fairy garden with authentic, miniature architecture.
Gathering Your Materials
Before I begin construction, I’ll lay out everything needed for this miniature build. Materials gathering for this DIY project keeps the process smooth and prevents frustration. I’ve learned that preparation turns a simple popsicle stick house into a charming fairy garden centerpiece.
Here’s what we’ll need:
- Plain wooden craft sticks or tongue depressors for the structural framework
- Hot glue and lightweight weatherproof sealant for outdoor durability
- Small succulent cuttings or low-growing moss to create a living moss roof
- Miniature accessories like a tiny door, windows, and glass or plastic front
These components blend functionality with creative potential. The sealant protects your work from moisture, while the living roof establishes immediate organic connection. Together, we’re building something that welcomes wonder into any outdoor space.
Building the Structure
Where do we begin when turning humble craft sticks into a structure that actually invites wonder? I start my structure building by selecting sturdy wooden craft sticks for framing walls, a pitched roof, and a small arched door that establishes our fairy house as a genuine miniature dwelling. I reinforce corners with waterproof glue and add internal supports using broken stick pieces and river rocks to stabilize multi-level features. A tiny chimney and carved window frames complete the architectural detailing.
I prepare the roof surface for its future moss roof by making sure it has adequate pitch. Finally, I treat all wood with a weather-resistant finish and raise the base slightly to allow proper drainage, protecting our collaborative creation through seasons of outdoor enchantment.
Adding Living Roof
With the structure complete and weather-treated, I’m ready to crown our fairy house with its most engaging feature. Our living roof turns this popsicle stick house into a miniature ecosystem that belongs right in your garden.
First, I line the roof with a waterproof barrier; this protects the wood while holding moisture. Next, I add a shallow layer of potting mix, just enough soil on roof to anchor roots without weighing down the structure. Then I nestle in moss, tiny sedum, and succulent cuttings that’ll tolerate sun and tight spaces.
- Choose shallow-root plants like moss or sedum for longevity
- Test your waterproof barrier before adding any soil
- Secure edges with thin wire to prevent slippage
- Plan occasional irrigation during dry weeks for resilience
Trim regularly to scale, and your fairy house becomes something memorable.
Gather Twigs and Natural Materials for Rustic Fairy Furniture
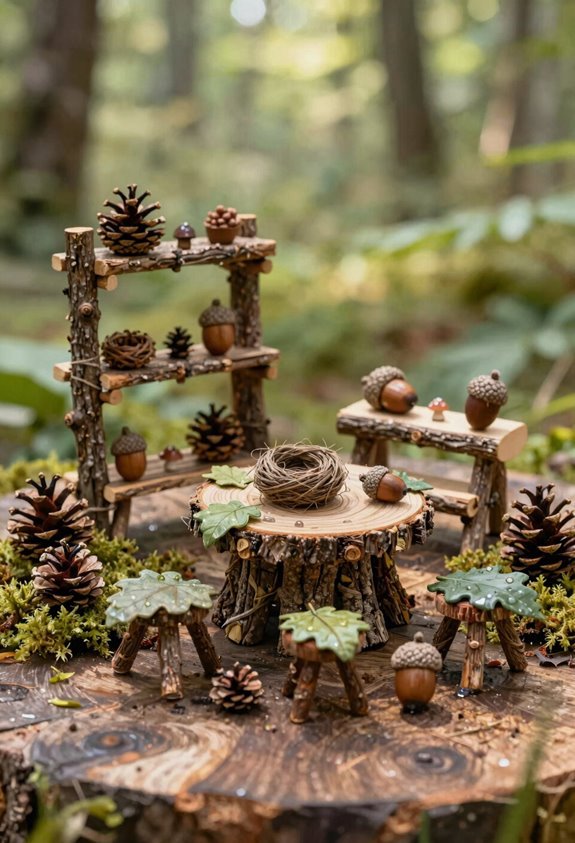
How do we bring authentic woodland charm into our miniature spaces? I start by gathering twigs, pinecones, acorns, bark, and small stones; these natural materials become the foundation for rustic fairy furniture that feels at home in our gardens.
I build twig chairs and tables using longer sticks for structural support, splitting thinner twigs to craft organic backs and armrests. Hot glue or waterproof adhesive secures each joint firmly. I seal exposed wood with a clear outdoor-safe finish, protecting our creations from weather damage while preserving their earthy aesthetic.
For upholstery, I press moss and dried leaves into seat crevices, adding tiny mushrooms as decorative accents. I scale everything to fairy proportions, keeping miniature pieces between two and four inches. This proportional discipline ensures our woodland furniture feels believable, inviting, and complete.
Hang a Fairy Tire Swing From a Branch or Stake
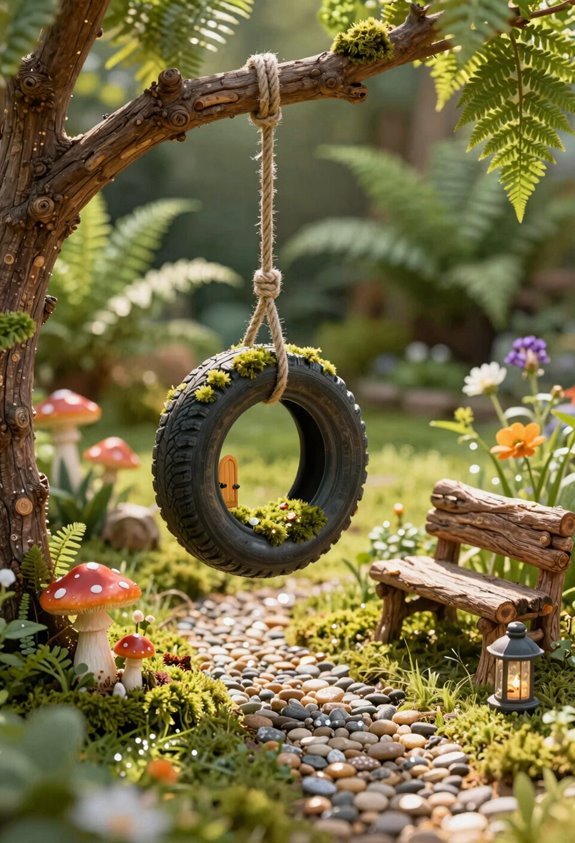
Why not give our fairy visitors a playful perch that catches every breeze? I’ll show you how I craft a fairy tire swing that changes any outdoor fairy garden into an enchanting retreat.
Thread weatherproof rope through a miniature tire’s holes, making sure knot securing techniques withstand wind and rain. Anchor your creation to a sturdy branch or stake positioned for gentle movement without tipping. Trim rope to proper height so the tire hovers just above mossy ground, inviting imaginary guests. Adorn with natural embellishments like pinecones or tiny bells that blend well into woodland surroundings.
I always test my branch or stake stability before final installation, and I avoid adhesives entirely. With proper knot securing and durable materials, this whimsical addition becomes a beloved focal point where our fairy community gathers.
Make a Mirror Pond or Hot Glue Waterfall for Your Fairy Garden
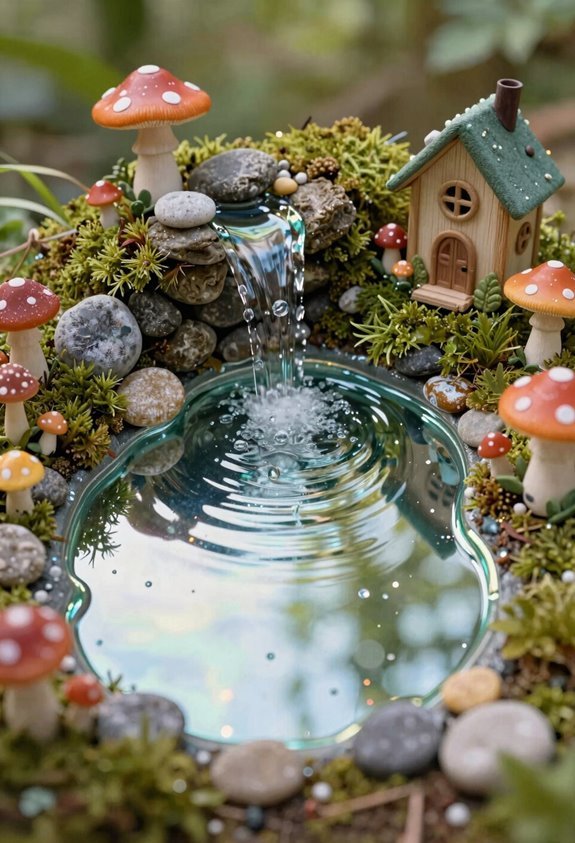
Transform your fairy garden’s landscape by introducing the illusion of moving water, a design element that instantly raises any miniature scene from charming to enchanting. I love creating a mirror pond by embedding a flat mirror at ground level, then brushing Mod Podge with glitter across the surface for that perfect shimmer. You’ll want to seal the edges well to protect surrounding materials from moisture damage.
For a waterfall, I repurpose plastic packaging and build cascading tiers with hot glue, pressing moss and rocks into the glue while it’s warm for authentic texture. This technique works beautifully indoors.
| Feature | Best Practice |
|---|---|
| Mirror Pond | Position below eye level for maximum reflection |
| Hot Glue Waterfall | Add moss and rocks for natural texture |
| Durability | Seal all edges to prevent moisture damage |
Build a Vine-Covered Fairy Arbor for Garden Entryways
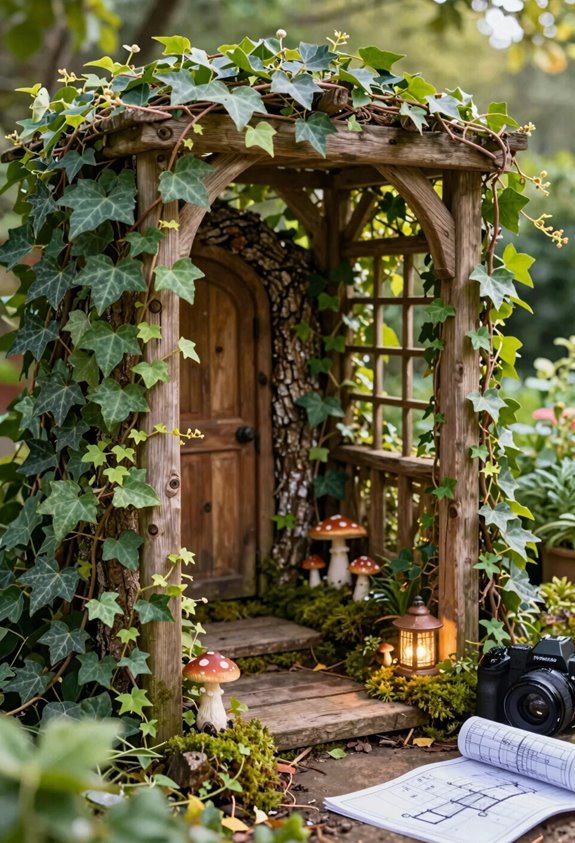
Where better to welcome visitors into your fairy garden than beneath a gracefully arching arbor? I’ll show you how I build a vine-covered entryway that turns any corner into an enchanted threshold.
My DIY arbor uses simple materials: popsicle sticks, twigs, or flexible vines form the frame. I reinforce the structure discreetly, then mask joints with moss for seamless integration. This project scales beautifully, and it’s kid-friendly with adult supervision for hot glue application.
Gather twigs, small vines, and optional miniature flowers for natural weather resistance. Build a simple frame first, then weave greenery to create the vine-covered illusion. Position your arbor at pathway intersections for maximum visual impact. Add a tiny gate beneath to complete the entryway narrative.
Your fairy garden deserves this inviting portal.
Turn Bottle Caps Into Fairy Garden Chairs and Tables
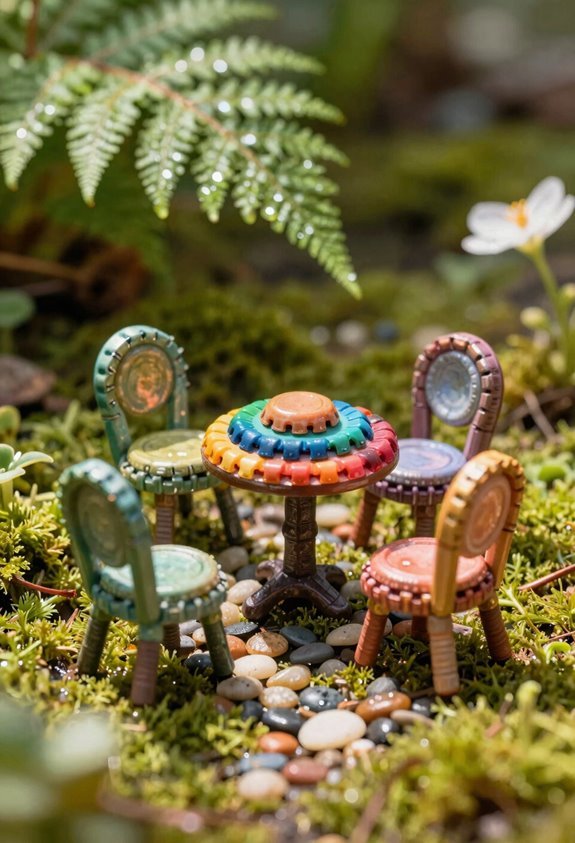
I start by gathering bottle caps from everyday beverages, then apply acrylic paints and waterproof sealants to create weather-resistant finishes. For assembly, I attach toothpick legs or wire supports using outdoor-grade adhesive, making sure everything holds up well in garden conditions.
These scalable furnishings let me customize colors and patterns to match any fairy village aesthetic.
Gathering Bottle Caps
How do we start building charming seating for our tiny visitors? I gather bottle caps from my recycling bin before building the upcycled furniture that’ll anchor my fairy garden ideas. This DIY weekend project begins with collecting metal caps in varied sizes, ensuring I select pieces free from sharp edges or residue.
- Rinse caps thoroughly and dry them completely
- Sort by size: larger caps become table bases, smaller ones suit chairs
- Gather popsicle sticks for rustic table tops
- Keep hot glue ready for secure assembly
I transform these humble finds into miniature furniture that tells a cohesive story. Pairing bottle cap seats with stick legs creates lightweight, durable pieces. I scale my collection based on garden size, knowing painted caps blend with any fairy village theme I envision.
Painting Techniques
The transformation begins with proper surface preparation, and I’ll sand each bottle cap’s exterior with fine-grit paper to create tooth for the paint. Once prepped, I apply acrylic paints in thin layers, building color gradually to avoid drips on these tiny surfaces. I shade seat contours and add decorative details that complement my miniatures collection.
| Step | Technique | Purpose |
|---|---|---|
| Sanding | Fine-grit paper | Creates paint adhesion |
| Base coat | Thin acrylic layer | Prevents chipping |
| Detailing | Small brush work | Adds visual interest |
| Sealing | Outdoor varnish | Protects from weather |
For my DIY fairy garden, I always seal finished bottle cap chairs with clear outdoor varnish. This weatherproofing step protects against rain and sun, extending the life of my miniature furniture through seasons of outdoor display.
Assembly Tips
Once my painted bottle caps have cured completely, I’m ready to transform them into functional fairy furniture. This DIY assembly process brings us together as creators of enchanting outdoor fairy garden spaces.
Here’s how I build my miniature furniture:
I attach twig legs to bottle cap chairs using hot glue, pressing firmly for thirty seconds to ensure stability. I pair matching caps with craft sticks to form proportional tables and armrests. I seal every piece with weatherproof finish, protecting my fairy garden accessories through rain and sun. I coordinate colors across my set, creating cohesive miniature furniture that welcomes every visitor.
These bottle cap chairs withstand outdoor conditions while adding authentic charm. Your fairy garden deserves handcrafted pieces that reflect personal creativity, built to last through every season.
Light Your Fairy Garden With DIY Lanterns and String Lights
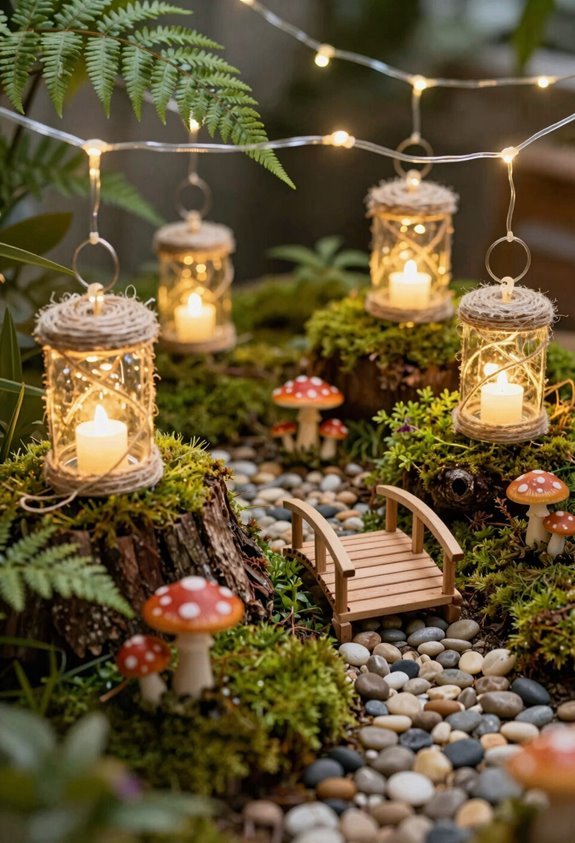
Where better to begin my evening display than with handcrafted luminaries that transform my miniature landscape after sunset? I’ll start my weekend project by crafting polymer clay lanterns specifically sized for terracotta pot gardens, baking them quickly in my standard oven until they harden with glittery or metallic finishes that catch moonlight beautifully. These DIY lanterns become even more magical when I weave delicate string lights throughout my fairy garden, creating an illuminated fairy village that extends my creative vision well past dusk.
The techniques feel approachable, even for supervised family participation, and I appreciate how combining multiple lighted elements highlights architectural details in my miniature world. For variety, I’m also considering larger light-up structures to diversify my garden’s glow, making sure every pathway and gathering space feels welcoming after dark.





