
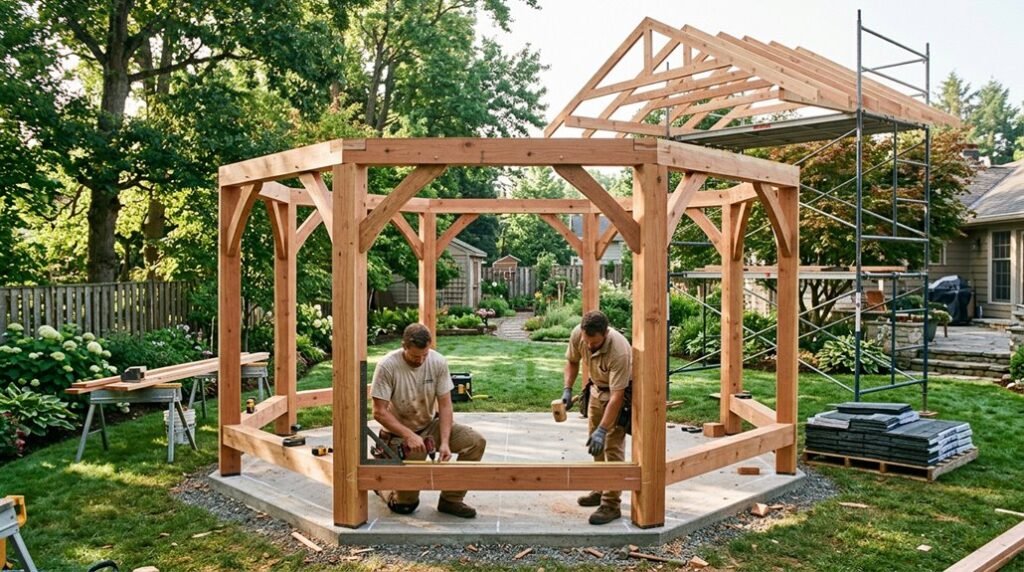
I built my first gazebo on uneven ground, and that mistake taught me more about structural integrity than any manual ever could. You don’t need a contractor’s license to create something lasting, but you’ll want to respect every step in the sequence.
The foundation determines whether your rafters sit true twenty years from now, or warp after the first hard freeze. I’m going to walk you through what actually works.
Choose Your Build: Kit, Custom, or Pre-Fab Gazebo
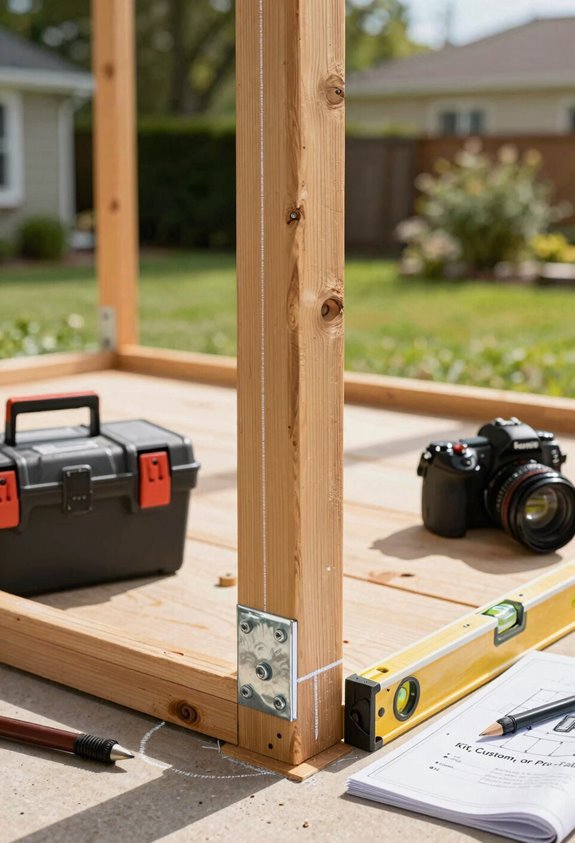
Though I’ve tackled countless outdoor projects, I’ll admit the sheer variety of gazebo options caught me off guard at first. If you’re weighing how to bring this structure to your backyard, you have three solid paths: Gazebo Kits, custom builds, or pre-fab units.
I’m a firm believer in DIY Assembly when you’re entering this space. Kits like the Outsunny 10′ x 10′ Gazebo Tent include pre-cut parts and crystal-clear instructions, so you won’t need years of carpentry behind you. Amish Country Gazebos offers modular wood or vinyl options that streamline construction without sacrificing quality.
Pre-fab gazebos deliver faster setup than ground-up construction, while custom builds demand 1–2 weeks and sharper skills. Most importantly, reputable kits already address Building Codes, removing guesswork. You’ll join a community of builders who’ve changed their outdoors with confidence.
Plan Your Gazebo: Check Codes, Design, and Budget
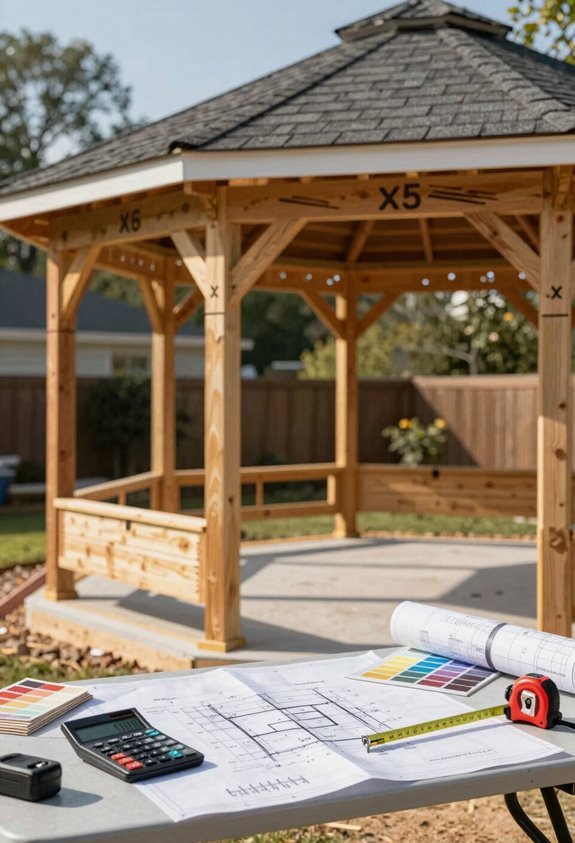
Before I swing a hammer, I’m checking my local building codes and permit requirements, since those regulations often dictate specific construction methods and materials I’ll need to use. Once I’ve confirmed compliance with safety standards through my local authority or a professional, I’ll move forward with designing my gazebo framework using detailed plans that guide both fabrication and assembly.
Balancing my budget against material costs and potential kit options keeps this project realistic and code-compliant from day one.
Checking Local Building Codes
Where exactly should your gazebo go, and more importantly, what will your local building department let you build? I always start by reviewing local building codes, because nothing derails a project faster than overlooked permit requirements.
Your jurisdiction dictates allowable structural dimensions, from maximum height to footprint coverage, and I’ll confirm whether your gazebo qualifies as an accessory structure. Some areas demand stamped drawings or professional inspections for full compliance, while others focus on wind load ratings and flood zone anchoring.
I prepare my site plan early, mapping setbacks and drainage requirements before submitting permit applications. When I verify that my chosen materials meet code compliance standards, I protect both my investment and my neighborhood’s integrity. This groundwork transforms ambitious plans into approved reality.
Designing Your Gazebo Framework
Anyone who’s admired a well-built gazebo knows the magic starts in the framework, and I begin every design by walking my yard with a measuring tape and a clear purpose. I’m seeking that perfect flat spot where my outdoor retreat will feel like home.
I choose my shape next: square, rectangular, or multi-sided, whatever complements my yard’s flow and how I’ll gather with friends. With that vision set, I draft my design plan, marking precise post spacing and heights that create both strength and openness.
Before I cut a single board, I’ve already secured my permits and studied local codes; compliance isn’t negotiable, it’s community respect. My budget guides material choices without compromising standards.
Every calculation lands in my plan, turning raw lumber into a framework that welcomes everyone who steps inside.
Find the Right Spot: Level Ground and Good Light
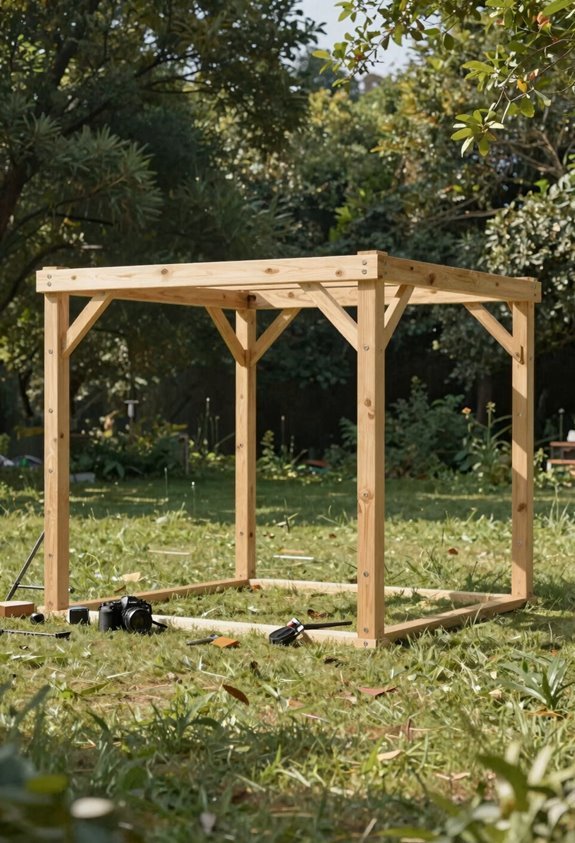
Why settle for a mediocre location when I’ll spend countless hours enjoying this space? I start my site assessment by scouting for level ground, because a flat surface prevents wobbling and provides anchoring and stability for years of gatherings.
I observe sunlight patterns throughout the day, noting where glare hits harshly and where gentle shade creates comfort. I check wind direction and surrounding open space, minimizing drafts that could disrupt outdoor lighting or relaxation. I verify soil quality for secure anchoring points, making sure my gazebo foundation resists shifting.
I consider proximity to utilities and pathways, making electrical access practical for evening ambiance. This deliberate planning turns a simple structure into a real retreat where my community naturally gathers.
Pour Concrete or Build a Wood Foundation
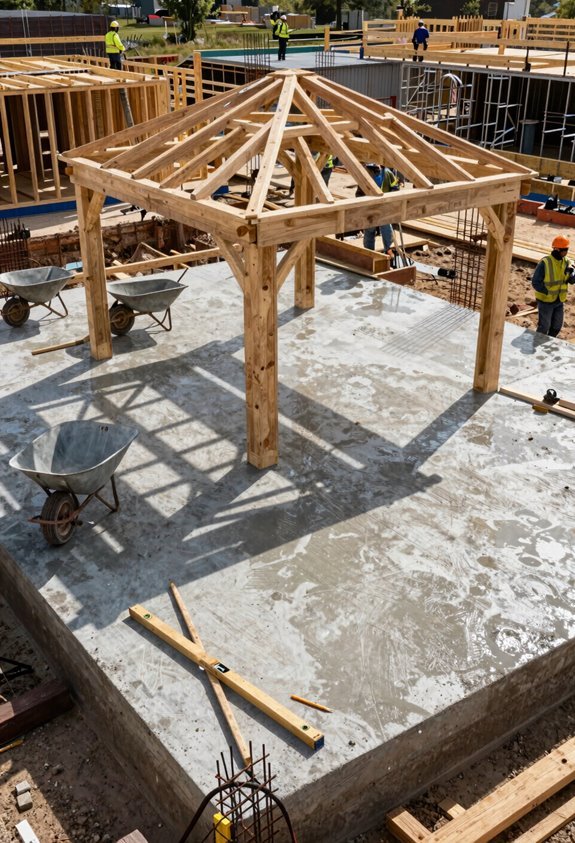
How do I want this foundation to perform over the next decade? That single question guides every choice I make right now. I’m building something that’ll anchor our gatherings, our quiet mornings, our shared memories.
I’ve got two solid paths forward, and each one fits a different vision:
- Concrete foundation demands I pour a slab at least four inches thick, creating that permanent, level base my heavier structure deserves.
- For this route, I excavate proper footing, construct level formwork with absolute precision, and respect cure time; rushing ruins everything.
- Wood foundation simplifies my life when I’m crafting something smaller or semi-temporary, using post anchors and a raised frame.
- Whichever I choose, I secure every post firmly, because wobbling undermines the sanctuary we’re creating together.
Assemble Your Gazebo Posts and Beams
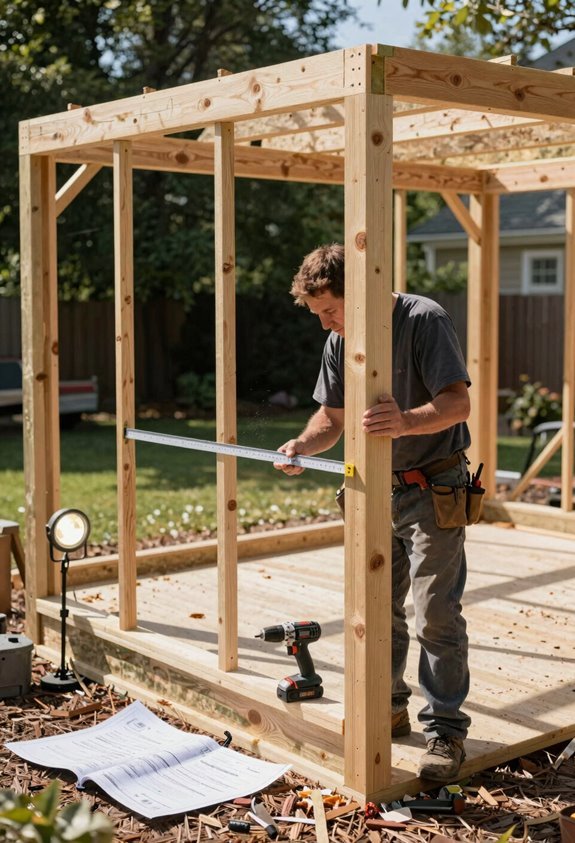
Where exactly should I stand these posts so everything lines up perfectly? I position each vertical post at the corner marks from my foundation, checking they’re plumb before securing anything permanent. This precision matters; we’re building this together, and I want your frame to stand strong for years.
I connect the posts with horizontal beams, forming the outer perimeter using brackets and screws that create a rigid skeleton. Pre-drilled holes guide my drill, preventing misalignment that could throw everything off.
I add joists perpendicular to the beams, establishing the solid base your flooring and roof will need. I check levelness constantly, adjusting before the frame settles wrong. Keeping everything square isn’t obsessive, it’s the difference between a wobbly headache and a structure you trust. Your gazebo takes shape now, beam by beam.
Frame and Cover Your Gazebo Roof
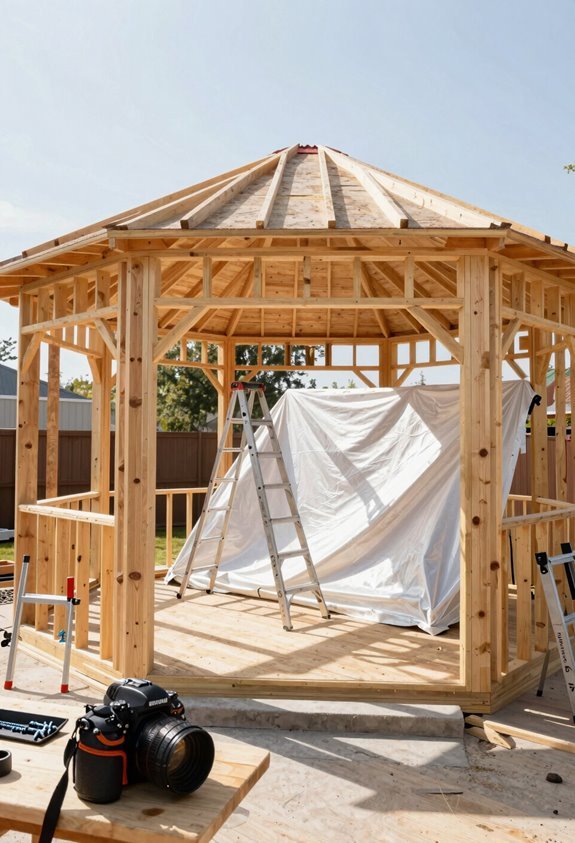
With your post-and-beam frame locked square and true, I’m ready to move upward and cap this structure with a roof that’ll shed weather and shade your summers. I frame the roof from the top down, positioning roof beams at corners and midpoints so weight distributes evenly across every joint. Once those beams are secured with screws and brackets, I attach rafters running perpendicular to create the skeleton that carries your load.
Here’s how we’ll finish strong together:
- Frame the perimeter with doubled roof beams at each intersection point
- Space rafters 16 inches on center for proper structural support
- Select your roof covering; metal panels, shingles, or marine-grade fabric
- Apply waterproofing seals at every overlap to stop leaks before they start
You’re building shelter that lasts.
Add Gazebo Walls, Netting, and Finishing Details
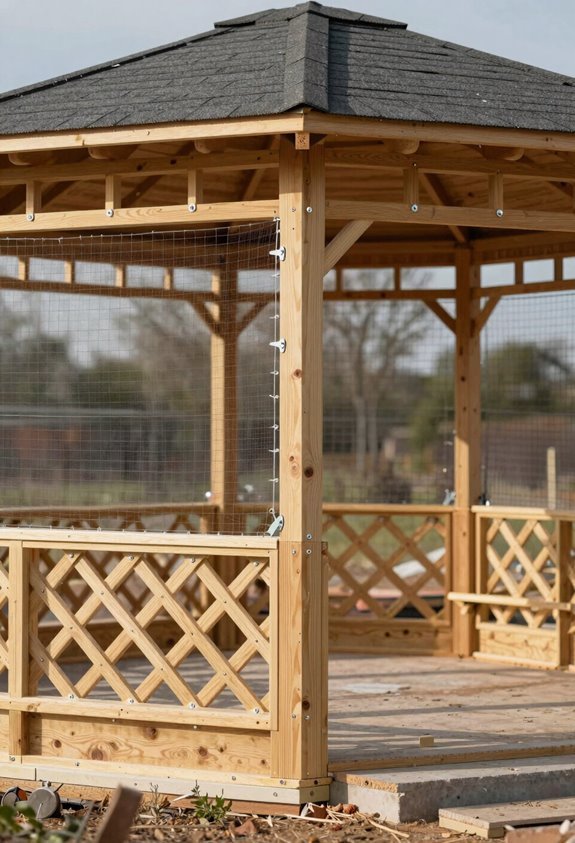
I’ll secure the wall panels between posts, making sure each cut fits snugly before fastening with screws. Then I’ll attach mosquito netting to the beam connectors, creating a breathable barrier against insects while maintaining airflow.
Finally, I’ll add those finishing touches: curtains, lighting, or a fresh coat of stain that turn this structure into your personalized outdoor retreat.
Wall Panel Installation
The wall panels transform your open gazebo frame into a sheltered, functional space you’ll actually use. I start the installation by measuring each section between posts and beams, then cut panels for a precise fit that creates seamless visual flow.
- Secure panels with corrosion-resistant fasteners to prevent rust and structural weakness
- Select slats, solid panels, or windows that match your climate needs
- Add railings to corner posts for safety and polished edges
- Sand thoroughly before finishing and weatherproofing with paint or stain
This finishing creates a cohesive outdoor room where you’ll gather comfortably.
Netting and Screens
Once you’ve secured the wall panels, I recommend installing the mosquito netting rod as your final structural component, since it attaches directly to the top beam connectors and creates the framework for fully enclosing your gazebo interior. Step 14 covers hanging mosquito netting and curtains using clips that attach to this rod system. I find this turns our space into a true gathering place. Screens keep insects away while curtains add privacy and warmth for long evenings together.
| Component | Purpose | Our Shared Benefit |
|---|---|---|
| Netting | Insect barrier | Carefree connection |
| Curtains | Privacy layer | Intimate memories |
| Stakes (8+ extras) | Stability anchor | Lasting togetherness |
For wind protection, I’ll add up to four stakes per post when installing netted walls, helping our screened sanctuary stand firm through every season.
Final Decorative Touches
Why stop at structure when your gazebo can become a true outdoor retreat? I recommend completing your build with purposeful additions that balance beauty and function.
Your Roof Styles already define the silhouette, but I suggest these Finishing Touches to raise the space:
- Install measured wall panels between posts for Privacy/Weather Protection against wind and curious neighbors
- Secure mosquito netting along top beams to maintain visibility while deterring insects
- Apply Painting/Staining to protect surfaces and harmonize with your outdoor décor
- Integrate Decorative Elements like lattice panels, trellises, or built-in benches
I verify all final fittings, confirm levelness, and perform comprehensive safety checks before welcoming anyone inside. These details turn your structure into a real gathering place where memories wait to unfold.
Anchor and Level Your Gazebo for Stability
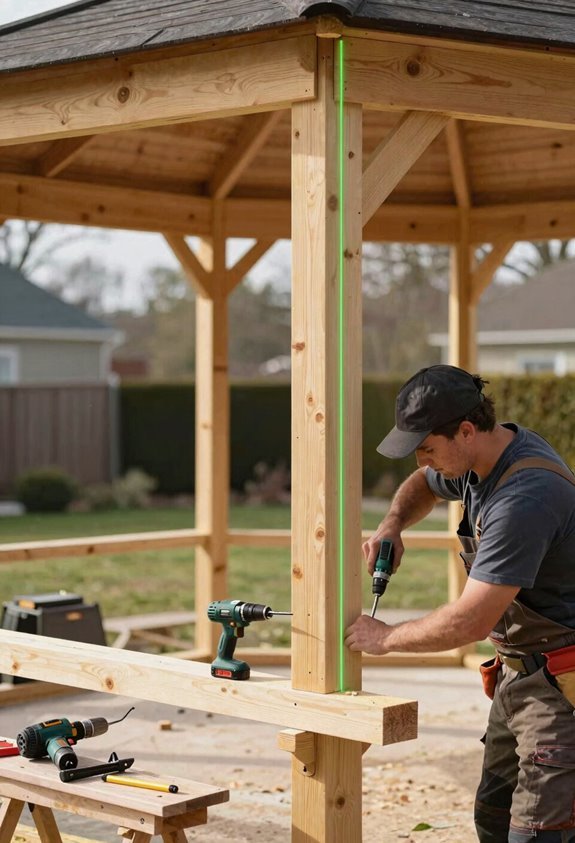
Although a beautiful gazebo can transform your backyard, it won’t stay standing long without proper anchoring and leveling. I start by confirming ground preparation creates a level foundation, checking every corner with a spirit level before proceeding.
For gazebo anchoring on soft ground, I drive stakes through each post base, adding extras when soil feels loose. On wooden platforms, I secure bolts firmly, making sure the base stays flush as seasons shift.
| Anchoring Method | Best For |
|---|---|
| Metal stakes | Grass, soft soil |
| Concrete bolts | Patios, existing slabs |
| Post anchors | Wooden decks |
| Auger-style stakes | Sandy or loose ground |
After securing hardware, I measure both diagonals to verify squareness, adjusting posts until measurements match perfectly. This stability keeps your gathering space welcoming for years, creating that sense of belonging every host desires.
Maintain Your Gazebo: Seasonal Cleaning and Care
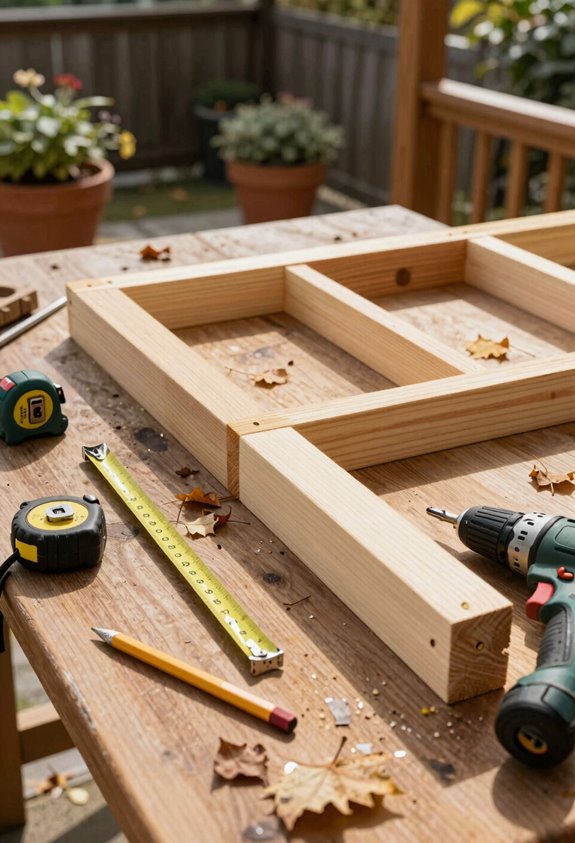
With your gazebo now firmly anchored and level, I’m turning my attention to keeping it pristine through every season. Consistent maintenance protects your investment and makes sure this space remains welcoming for years.
I’ve developed a straightforward routine that balances thoroughness with practicality:
- Schedule quarterly cleaning sessions for roofs, frames, and netting to prevent buildup
- Apply sealing or staining to wood surfaces annually for weatherproofing against moisture
- Conduct biannual inspections for loose hardware, wear, or decay
- Remove fabric covers during extreme conditions and clear snow promptly
I recommend weather-resistant materials like aluminum framing and polycarbonate roofing to minimize upkeep demands. These proactive steps create a durable outdoor space where you’ll gather with confidence, knowing your structure stands ready for every season.





