
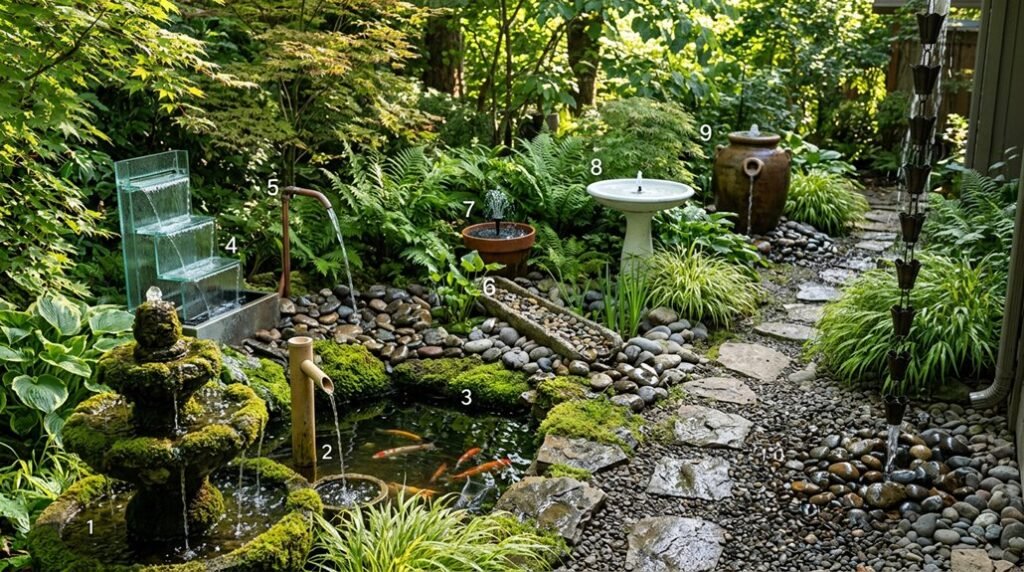
I installed a 264 GPH submersible pump last spring, and the sound changed my patio completely. Water features aren’t just decorative; they mask traffic noise, cool surrounding air, and create focal points that draw people outdoors.
You don’t need professional equipment or permits to build something striking. These ten approaches range from afternoon projects to weekend builds, each solving real problems like maintenance, cost, and wind disruption. I’ll walk you through what actually works.
Choose the Right Pump and Power Source First
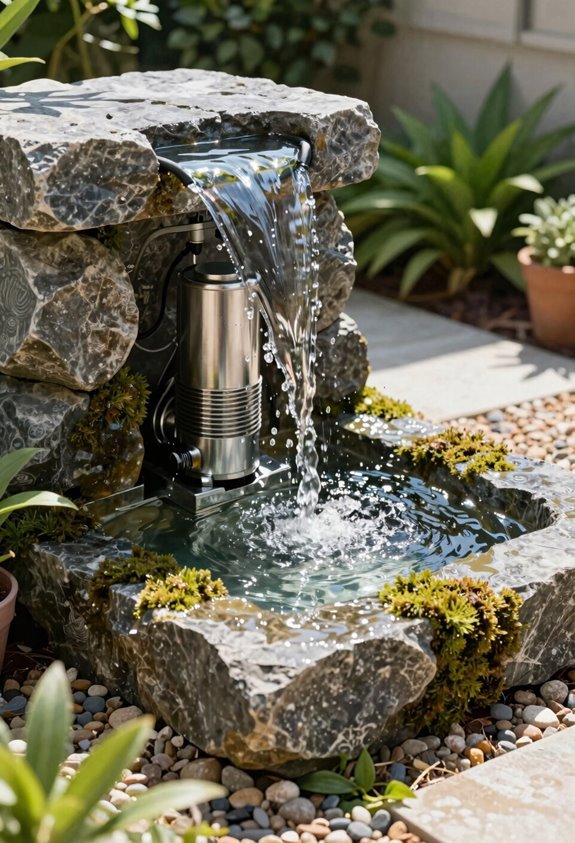
Before I start digging or placing a single stone, I always lock down my pump and power strategy, since this choice shapes everything from flow rate to long-term reliability. Water pump sizing isn’t just about matching numbers; it’s about envisioning how your feature lives in your space. I lean toward electric pumps when I need steady 264 GPH flow and 5-foot lift, especially with underground conduit keeping connections watertight.
Solar’s tempting at 12V and 10 watts, but I plan for reality: panels demand unobstructed sun, and battery backups add cost. When shade hits, performance drops.
I ask myself: do I want set-it-and-forget-it dependability, or am I willing to monitor conditions? Your answer belongs entirely to your yard’s personality and your patience for maintenance.
Build a Disappearing Pondless Water Feature in One Afternoon
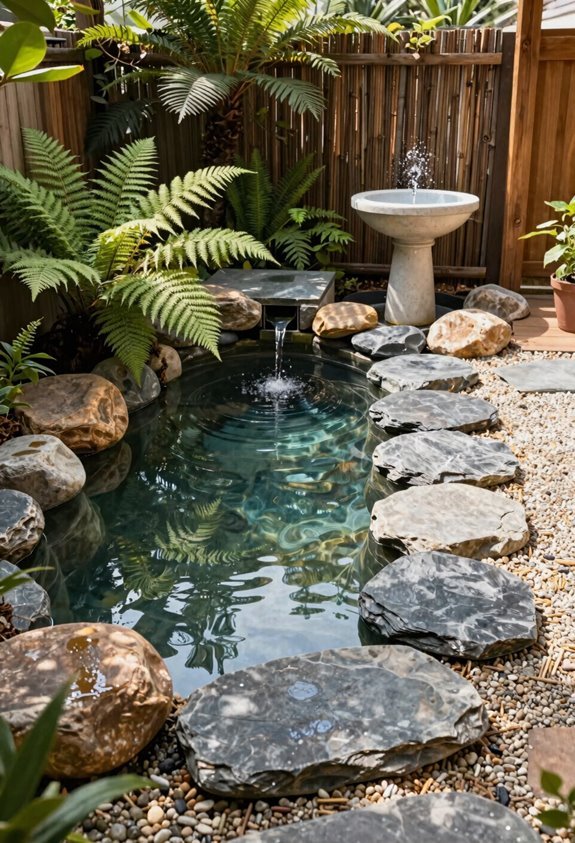
Few projects deliver this much visual impact for a single afternoon’s effort, and I’ll show you exactly how the illusion works. A pondless system buries its basin underground while your fountain element sits above grade, so water seems to vanish into the earth: no standing pool, no maintenance headaches.
Dig your hole for a roughly two-foot diameter basin, set it level with ground surface, then plumb your submersible pump through tubing to the top feature. Lay grate and hardware cloth across the basin, but cut yourself a trap door for pump access later. You’ll thank yourself.
Bury cords properly in conduit, conceal them under mulch, and soften edges with surrounding stone and plantings. Electric pumps around sixteen watts handle most residential lifts, though solar twelve-volt options with battery backup work for off-grid spots. Build it tight, hide it well, and enjoy the mystery with your guests.
Convert a Planter Into a Bubbling Urn Water Feature
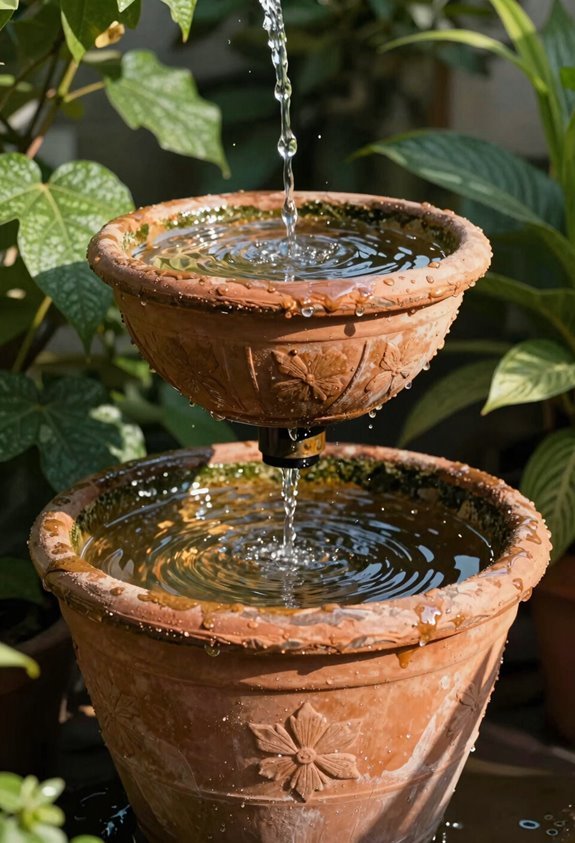
I’ll walk you through the materials and tools you’ll need to transform a simple planter into a bubbling urn, then I’ll break down the assembly steps that make this water feature work. You won’t need anything exotic, just a submersible pump, some PVC tubing, and a basin that fits snugly inside your chosen urn.
Let’s get started, because once you see how straightforward this process is, you’ll wonder why you didn’t build one sooner.
Materials and Tools
For this bubbling urn conversion, you’ll need a ceramic or resin planter with adequate depth, alongside a submersible pump rated for 1 to 3 gallons per minute depending on your desired flow. These water feature ideas work best when you have the right foundation, so let’s gather what actually matters.
I also recommend a watertight basin or inner container to hold your reservoir and prevent leaks, plus flexible tubing to route water from pump to rim. You’ll want weatherproof sealant for any drainage holes, decorative gravel or river stones to conceal components, and optionally a timer for intermittent bubbling effects.
A grounded outdoor extension cord completes your electrical needs. Choose materials rated for UV exposure and freeze-thaw cycles if you live in variable climates.
Assembly Steps
With your materials gathered, we’re ready to transform that planter into a self-contained bubbling urn that’ll run quietly in your garden for years. I start by drilling a central hole in the planter base, keeping everything level with the rim so my fountain sits stable.
Next, I install a pond-safe submersible pump rated for 160–264 GPH, threading narrow tubing up through the hole. The line reaches the top, where bubbling action begins.
Below, I create a hidden reservoir using a shallow lined basin to catch recirculating water. I protect the pump with a cloche or cheesecloth, securing it with hardware cloth and garden staples. This blocks debris while allowing airflow.
Finally, I arrange decorative stones around the edge, fill everything with water, and test the flow. Gentle bubbling means success.
Make Any Container Look Deeper With Dark Paint
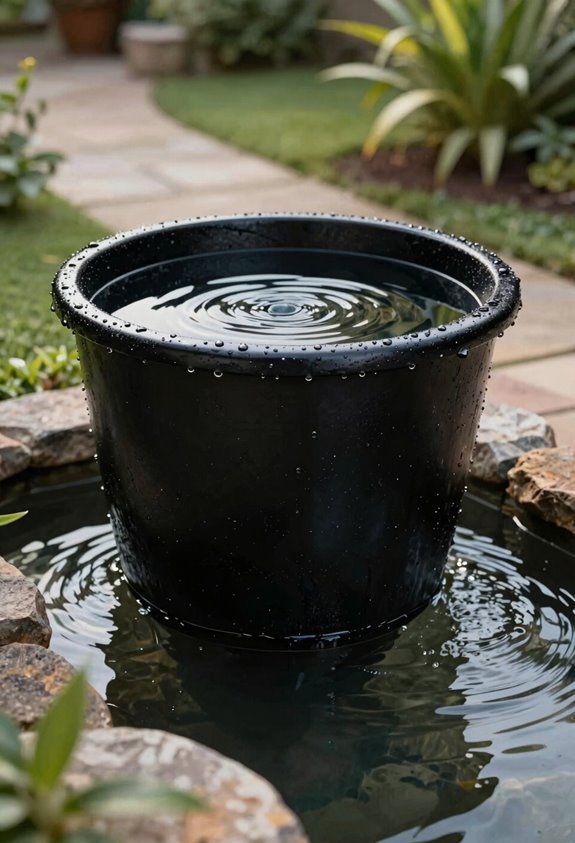
I’ll start by selecting a water-safe, non-toxic matte black paint rated for outdoor submersion, since this finish absorbs light and minimizes glare for that naturally deep, pool-like appearance. Before applying any coating, I’ll scrub the container’s interior with a degreasing solution, rinse thoroughly, and allow complete drying to help the paint stick properly. These preparation steps matter enormously because a clean, properly primed surface prevents peeling and keeps the feature looking professionally finished for years.
Paint Color Selection
A fresh coat of paint doesn’t just protect your container; it completely reimagines how your water feature feels. I always reach for deep blacks or charcoal tones because they absorb light rather than bouncing it back, creating that mesmerizing illusion of depth that makes even shallow basins feel mysterious and substantial. The dark interior quiets visual noise, letting ripples and reflections become the stars of your backyard sanctuary.
| Paint Type | Best For | Key Benefit |
|---|---|---|
| Marine-grade epoxy | Metal containers | Superior waterproofing, prevents corrosion |
| Exterior acrylic | Plastic/resin tubs | Flexibility, UV resistance, easy application |
| Rubberized coating | Concrete vessels | Seals micro-cracks, handles temperature shifts |
| Bituminous paint | Hidden structural areas | Maximum light absorption, budget-friendly |
| Clear polyurethane topcoat | All painted surfaces | Locks in color, adds weatherproof durability |
You’ll want exterior or marine-grade formulas that withstand constant moisture without leaching chemicals. I apply thin coats over proper primer, letting each layer cure completely. This patience prevents blistering and keeps your water feature looking good season after season.
Container Preparation Steps
Before I grab my brush, I prep the container like I’m setting a stage for an illusion. I select high-gloss or matte interior paint that plays nicely with water exposure, then build depth through multiple thin coats. Each layer absorbs light differently, and I sand lightly between applications to eliminate brush marks that would break the spell.
Once the base dries, I seal everything with a waterproof topcoat. This protective barrier prevents chipping when temperatures shift, extending the life of my dark finish through seasons of sun and frost. If I’m working with porous materials, I sometimes add a pond liner beneath the paint for extra insurance against seepage.
Finally, I pour clear water inside to test the depth perception before anchoring stones or aquatic décor. The change never fails to surprise me.
Create a Solar Sphere Water Feature (No Wiring Needed)
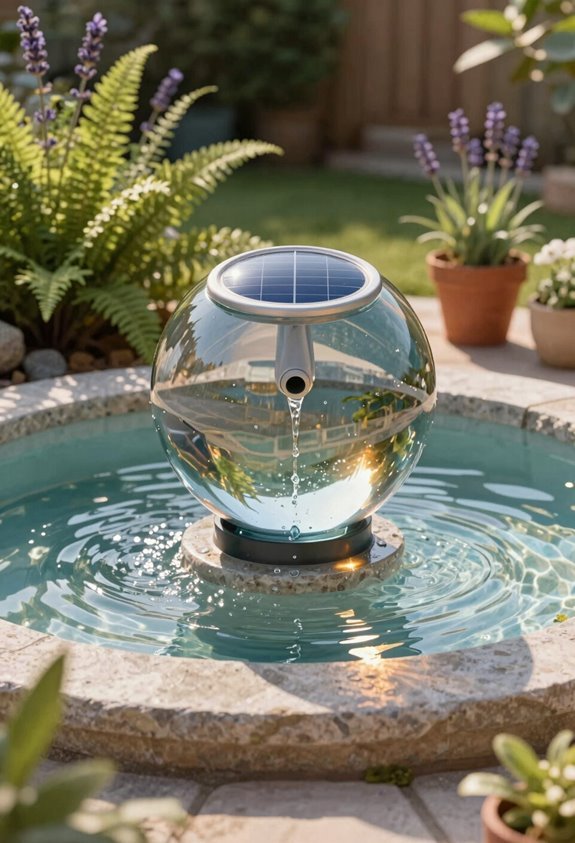
How do you add flowing water to your backyard without calling an electrician? I install a solar sphere water feature, and you can too. The solar-powered pump circulates water without any wiring on-site, so you’re free from outlet limitations.
I choose this water feature for tight spaces, since it tucks neatly into patios, courtyards, or garden nooks. Water cascades gracefully from the sphere into its concealed basin, creating that tranquil bubbling sound we all crave after long days.
I appreciate the integrated look, modern yet natural, with up to sixteen color options to match your landscape’s personality. Battery backup keeps flow continuous when clouds roll through, so your water feature never stalls. You’re crafting something lasting here, and this approachable technology makes it achievable.
Stack Stones Into a Natural Basalt Column Fountain
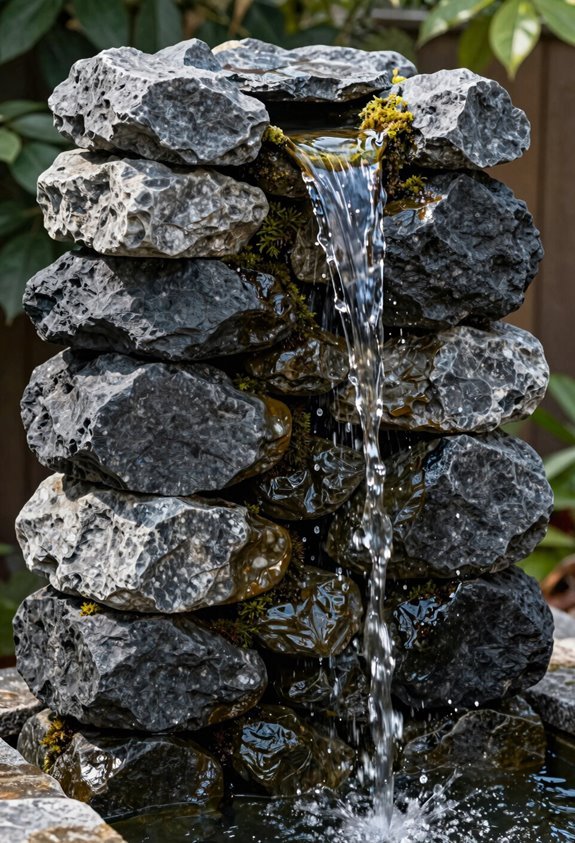
When I want a striking focal point that mimics nature’s own handiwork, I stack stones into a basalt column fountain and let gravity do the rest. I’ll pick evenly sized stones, then build a vertical column that conceals the plumbing inside while water cascades down the outer faces. I route tubing through the stone interior, sealing gaps with waterproof grout for a drip-free design that won’t waste a drop.
I carve a subtle distribution channel at the top so water overflows evenly across multiple surfaces, creating that gentle rippling effect we all love in a quality water feature. Below, I set a shallow basin with a hidden pump to recirculate everything continuously.
I always anchor the column on a level foundation, then camouflage seams with smaller rocks and native plantings so this water feature settles right into your landscape like it was always meant to be there.
Turn a Kiddie Pool Into a Budget Backyard Water Garden
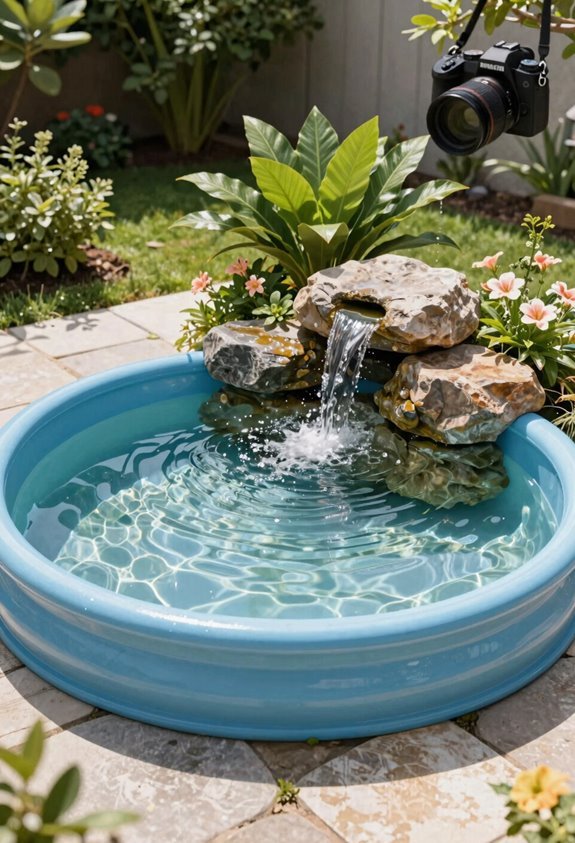
Stone columns command attention, but I’ll show you how to achieve tranquil water garden appeal without the heavy lifting or steep investment. I dig a shallow hole in my backyard, setting a kiddie pool so its edge sits flush with the ground for seamless outdoor decor. I paint the interior black, deepening the water color and enhancing reflections and bubbles.
I tuck this DIY water feature into a quiet corner, surrounding it with stones and mulch to blend with my landscape. A solar pump circulates water, creating gentle cascading sounds. I build a rock rim and install a trap door for easy pump access and maintenance. This low-cost fountain turns my pool into a budget water garden with proper drainage, delivering professional results anyone can replicate.
Design a Low-Maintenance Zen Pebble Water Feature
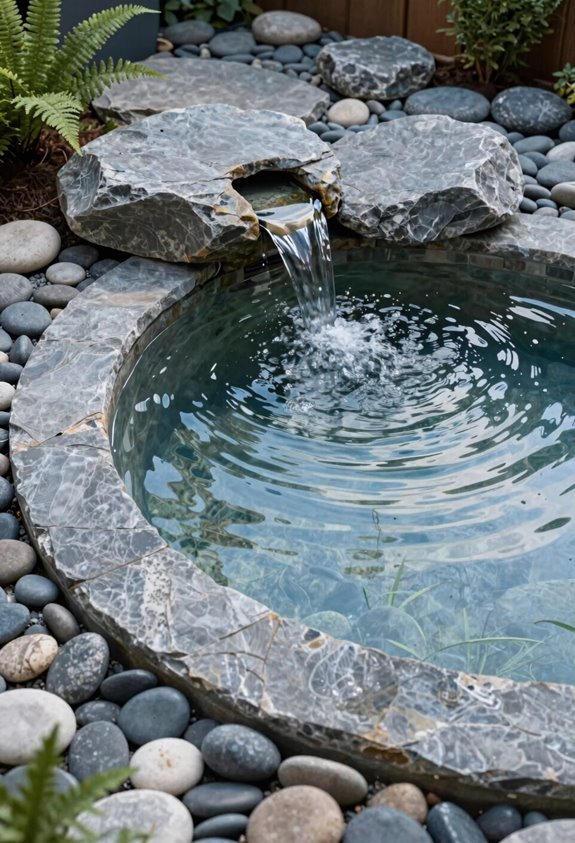
At day’s end, I find myself drawn to the quiet rhythm of bubbling water over smooth stone, and I’ve learned that capturing this serenity doesn’t demand complex engineering or endless upkeep. A Zen pebble water feature turns any corner into your personal retreat.
I start with a rounded basin, filling it with colorful pebbles that catch light while water bubbles gently upward. The Portola Pebble Fountain exemplifies this approach, combining soft curves with natural texture for a tranquil patio backdrop. I surround mine with abundant leafy plants to frame the stones and soften edges.
Shallow basins with low-flow pumps minimize splash and maintenance, while cast-stone construction withstands seasons without losing cohesion. This water feature invites you to pause, breathe, and feel present in the moment.
Add Water Chimes for Layered Fountain Sound
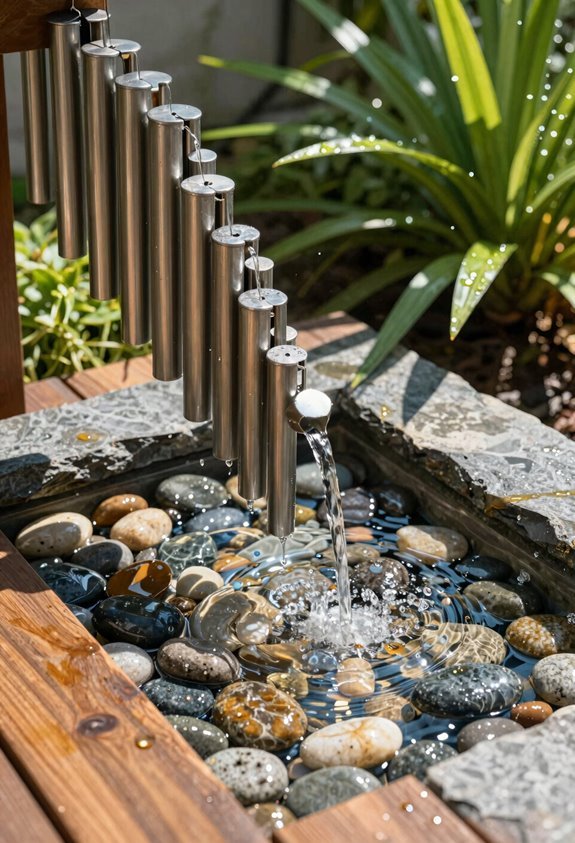
I love how water chimes transform a simple fountain into a multi-sensory experience through gentle tonal layering that dances with every ripple. By positioning lightweight copper or aluminum chimes at staggered heights around your basin, you’ll capture wind-activated harmony that complements rather than competes with your water’s natural rhythm.
Strategic placement for acoustics, considering prevailing wind patterns and mounting frames to trellises or bamboo stakes, helps you get consistent, resonant tones without jarring clang, creating that serene, professional-grade soundscape you’re after.
Gentle Tonal Layering
When I first installed water chimes alongside my main fountain, I discovered how a single spout can’t match the acoustic depth that layered splashes create. I position my water chimes at staggered heights, letting higher tubes catch air while lower ones intercept the spray, building a cascading tonal progression that draws you into the garden.
I chose copper for its bright, resonant voice that cuts through foliage without shouting. Each chime connects to its own flow valve, so I calibrate every note to ring clear without drowning its neighbors. My shallow basin and soft rock surround act as acoustic reflectors, bouncing these layered tones back into the space.
The result feels intentional, welcoming, a soundscape that says you belong here, settled into something crafted with care.
Wind-Activated Harmony
Though I’d already shaped my fountain’s base melody with tiered spillways, the wind-driven layer completed the composition in ways I hadn’t anticipated. I suspended copper chimes above my bubbling water feature, and now each breeze conducts its own arrangement. The chimes clash and ring as moving air drives water against them, creating rhythmic tones that shift with every gust.
I chose brass and stainless steel for durability; they’ve developed that weathered patina that makes seasoned gardeners nod in recognition. You’ll want to position yours where wind consistently reaches the spray zone without overwhelming the sound. I clean mine monthly, clearing debris before it muffles the clarity.
This isn’t just decoration, it’s your water feature finding its voice through nature’s own hand.
Placement for Acoustics
Where you position your fountain determines everything you’ll hear. I’ve found that tucking your water feature into a corner or against a wall creates natural sound reflection, bouncing layered chimes back toward your gathering spaces while masking unwanted background noise.
You’ll want to suspend water chimes near the top, where higher-frequency tones interweave with cascading water for an evolving soundscape that draws people in. A multi-tier design builds perceived depth, as each level produces distinct acoustic cues that reward attentive listening.
I position my fountain at roughly two to three feet, projecting sound effectively without overwhelming nearby seating. Combining submerged, midline, and surface spray points generates overlapping textures that echo off surrounding hardscapes. These strategic choices change your installation from simple décor into an immersive auditory experience.
Prevent and Fix Common Water Feature Failures
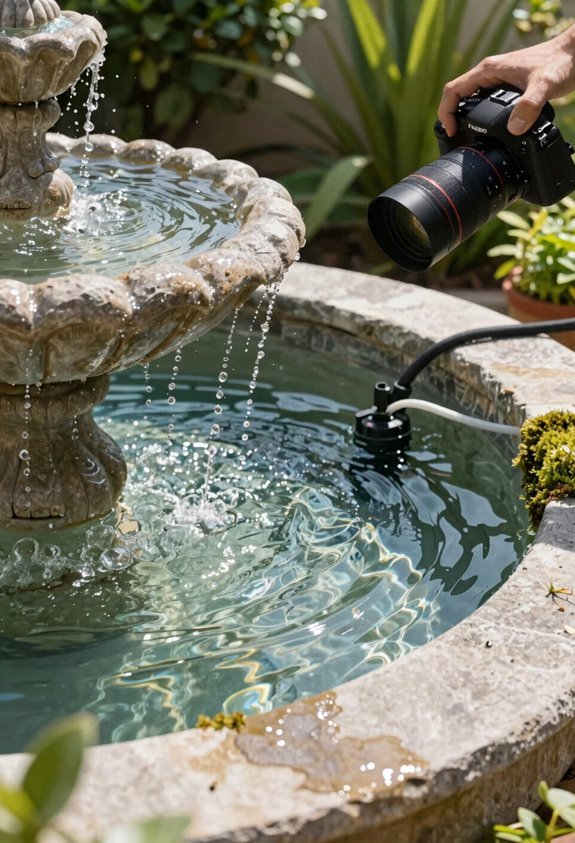
Why do so many beautiful water features fail within their first season? I’ve watched it happen, and I’ll help you avoid the pitfalls that trap most beginners.
Protect your pump first. I cover mine with mesh cloche or cheesecloth to block debris from clogging the intake, which saves hours of frustration later. I cut a trap door into my hardware cloth for quick access when cleaning or storing for winter.
I keep water levels at manufacturer recommendations because running dry destroys pumps fast. When spray escapes my basin, I reposition rocks or adjust nozzles immediately to contain the flow.
Finally, I hide wiring in waterproof junction boxes beneath mulch, eliminating weather damage and trip hazards. These simple habits keep my water feature working well season after season.





