
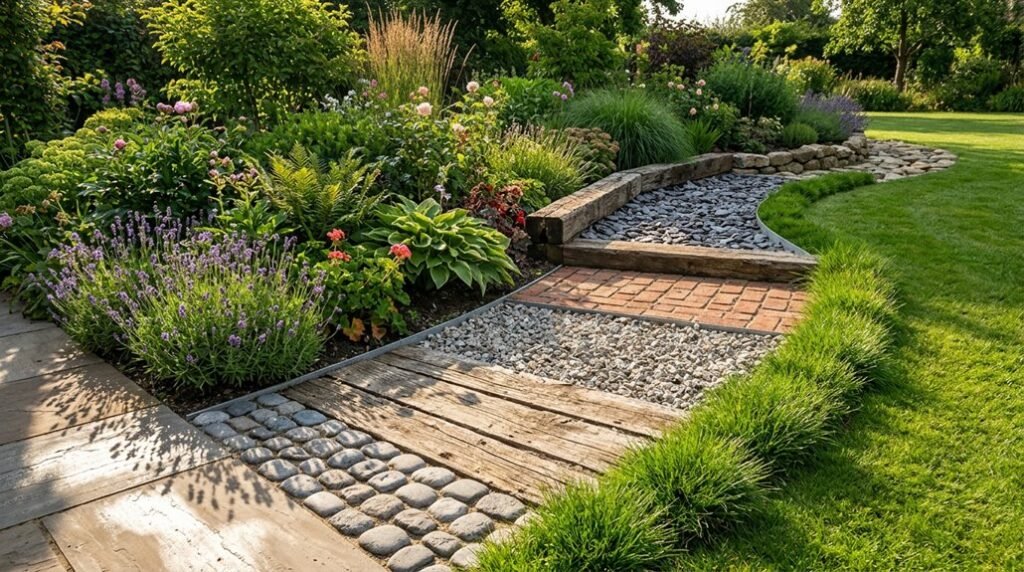
I’ve spent years refining garden edges, and I’ve learned that the right border changes more than boundaries. It defines your entire landscape’s character. This weekend, you can build something lasting without professional help or expensive materials.
Each method I’ll share addresses real challenges: soil erosion, mowing headaches, and that unfinished look between lawn and bed. Some solutions cost nothing but your time.
Hammer-In Willow and Log Edging for Quick, Rustic Borders
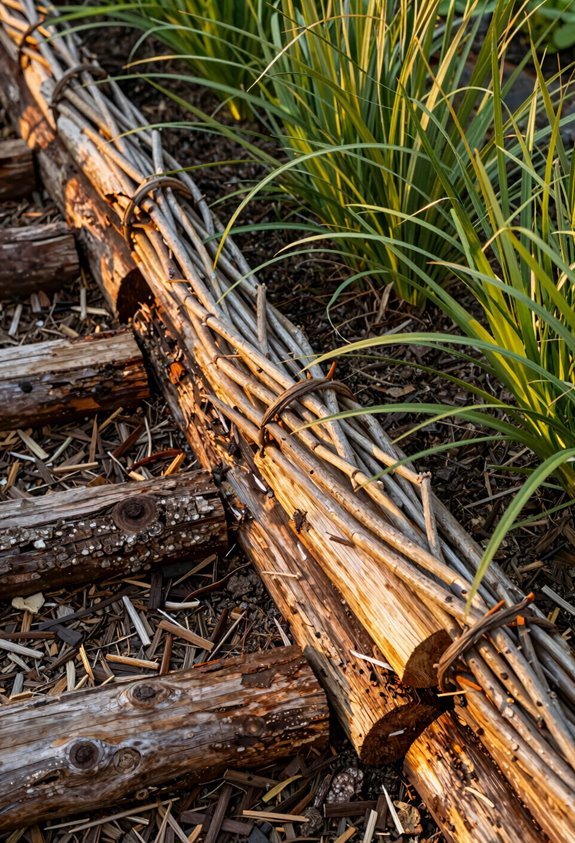
If you’re looking to define your garden beds without committing to a weekend-long project, hammer-in willow and log edging offers an approachable solution that blends natural aesthetics with straightforward installation. I’ve found that willow edging works beautifully for drive-over friendly borders, since its flexibility lets you curve around existing plantings with nothing more than a mallet and shallow trench.
For something more substantial, log edging delivers that grounded, woodsy feel we all crave in our outdoor spaces, especially when you bury those cut logs 6 to 8 inches deep for real staying power. This border installation suits cottage gardens and coastal landscapes alike, creating rustic borders that feel like they’ve always belonged there.
With minimal maintenance and real DIY garden edging appeal, you’ll join countless homeowners who’ve discovered how quickly natural materials change undefined beds into intentional, welcoming spaces.
Glass Bottle Borders for Colorful, Zero-Cost Weekend Projects

Why let colorful glass go to waste when you can transform yesterday’s empties into tomorrow’s garden statement? Glass bottle borders rank among my favorite edging ideas for DIY weekend projects because they cost nothing yet deliver striking visual impact.
I dig a narrow trench, clean and de-label my collection, then press each bottle upside down into the soil. The technique creates lightweight, secure edges you can arrange in uniform rows or playful mosaic patterns. Group similar heights for cohesion, or mix shapes and hues for lively energy.
This approach embodies eco-friendly landscaping at its finest, repurposing discarded materials into functional art. Your colorful borders become conversation starters, proving sustainable choices enhance rather than limit design. Neighbors will notice, and you’ll feel connected to a community of resourceful gardeners.
Brick Edging That Creates Straight, Level Lines for Decades
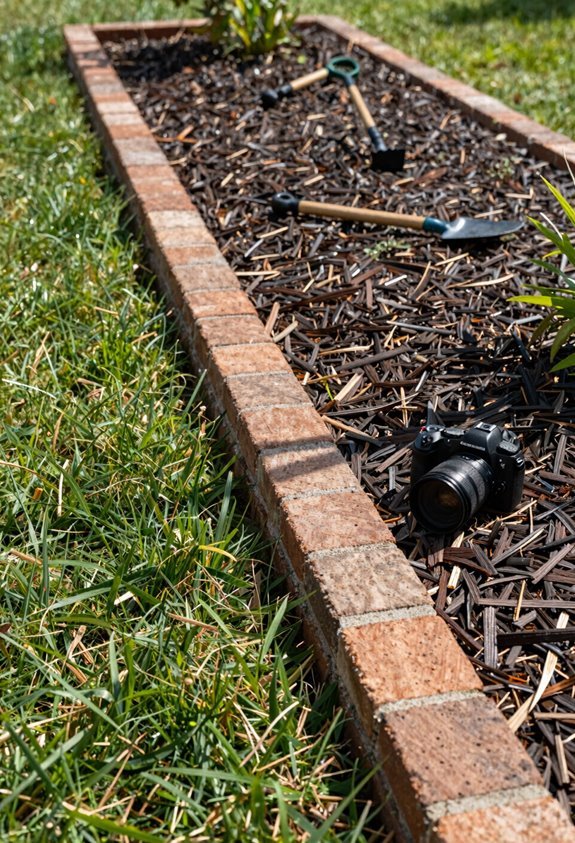
I’ll walk you through the three essentials that make brick edging stand the test of time. First, proper site preparation sets the foundation, because even the best-laid bricks will shift if your base isn’t solid.
Then I’ll show you why leveling techniques matter more than speed, and how a few long-term stability factors keep your border crisp for decades with barely any upkeep.
Site Preparation Essentials
Where exactly do you start when you want brick edging that stays straight and level for twenty years? You start with the trench, and you dig it right the first time. I always make mine wide enough for the bricks plus a generous layer of base material, sand or gravel, because that foundation determines everything.
Depth matters too; I set my bricks slightly below lawn level so my mower glides over without catching. When I lay them end-to-end, I tap each one with a rubber mallet, feeling for that solid, settled click. Backfilling with soil and sweeping sand into gaps locks everything tight.
Edging maintenance becomes minimal when your prep work is sound, though I still check periodically for creeping grass or subtle settling that needs attention.
Leveling Techniques Matter
Three precise measurements separate amateur-looking edging from the kind that draws compliments years later: a level base, consistent brick height, and uniform joint spacing.
I start every brick project by digging a narrow trench, then I verify the base slope with a line level before setting anything in place. Once my foundation reads true, I set bricks flush with the lawn grade and tap each one with a rubber mallet. Every brick must bear evenly on both ends, so the top edge stays uniform.
I lay them end-to-end for straight runs or angle them diagonally for curves, keeping joints between 1/4 and 1/2 inch. I backfill with compacted soil, sweep sand into gaps, and watch for grass creeping over. Slight settlement happens, so I re-level when needed.
Long-Term Stability Factors
Why do some brick borders stay crisp for twenty years while others heave and wander after a single freeze-thaw cycle? I’ve learned it comes down to what we can’t see beneath the surface. Proper brick edging demands attention to hidden fundamentals that separate weekend warriors from seasoned landscapers.
Here’s what keeps your lines true:
- Trench depth matters: Dig wide enough to fully seat bricks, keeping that 1–2 inch buffer below lawn level for clean mowing.
- Base stability builds longevity: Backfill with sand or fine gravel, tapping each brick with a rubber mallet until everything locks solid.
- Weed prevention starts at installation: Sweep sand into joints to block invaders while allowing subtle drainage.
- Curved edging requires planning: Use flexible profiles or cut bricks to maintain flow without sacrificing structure.
Choose consistent full bricks, and you’re building belonging into every straight, level line.
River Rock Edging for Natural, Low-Water Garden Borders
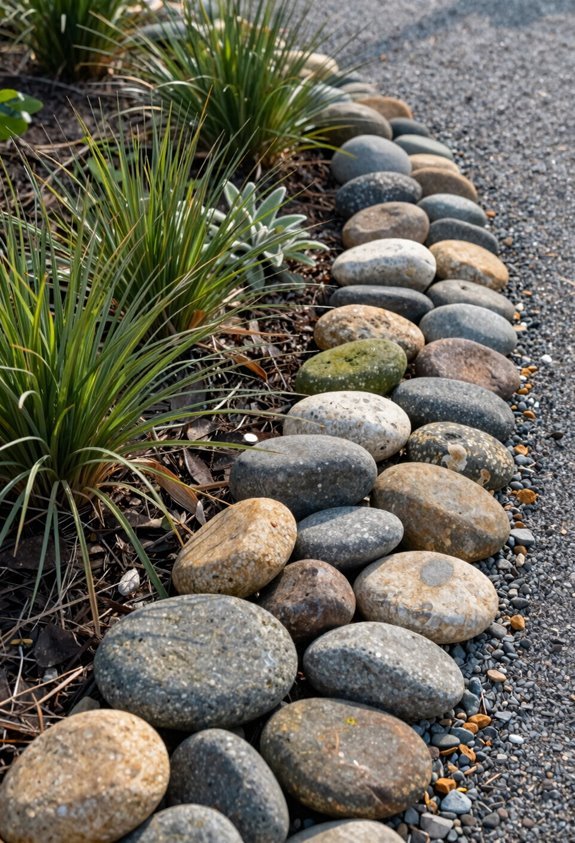
How do we create garden borders that thrive with minimal water while still looking effortlessly polished? I’ve found that river rock edging delivers exactly this balance for low-water landscaping enthusiasts seeking that refined, organic aesthetic.
Start by digging a shallow trench along your desired edge, then arrange rounded stones snugly with smaller pieces filling gaps. I always recommend laying weed fabric beneath for reliable weed suppression, though diligent gardeners sometimes skip this step.
The texture and color variation creates visual depth, especially when lighter stones contrast against dark mulch or soil. This natural border pairs beautifully with drought-tolerant plants, completing a cohesive xeriscape design.
You’ll spend minimal time repositioning occasional displaced stones and clearing creeping growth. The result feels both intentional and effortlessly wild, like your garden always belonged exactly this way.
How to Keep Loose Stone Edging in Place?
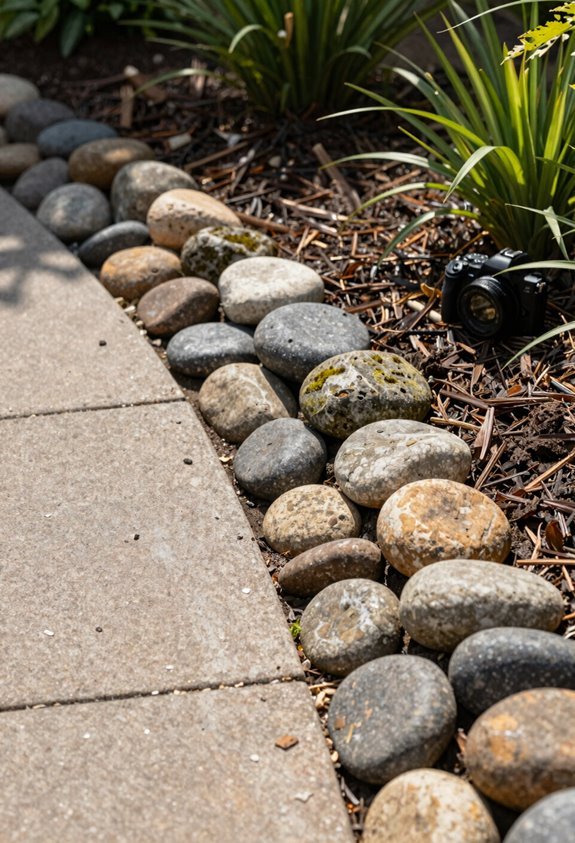
River rock edging brings that relaxed, natural look I love, but I’ll admit loose stones can wander without proper anchoring. Here’s how I keep my loose stone edging locked in place, season after season.
I dig a trench slightly wider and deeper than my stones, then lay compacted gravel for solid base stabilization that prevents sinking and shifting.
I install breathable landscape fabric underneath, which gives me weed suppression without trapping water that would heave the stones upward.
I seat each rock with a rubber mallet, tapping firmly until it bites into the base, then backfill gaps with sand or soil for that interlocked fit.
I step my stones smaller toward the inside edge, creating a profile that naturally resists outward pressure from soil and foot traffic.
I check edges after heavy rains, resetting and re-tamping displaced stones immediately. Small vigilance now saves major rework later, and our garden community understands that care compounds.
Metal Edging for Flush, Minimalist Modern Lines
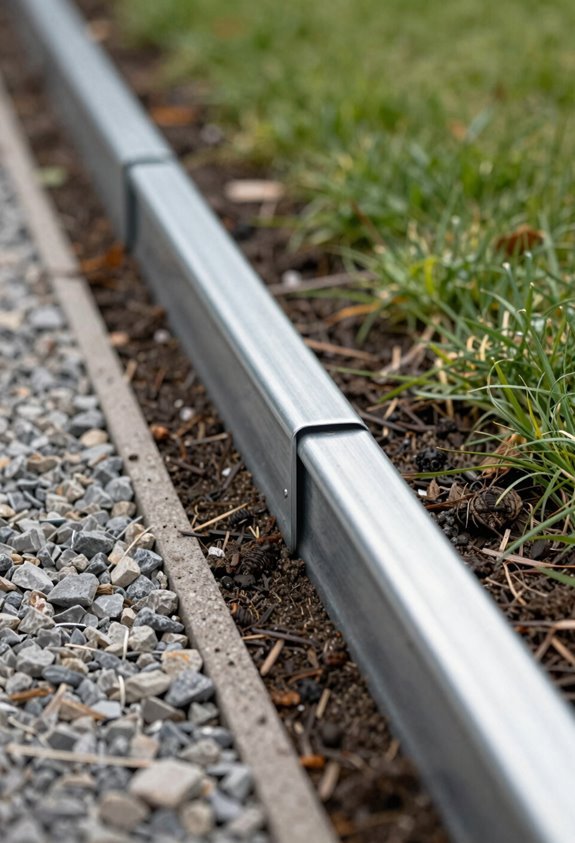
I love how slim metal edging delivers that crisp, flush silhouette that sits barely above grade, giving your beds a seamless, architectural finish that speaks to modern intentionality without shouting. You can tap aluminum or galvanized steel strips into moistened soil with nothing more than a rubber mallet and patience, and once that alignment locks in, you have got a rust-resistant barrier that holds strong through freeze cycles and foot traffic alike.
It bends where you need curves, cuts where you need corners, and asks almost nothing of you for years; just clean lines, doing their quiet job.
Clean Installation Technique
A crisp metal edge transforms ordinary beds into architectural statements, and I’m going to show you exactly how we achieve that seamless, ground-hugging profile. I’ll walk you through my preferred installation technique for DIY landscaping projects that demand precision.
Proper soil preparation means everything here; you’ll want moistened, workable earth before setting your metal edging strips flush with grade or slightly above ground. I always follow this sequence:
- Excavate a narrow trench, maintaining consistent depth along your planned border ideas
- Align steel or aluminum edging precisely, since misalignment screams amateur effort
- Bend corners carefully for geometric or curved layouts, tapping with a rubber mallet
- Backfill firmly, making certain the low-profile strip resists weed penetration and lawn invasion
Master this, and you’ve joined the ranks of gardeners who understand refined restraint.
Durability Benefits
Precision distinguishes professional-grade metal edging from every temporary solution I’ve tested in my own beds over the years. I want you to build something that lasts, and this material delivers exactly that promise.
Metal edging offers remarkable durability against everything your yard encounters. I’ve watched these slim strips survive seasons of direct string-trimmer hits, relentless freeze-thaw cycles, and accidental lawn tractor contact without cracking, rotting, or warping.
The weather resistance comes from galvanization, a protective zinc coating that locks out rust and corrosion. You’ll find galvanized steel nearly indestructible along high-traffic pathways where plastic surrenders within two seasons.
Beyond toughness, I value how low-maintenance this choice proves long-term. That flush profile prevents turf migration, so you’re not constantly re-edging beds or battling grass invasions.
Once properly set, metal edging maintains crisp geometric lines while handling gentle curves with equal confidence. It belongs in gardens built for permanence.
Low-Growing Hedge Borders for Living, Self-Repairing Edges
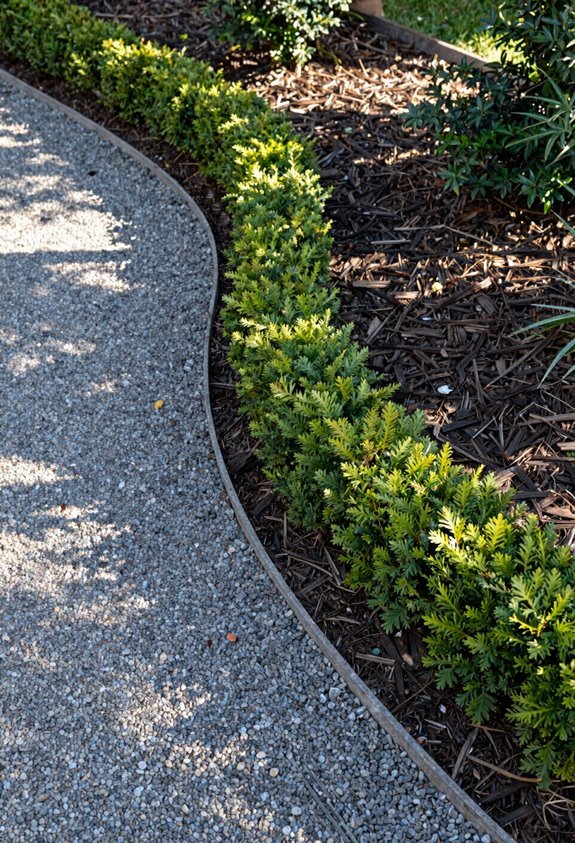
Why settle for rigid edging when you can cultivate a living border that heals itself? I discovered that a low-growing hedge creates a self-repairing edge that turns ordinary boundaries into robust landscape features. When you plant densely, gaps fill naturally, reducing your workload while strengthening the border’s integrity over time.
Here’s how I establish these living systems:
- Select boxwood for its tight growth habit and shearing tolerance
- Space shrubs 6–8 inches apart to encourage rapid gap closure
- Maintain 6–12 inch height for clear sightlines and easy mowing access
- Schedule seasonal shearing and feeding to sustain dense foliage
Edging maintenance becomes minimal once your hedge establishes, though I recommend annual shaping to preserve crisp lines. You’ll join countless gardeners who’ve replaced static materials with dynamic, resilient borders that improve with age.





