
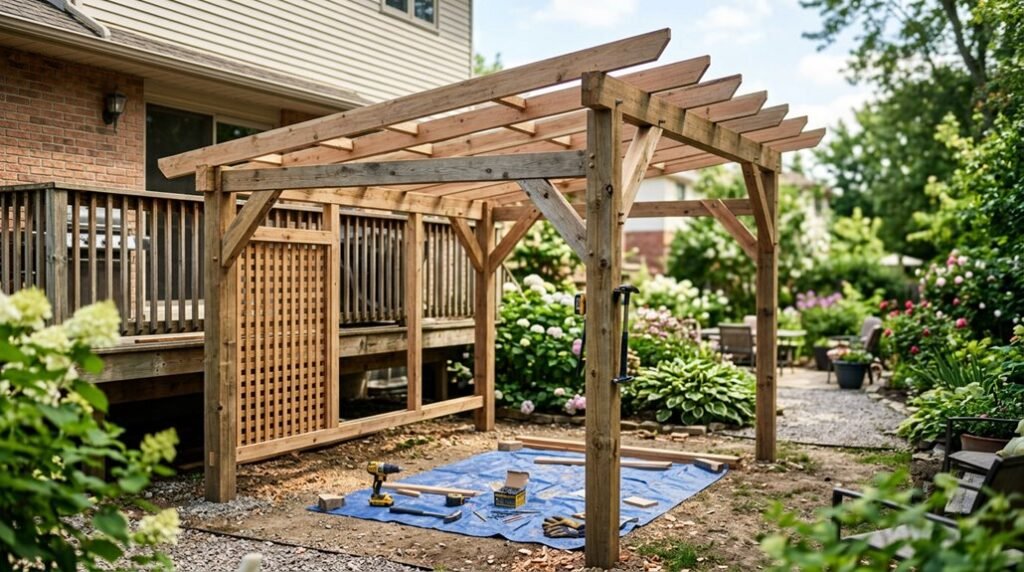
Let me show you how I’ve built lean-to gazebos that turn ordinary backyards into purposeful outdoor retreats. You’ll start with proper planning, permits, and precise layout work using batter boards to establish your square footprint. The real challenge comes when you’re setting posts plumb in concrete while managing temporary bracing. Get that wrong, and every subsequent step suffers. I’ve refined a framing sequence that eliminates common headaches.
Plan Your Lean-to Gazebo: Location, Permits, and Materials
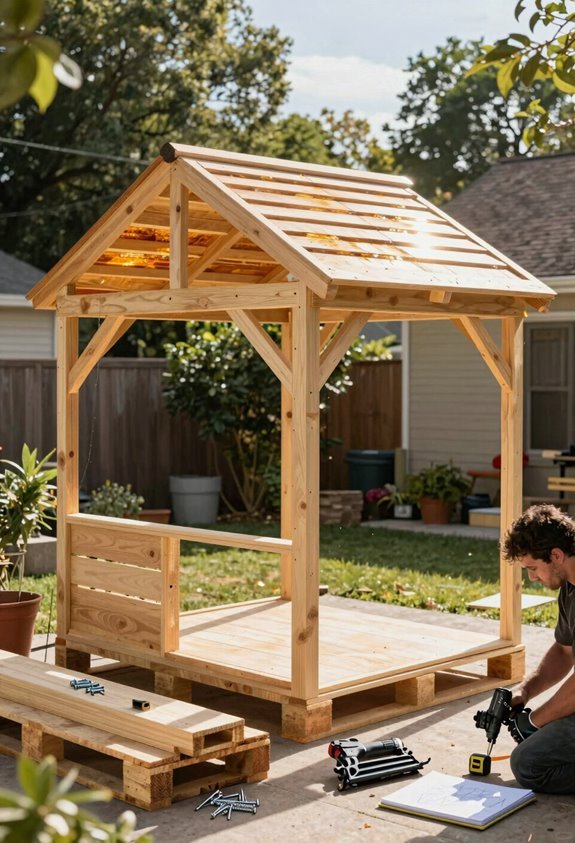
Where do I begin when I’m planning a lean-to gazebo that’ll actually enhance my outdoor space? I start with location, because placement determines everything else I’ll do. I’m choosing a spot that maximizes shade and accessibility, ideally positioning it where I’ll use it most.
Before I dig into anything, I’m checking permits with local building authorities. Regulations often specify size, height, and materials for a 12 x 14 structure, and I’d rather know now than tear anything down later.
For materials, I’m leaning toward aluminum or steel framing with cedar accents, plus polycarbonate roofing for filtered light. These choices give me that modern aesthetic I’m after.
Finally, I’m verifying my base is level and stable, and I’m planning drainage carefully. Water pooling near my foundation isn’t a problem I’m willing to invite home.
Attach to Your House or Deck: What to Plan First
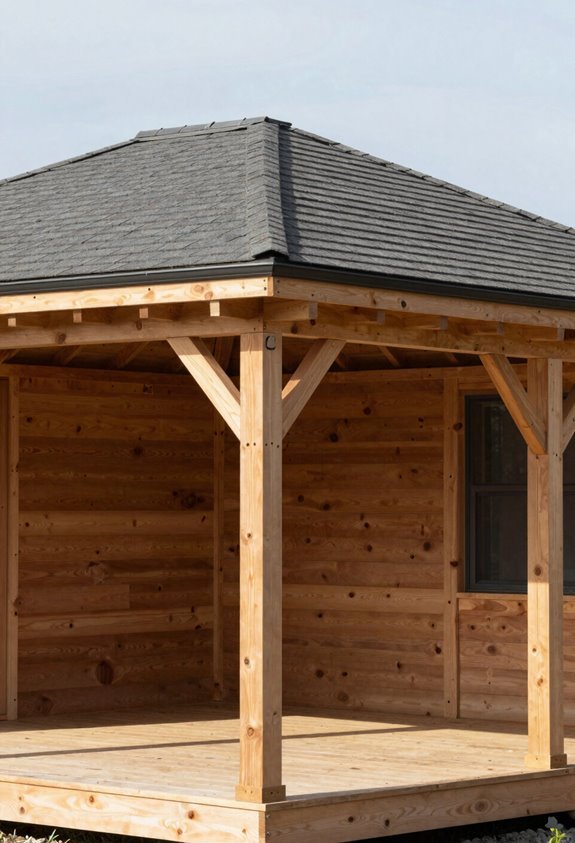
How do I guarantee my lean-to gazebo won’t become a costly mistake? I start with solid planning at the attachment point. My roof attachment demands precise alignment with existing wall or deck framing, not just surface-level convenience. I verify permit compliance before lifting a single board, checking setbacks and height limits that protect my investment.
| Priority | Action |
|---|---|
| Structural | Match roof attachment to wall studs or deck posts |
| Waterproofing | Install flashing, drip edge, underlayment correctly |
| Stability | Prepare foundation to bear concentrated loads |
My foundation must handle concentrated loads from posts and framing without settling. I integrate waterproofing at the wall connection using proper flashing and underlayment to shed water completely. This preparation joins my structure to the community of well-built outdoor spaces, where smart planning prevents regrets.
Prep the Site and Layout Posts Square
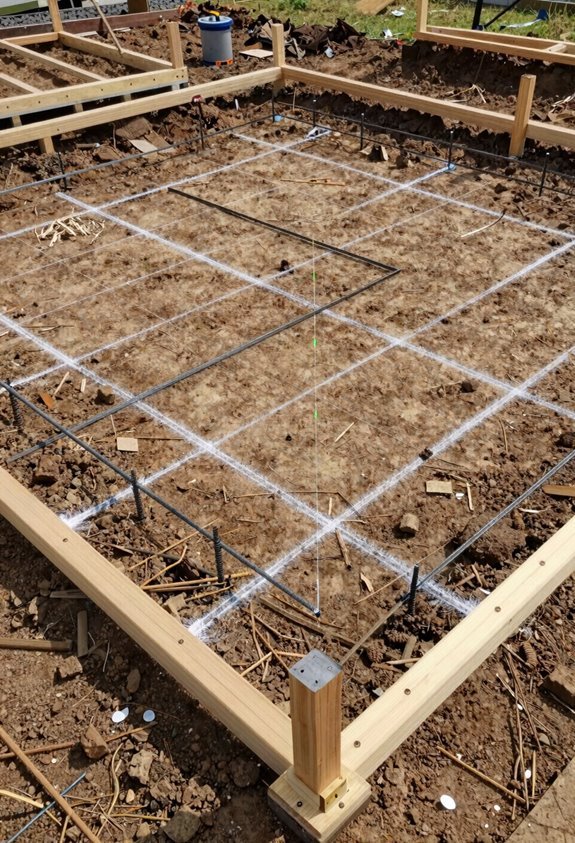
I’ll clear the site completely, removing every rock and root until I’ve got a clean, level canvas to work with. Next, I’ll run my batter boards and string lines, checking diagonal measurements to lock in a perfectly square footprint before any dirt gets moved.
With the layout verified, I’ll mark each post position precisely, knowing that this groundwork determines everything that follows.
Clear and Level Ground
Why start with anything less than a solid foundation? I clear every twig, stone, and root from your build footprint, creating the clean slate our shared project demands. You’re not just building a structure; you’re crafting a gathering place that starts with respect for the ground beneath it.
Leveling comes next, you’ll feel the difference when your surface sings true plumb, no dips or ridges betraying your work. I’ll stake your layout precisely, string lines humming tension between corners that whisper square promises. If your design or local codes require footings, we’ll excavate with intention, always minding drainage so water retreats gracefully from your foundation’s future home.
Together, we’ll position batter boards like wayfinding markers, string lines guiding post holes toward perfect alignment. This preparation binds us to the craft.
Establish Square Layout
Where do precise corners begin? They start with a square layout, and I’m going to help you nail this essential step.
I clear the build area of debris and vegetation, then I level the ground for a firm base. From there, I stake the footprint and run string line between stakes, checking every dimension with care. I install batter boards just beyond my corners, securing them so the strings stay true and guide my post locations.
Here’s where precision matters: I measure diagonals corner to corner, making sure they’re equal. I also use the 3-4-5 triangle method to confirm every corner is exactly ninety degrees. When my measurements match, I know my layout is square. This foundation gives us confidence to build something lasting, together.
Mark Post Positions
Now that the layout’s square, how do I transfer those lines into exact post positions? I begin post marking at each intersection of my string lines, driving temporary stakes to preserve layout accuracy. I’ve already cleared debris and vegetation, so I excavate each hole three feet deep and fourteen inches wide, maintaining precise spacing per my post layout plan.
I install concrete tube forms and verify level and alignment using a string line across all marked points before any concrete flows. Temporary 2×4 braces hold posts plumb while I double-check measurements. This careful post marking prevents costly errors downstream. Solid level and alignment at this stage means beam connections fit perfectly later, and you’ll feel confident knowing your foundation’s true.
Set Posts in Concrete With Proper Bracing
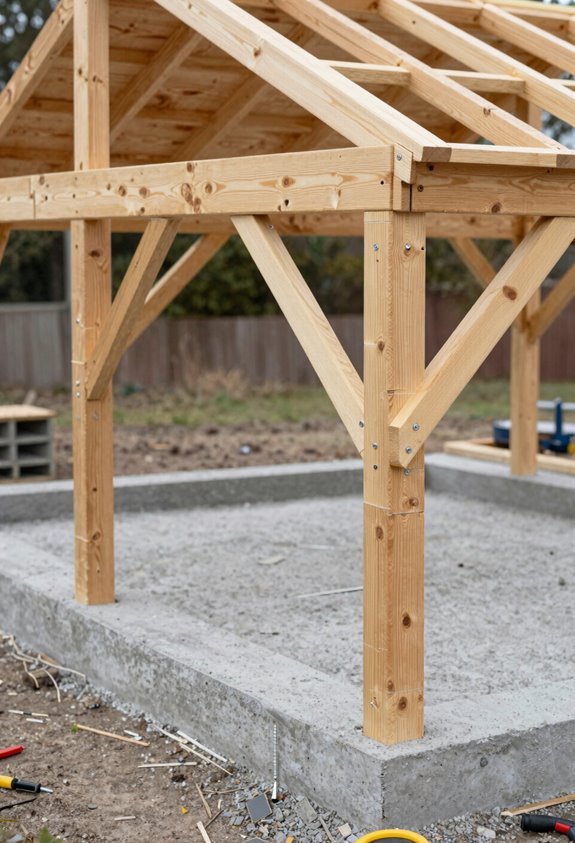
I’ll dig holes three feet deep and fourteen inches wide for proper frost protection, then set tube forms and pour concrete with post anchors while the mix stays green. Once everything cures, I’ll drop the posts into those anchors and plumb them true with a level and string line.
Temporary 2×4 bracing keeps everything square and plumb until I’m ready to lock them in with lag screws and connect my beams.
Digging Post Holes
How do we transform a simple yard into a sturdy, lasting structure? We start by digging post holes that anchor everything together. I dig each hole at least three feet deep and fourteen inches wide, reaching stable soil below the frost line to prevent winter heave.
Next, I install vertical tube forms in every hole, creating clean cylinders for our concrete footing. These tubes shape the foundation that’ll support our lean-to for decades.
Once the concrete cures, I place post anchors atop each footing, then insert and plumb posts using temporary 2×4 braces. I check everything with a level and string line, making certain of square corners and proper alignment before the concrete fully sets. Precision here means our beams will connect flawlessly later.
Pouring Concrete Footings
With the holes ready and tubes seated firmly, you’re set to lock these posts into something permanent. I slide concrete tube forms down each excavated cavity, making sure they rise several inches above grade to shed water.
| Depth Check | Width Spec | Cure Time |
|---|---|---|
| 36 inches minimum | 14 inches diameter | 48 hours |
| Verify with tape | Measure across | Touch test |
| Frost line beats | Framing loads demand | Patience wins |
I pour fresh concrete into each form, working systematically to check placement accuracy before the mix sets. Metal post anchors nestle into the wet surface, positioned precisely at layout marks. Temporary bracing with angled 2x4s keeps everything plumb while the footings cure. Only then do I seat posts and check alignment.
Temporary Bracing Methods
Why does a 4,000-pound mix of sand, gravel, and cement squeeze a perfectly plumb post crooked? Simple physics. Wet concrete exerts tremendous pressure while displacing air, and without resistance, your post drifts before you notice.
I always install temporary bracing before the pour. I screw 2x4s to each post, angling them toward stakes driven deep into the ground. I check plumb with my level, sight along a string line for square, and tighten everything. This framework locks the post in position during those critical hours of concrete curing.
Once the mix stiffens, I re-check plumb one last time. After beam connections go in and the frame becomes self-supporting, I remove the braces. Don’t rush this step. A few hours of patience now prevents permanent disappointment later.
Install Beams and Diagonal Bracing
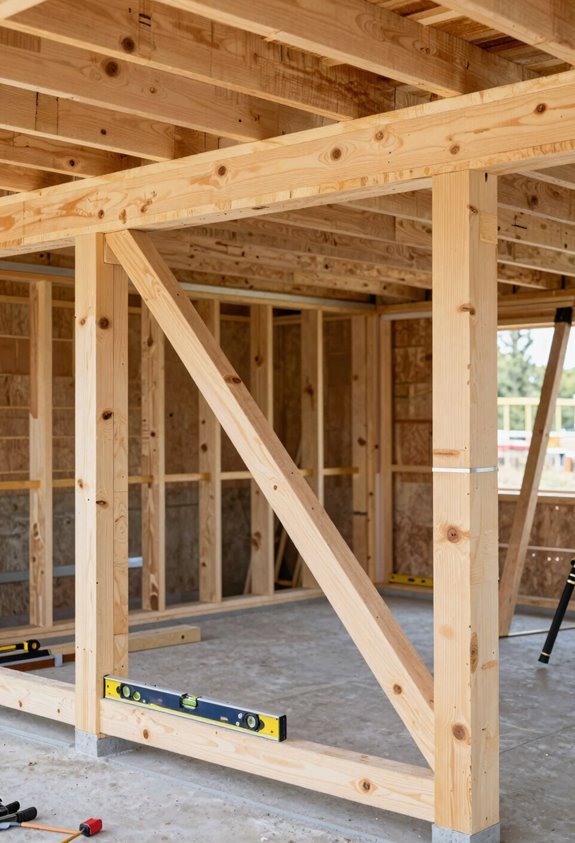
Where exactly do we anchor the structure’s backbone? We start with the side beams, positioning their tops 9 1/4 inches below the back post peaks. I drill pilot holes through beams and posts, then drive 9-inch carriage bolts, two minimum per connection, to lock everything tight.
Anchor the backbone: set side beam tops 9 1/4 inches below back post peaks, then bolt tight with 9-inch carriage bolts, two per joint.
Here’s how we build unshakeable strength together:
Set your front beam and back beam to overhang posts by 12 inches, keeping them level for that clean roof line we’re after. Cut diagonal braces with 45-degree angles on both ends, fitting their tops snugly between beam-post joints. Drill pilot holes for each brace, securing with carriage bolts, washers, and nuts to transfer loads properly.
Keep temporary 2×4 bracing in place until you’ve verified square and plumb with your level and string line. Remove temporary braces only when everything’s locked solid.
Cut and Space Rafters for Your Lean-to Roof
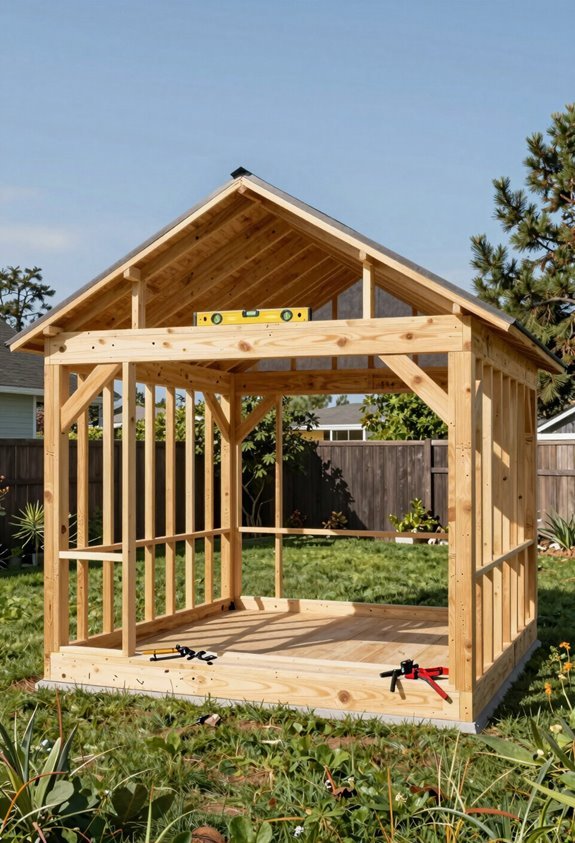
Once your beams are locked and braced, I’ll show you how to lay out rafters that’ll carry your roof load straight and true. You’ll want 2×8 rafters spaced 24 inches on center. This creates the backbone for your lean-to roof while keeping everything plumb and level.
Before you cut, trace your decorative details on the rafter ends, perhaps a gentle curve or classic angled profile, to give your build that finished, craftsman’s touch. I label each piece as I go, keeping the workflow organized when I’m up on the ladder. You’ll also prepare rafter ends with clean 45-degree cuts, making sure of proper fit between beam and post for diagonal bracing.
Solid spacing now means no surprises later when your roof load settles exactly where it belongs.
Build the Deck, Edge, and Underlayment
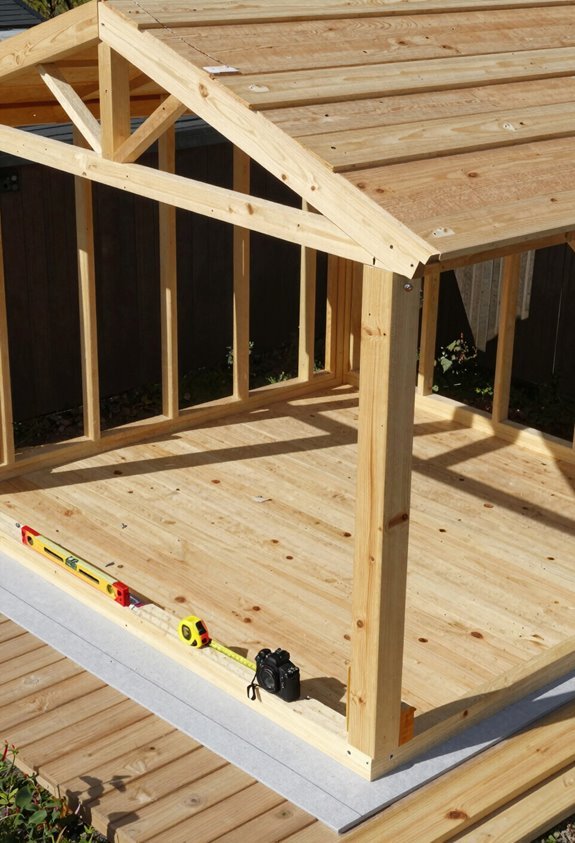
A solid deck is the unsung hero of any lean-to roof, and I’m going to walk you through getting yours right the first time. Your decking creates the foundation everything else builds upon.
Your decking creates the foundation everything else builds upon—get it solid, and everything above it falls into place.
Here’s how I tackle this phase:
- Install 1×6 roof trims along both sides flush with your decking, securing them with 2″ nails driven into rafter ends for a crisp edge treatment.
- Position 3/4″ plywood sheets across rafters, leaving 1/8″ gaps between panels for expansion; tongue-and-groove plywood works beautifully here.
- Ensure plywood edges rest on rafter centers, fastening per manufacturer specs for rock-solid interlocking strength.
- Roll out your underlayment, then fasten metal drip edges along eaves beneath it and rakes above, spacing nails 8–12 inches apart.
This layered approach protects your investment.
Shingle the Roof and Finish With Trim
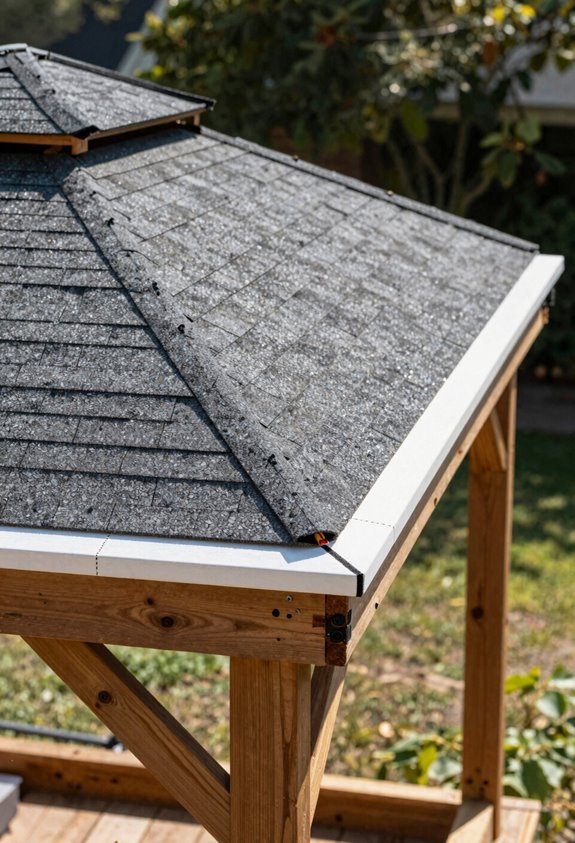
Why stop at a watertight roof when you can create something that completes your backyard? I start my roofing by laying underlayment and drip edges, then I install shingles with proper overlap and wind nailing per specs. This isn’t just protection; it’s craftsmanship we can take pride in together.
| Task | Material | Spacing |
|---|---|---|
| Roof edges | 1×6 trim | Every 8 inches |
| Back wall | 1×2 slats | ½-inch gaps |
| Final coat | Paint/stain | Full coverage |
I fit trim flush with decking, nailing into rafter ends for clean lines. Then I add back-wall slats with spacer blocks and exterior screws. I fill holes with putty, sand edges with 100–220 grit, and wipe clean before painting. This finish turns raw lumber into your gathering place.





