
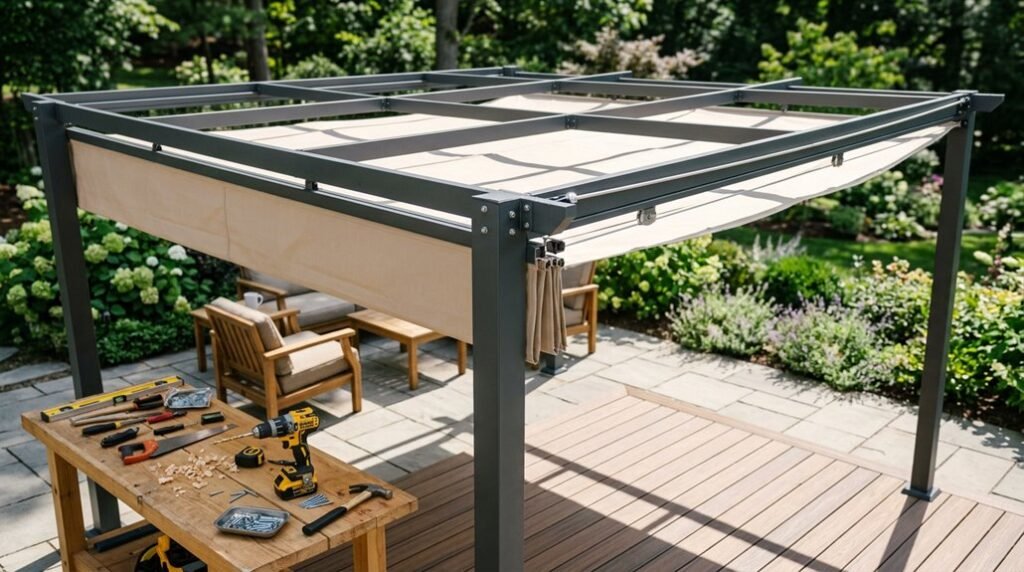
A retractable canopy transforms your pergola from sun-drenched stage to shaded retreat with one smooth pull.
I’ve spent years refining the slide-on-wire method, and I’ll show you how corrosion-resistant hardware, proper cable tension, and smart fabric selection create a system that actually works.
The frame must carry dynamic loads you haven’t considered yet.
How Slide-on-Wire Canopies Work (and Why They’re Simpler)
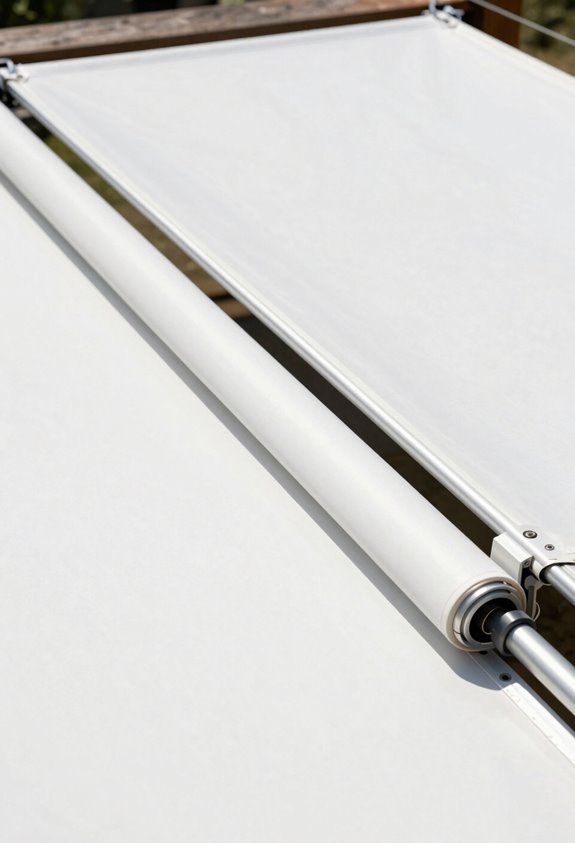
A slide-on-wire canopy gives you full control over sun and sky with a simple pull. I’m building a Retractable Pergola Canopy, and this system’s elegance lies in its straightforward mechanics: fabric moves along parallel support wires, gliding closed for shade or open for starlight.
The hardware’s straightforward: corrosion-resistant components, stainless cable with turnbuckles, eye bolts, and cable clamps for precise tensioning. I’ve attached sleeves, rods, clips, or rings to my fabric panels; these glide smoothly along the wires during retraction.
Breathable fabrics maximize air circulation and drainage, though waterproof options demand deliberate slope planning to prevent pooling. I’m spacing cables carefully, sizing panels appropriately, and tensioning properly to minimize sag while reducing wear from repeated movement. Together, we’ll get this right.
Is Your Pergola Strong Enough for a Retractable Canopy?
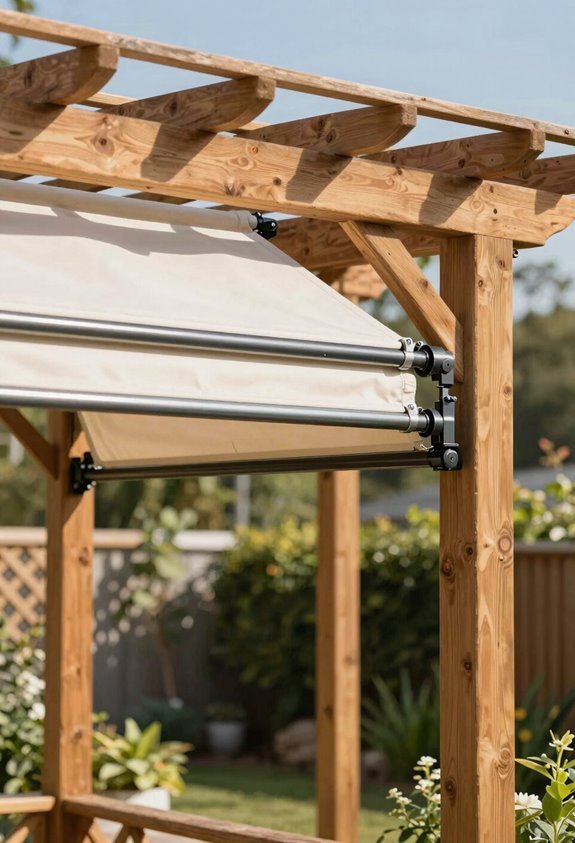
Before I bolt any hardware to my pergola, I’m going to assess whether the frame can actually handle the structural load a retractable canopy demands: checking for flex, checking for rot, and honestly checking whether those beams won’t wobble under tension.
I’ll inspect every post base and beam span next, because wire cable runs and fabric panels will test the whole structure with every pull. If my frame stability check reveals cracks, undersized lumber, or hardware that’s been weathering for a decade, I’ll reinforce what’s there or I’ll pivot to fixed shade instead of risking a collapse.
Structural Load Assessment
The first thing I’m checking is whether your pergola can shoulder the live load I’m about to introduce, because a retractable canopy isn’t just fabric and hardware, it’s dynamic force in motion. I’m evaluating your framing for Pergola load management capacity, focusing on how moving panels and tension cables create stress points you’ve never faced before.
I’m watching for midspan bending in beams and ridge stress when that fabric extends fully. Your anchorage points matter immensely: eye bolts, pad eyes, lag eyes must resist corrosion and outdoor loads without splitting your wood. I’m considering wind gusts and waterlogged fabric weight, planning for quick retraction when weather turns.
Before we proceed, I’m verifying your posts are plumb, beams square, and every fastener sound.
Frame Stability Check
With your load capacity verified, I’m now turning my attention to how your pergola actually behaves under stress, because even a structurally sound frame can fail if it flexes, twists, or shifts when tension hits. Frame stability matters immensely for retractable canopies, so I test rigidity by extending the canopy fully and watching for wood splitting, beam flexing, or loose joints that signal trouble.
I always verify posts, beams, and fasteners carry outdoor ratings, and I install corrosion-resistant hardware since retractable systems generate serious clamping forces. I check that supports remain square, plumb, and free of bowing; this prevents binding and uneven fabric tension during operation.
Wind poses real threats too, so I assess whether framing holds position under gusts that would transfer destructive stress into cable systems. I build slope for drainage, because water pooling near mounts slowly weakens everything we’ve built together.
Choose Breathable or Waterproof Fabric for Your Canopy
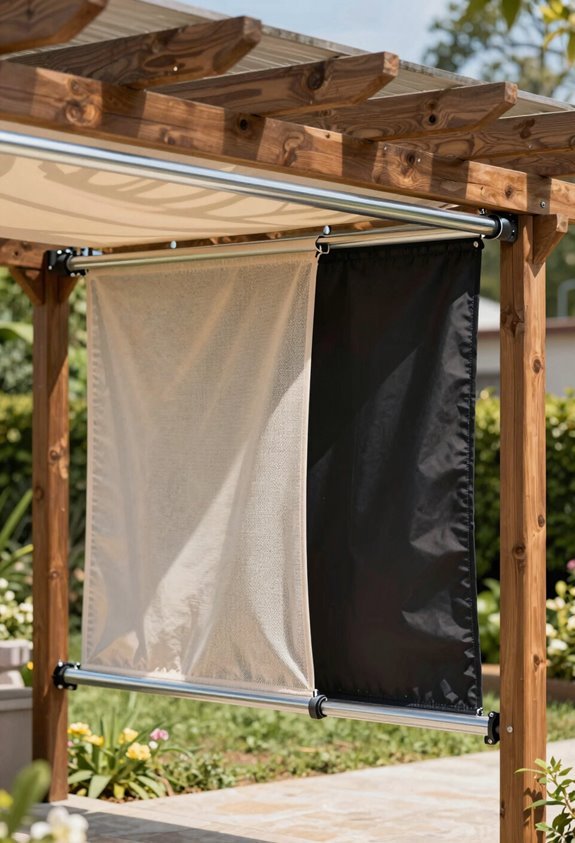
Since your fabric choice shapes every decision that follows, I’ll walk you through what I’ve learned about balancing performance with practicality. I recommend starting with breathable fabric, as its forgiving nature welcomes newcomers to canopy projects. Breathable fabric improves airflow, reducing heat and minimizing pooling without demanding perfect angles. UPF 50 options block harsh rays while allowing movement, which makes tensioning far less stressful. You’ll find DIY tensioning more manageable, since small errors won’t create lasting problems.
Waterproof fabric demands precise slope and drainage planning to prevent dangerous pooling. Without reliable runoff, water accumulates quickly, stressing hardware and seating below. Waterproof materials also require careful panel sizing and tension maintenance during every pull-and-fold operation.
Choose breathable fabric first, then upgrade once you’ve mastered slope and drainage.
Get These Measurements Right Before Cutting Anything
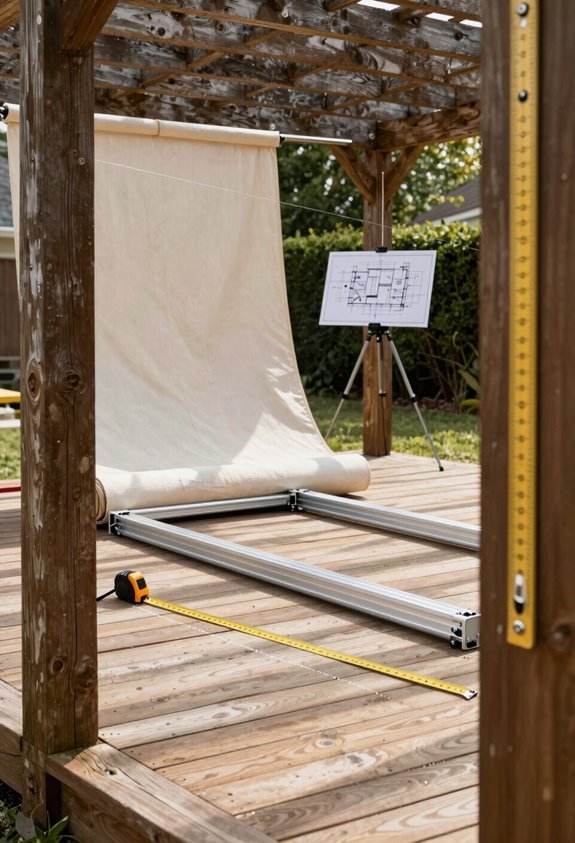
I measure the beam-to-beam span first, since that number drives every panel width and the total cable length I’ll need. Next, I figure the panel travel distance by checking the front-to-back depth, which tells me exactly how far each section must glide. Finally, I build in a stack space allowance so the retracted canopy doesn’t bunch up against the frame.
Beam-to-Beam Span
Why do so many DIY canopies fail before the first season ends? They skip the beam-to-beam span measurement, and suddenly their Pergola Canopy panels sag, bind, or tear. I’ve learned this the hard way, so let’s get your foundation right.
I measure the clear opening between parallel beams first; this number drives everything. Your fabric panel width, cable run spacing, and hardware placement all stem from this single dimension. I always add clearance for hems and sleeves before cutting anything.
| Span Range | Cable Spacing | Best For |
|---|---|---|
| Under 10 ft | 12 in on-center | Light fabrics, minimal wind |
| 10–16 ft | 15 in on-center | Standard residential setups |
| Over 16 ft | 18 in on-center | Heavy-duty applications |
Get this measurement locked down, and you’re already ahead of most DIYers who rush past the basics.
Panel Travel Distance
Getting your beam-to-beam span locked down puts you ahead of the game, but now we’re moving into the measurement that’ll make or break your day-to-day experience. Panel travel distance determines how smoothly your canopy opens and closes, and it’s where precision really earns its keep.
I measure my front-to-back projection first, since this opening depth dictates exactly how far each panel needs to glide along the cables. I always subtract my hem and sleeve allowances from the full opening before calculating finished panel width; otherwise, the fabric binds and fights every movement.
I plan my cable runs with twelve to eighteen inches between them, which keeps sag manageable and travel consistent. I also factor in anchor setbacks from the frame edges, because panels that rub against posts won’t fold clean, and nobody wants a canopy that stutters halfway home.
Stack Space Allowance
Where exactly will all that fabric go when you’re standing under full sun? Stack space allowance answers this question before you make your first cut. I always plan for dedicated pocket space where retracted panels gather without interfering with frame hardware or your headroom.
Your front-to-back stack size must match opening depth, typically yielding several inches to a foot of clearance when panels fold open. I calculate each fabric panel width plus hem and sleeve allowances to prevent binding along the wires. I also add extra clearance for end clips, rods, and attachment points that snag easily during retraction.
My measurement worksheet ties opening width, projection, and desired open-stack length to determine total fabric length and stack height. Get these numbers right, and your canopy operates smoothly every single time.
Install Cable Anchors and Tension the Wire
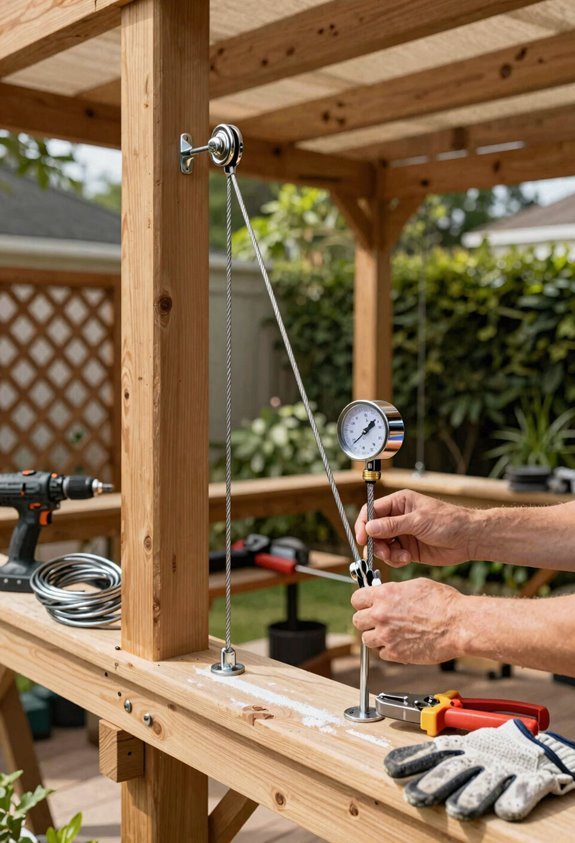
The backbone of your retractable canopy system lies in properly anchored, precisely tensioned wire, and I’ll walk you through getting this foundation right. I start by marking alignment, then I drive eye bolts or pad eyes into the framing for straight, parallel cable anchors that’ll hold strong season after season.
I run stainless steel cable between anchors, leaving extra length for tuning. I slip ferrules and thimbles onto the ends to prevent fraying, then clamp or swage everything tight. Spacing matters: I set runs 12 to 18 inches on center for balanced mid-sag.
Finally, I attach turnbuckles and tension each run gently, checking for bowing before the fabric goes up. This careful prep guarantees your canopy glides smoothly when you’re ready to extend it.
Sew Sleeves and Hem Your Canopy Panels
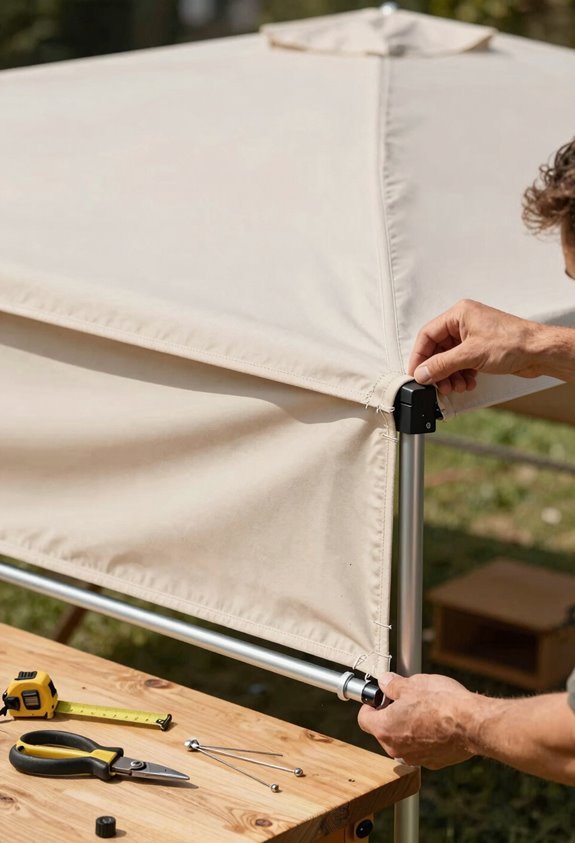
A well-built canopy lives or dies by its sleeves, so I cut my fabric panels to length and fold generous hems before I even thread the machine. I measure twice, allowing precise seam allowances of ¼ to ½ inch so my sleeves hug the wire without binding or sagging. This canopy craft welcomes everyone willing to learn.
Precision matters: tight sleeves glide smooth, loose ones snag and frustrate. Reinforced stitching survives seasons; zigzag or overlock your edges for longevity. Hemmed panels stack tidy, showing we care about the details together. Aligned widths mean every panel moves as one system, built by hands like ours.
I press each fold, sew slow, and inspect every seam. Finished edges resist fraying, and my canopy earns its place overhead through patience shared across this maker community.
Attach Panels to the Wire and Test Retraction
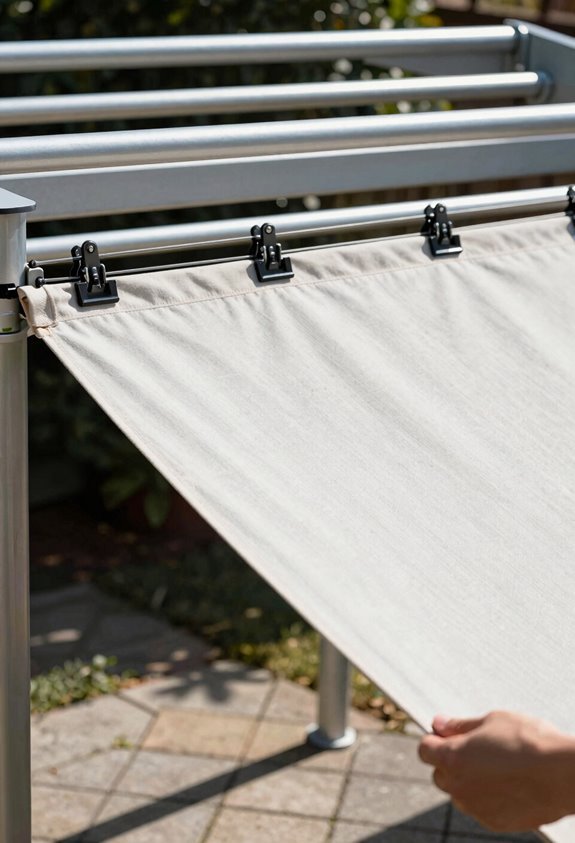
Sleeves finished, I’m ready to bring these panels to the wire system. I thread each panel’s sleeves onto the pre-laid cables, spacing them evenly between runs so nothing twists out of place. I attach end clips at aligned positions on both sides, making sure the retractable canopy folds neatly without binding at the ends.
With the canopy extended, I check alignment against the travel path and verify uniform tension across all runs; sagging means trouble later. I manually guide panels through a full retraction cycle, watching for snags, feeling for resistance, and tweaking clip positions or cable tension where movement catches. After completing the test, I confirm the fabric clears frame edges throughout its journey, and the retracted stack sits well clear of pergola supports, protecting my work from premature wear.
Add Pulls and Master Smooth Operation
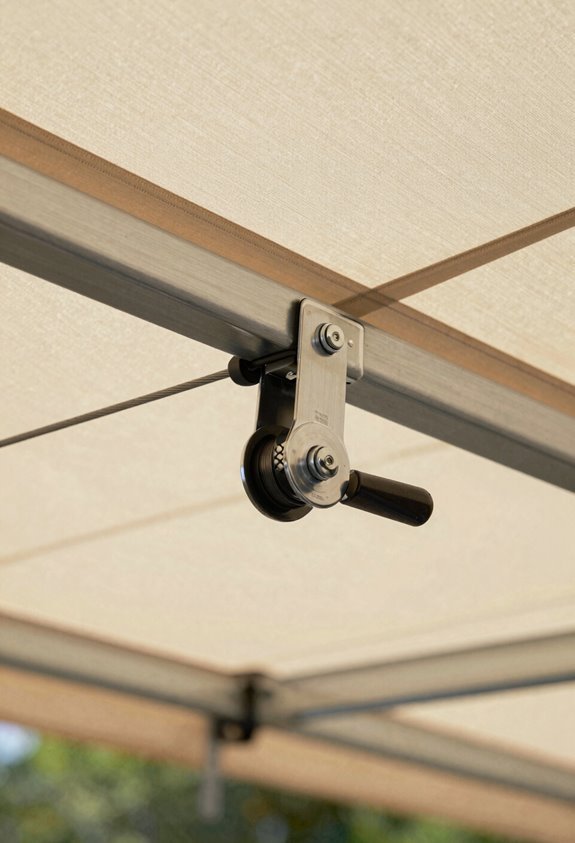
Why wrestle with a stubborn canopy when a proper pull system changes the entire experience? I thread my fabric panels through the wire, securing clips at regular intervals to maintain tautness along the full length and minimize sag. Marking equal clip positions on both ends makes sure the canopy folds neatly without binding during retraction. A dedicated retractable canopy mechanism, whether a curtain rod or draw rod, engages the fabric with even tension, gliding smoothly along the wire. I keep my wire taut, using adjustable turnbuckles to compensate for slack that causes creasing or uneven rolling.
A reliable retractable canopy mechanism rewards thoughtful detail. Consider these essentials:
- Equal clip alignment prevents binding, so your canopy belongs among the smoothest systems
- Turnbuckle tensioning preserves fabric integrity through seasonal shifts
- Consistent panel spacing distributes load evenly across every cycle
- Locking stops protect your investment from over-travel damage
I test multiple retraction cycles, adjusting clip spacing if needed, then implement a simple stop mechanism to prevent snagging.
When Fixed Shade Beats Retractable for Your Pergola
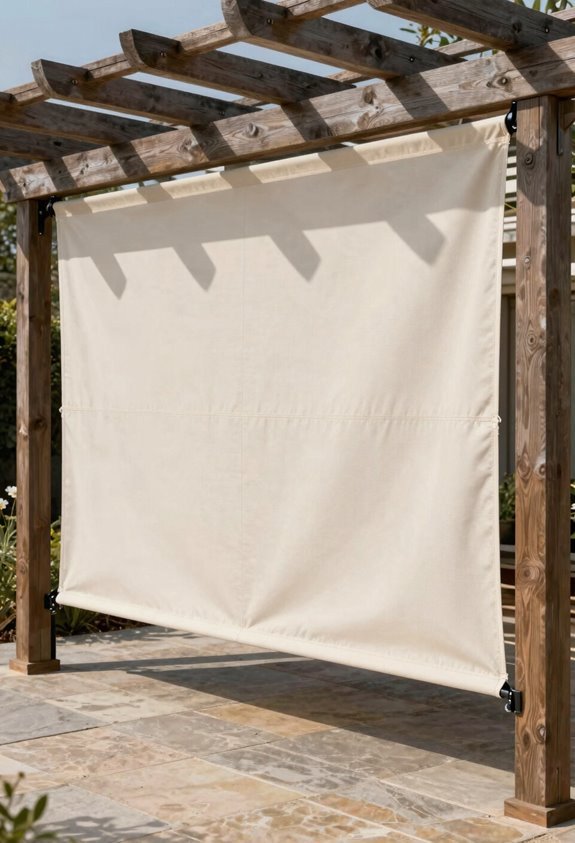
Once I’ve got my retractable system running smoothly, I step back and ask whether all that hardware suits every situation. Sometimes, fixed shade simply makes more sense for our community’s diverse needs.
If you’re dealing with frequent storms or high winds, I’ve found fixed shade proves more reliable. Retractable systems demand consistent retraction and maintenance to prevent premature wear, while fixed installations weather the elements without fuss. When pergola framing feels uncertain or undersized, fixed shade eliminates risks of sag, binding, or hardware failure from moving parts.
For minimal seasonal variation, fixed shade delivers continuous protection without motors or manual adjustment. Poolside or windy applications benefit from rigid panels that outlast flapping retractable fabrics. Plus, you’ll skip cables, tracks, and pulleys, saving money upfront and simplifying installation considerably.





