
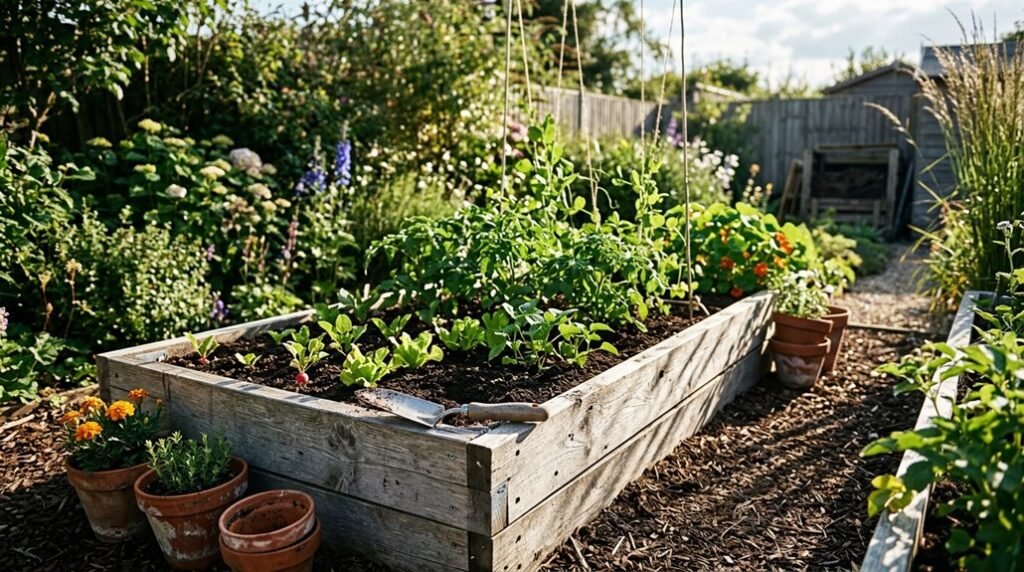
Compact clay and rocky ground choke most plants, yet a simple raised bed transforms impossible soil into fertile growing space.
I’ll show you how I built mine for under fifty dollars using cedar scraps, basic screws, and layered fill techniques that cut costs without cutting corners.
The method works whether you’re tackling compacted suburban lawns or reclaimed urban lots, and you won’t need fancy brackets or power tools beyond a drill.
Seven straightforward steps stand between you and your first harvest.
Why Raised Beds Solve Tough Soil Problems
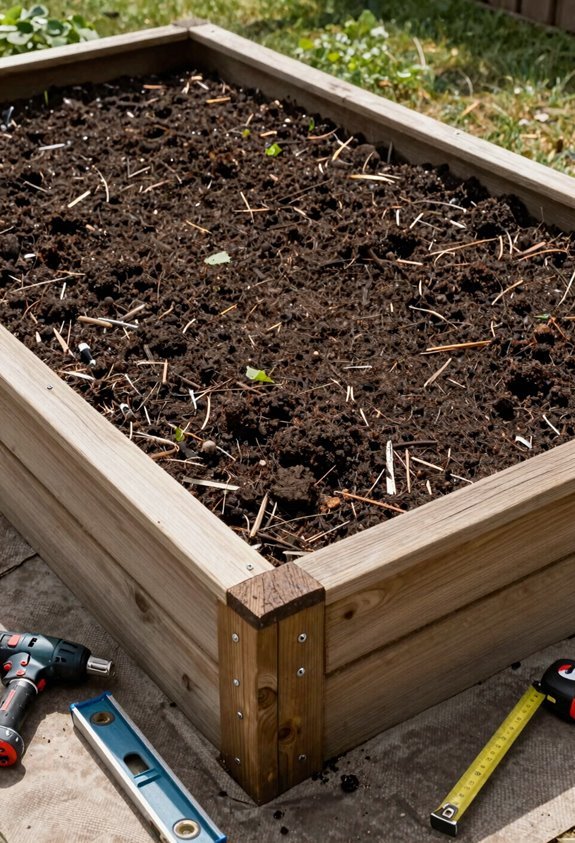
Why struggle against stubborn ground when you can simply rise above it? I’ve watched countless gardeners fight losing battles with compacted clay, and I’m here to tell you there’s a better way. Raised beds change impossible terrain into productive growing space by solving drainage problems that drown roots and improving soil structure without exhausting labor.
You’ll build above the tough soil, filling your frame with compost-enriched mixes that plants actually love. A proper weed barrier at the bottom blocks invaders while letting moisture flow. Choose durable materials wisely, and your investment lasts years. The beauty: this approach remains budget-friendly because you’re working smarter, not spending harder. Twelve inches of depth handles most crops beautifully, balancing root room with material costs.
Find Free Lumber and Repurposed Materials Nearby
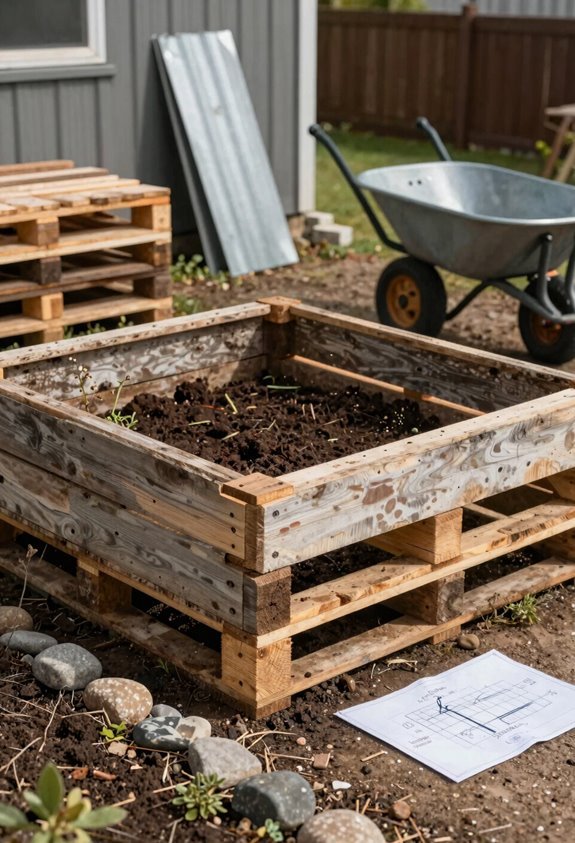
Building the frame doesn’t have to drain your wallet. I’ve found that sourcing free lumber from friends, neighbors, or relatives builds community while keeping my project budget-friendly. Online marketplaces like Craigslist and Facebook Marketplace regularly list repurposed materials at no cost, though you’ll need to handle pickup yourself.
When I spot cedar beds or other rot-resistant wood listed for free, I jump quickly; quality materials disappear fast. If my project spans multiple seasons, I complete it in phases, gathering materials as they become available. This patient approach lets me build something durable without sacrificing quality. The hunt itself connects me with fellow gardeners who understand that productive beds start with resourcefulness, not expensive purchases.
Choose Rot-Resistant Wood for Your Raised Bed Frame
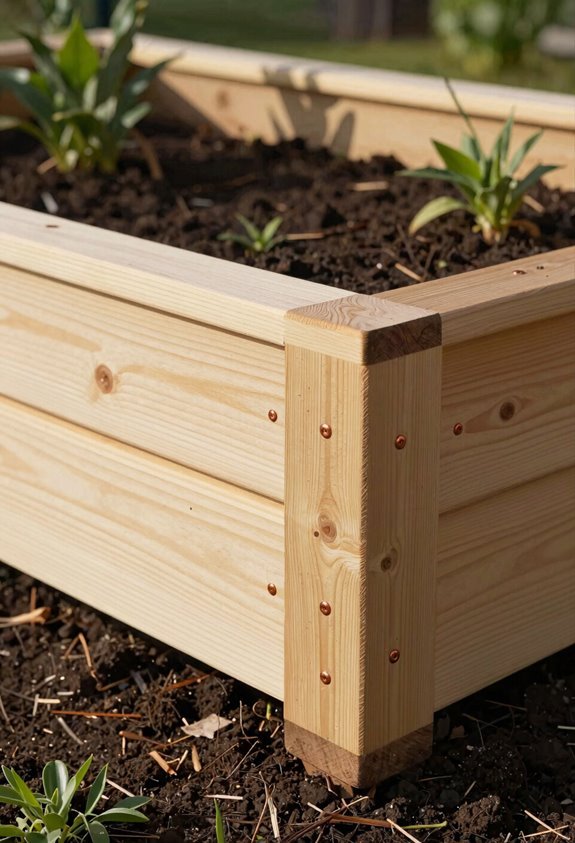
I’ll weigh my wood options carefully, balancing rot-resistance against my budget constraints. Cedar offers natural decay-fighting oils without chemical treatments, while pressure-treated lumber risks leaching into my vegetables. I’ll prioritize untreated, durable species that protect both my soil and my wallet.
Wood Type Options
When I’m selecting lumber for my raised bed frame, I always start with one non-negotiable: rot-resistance. Among wood types, cedar stands out as the sweet spot for budget-conscious builders who won’t compromise on quality.
Here’s what I’ve learned comparing options:
- Cedar delivers natural rot-resistant oils without leaching chemicals, lasting years without breaking your budget
- Redwood offers similar durability but commands premium prices that exclude most softwood alternatives
- Douglas Fir costs less upfront yet demands replacement sooner, erasing initial savings
Pressure-treated lumber tempts with low prices, though I avoid it when growing edibles due to leaching chemicals concerns. For raised bed frames that balance longevity and affordability, cedar remains my community’s preferred choice.
Treatment Considerations
Because I’m growing vegetables for my family’s table, I refuse to gamble with pressure-treated lumber despite its tempting price point. The risk of wood treatment chemicals leaching into my soil isn’t worth it for edible beds where my kids dig their hands into the dirt.
I choose cedar instead. It’s naturally rot-resistant, packed with oils that repel moisture without any factory intervention. This budget-friendly option outlasts cheaper alternatives while keeping my growing space clean. Redwood works too, but cedar delivers similar durability without the premium price tag that strains my wallet.
Douglas Fir saves money upfront, yet I know I’ll sacrifice structural stability and replace it sooner. When I build with cedar, I add center supports anyway. Soil gets heavy, and I want my frame holding strong through seasons of harvests we share together.
Pick 8-Foot Bed Dimensions to Match Your Lumber
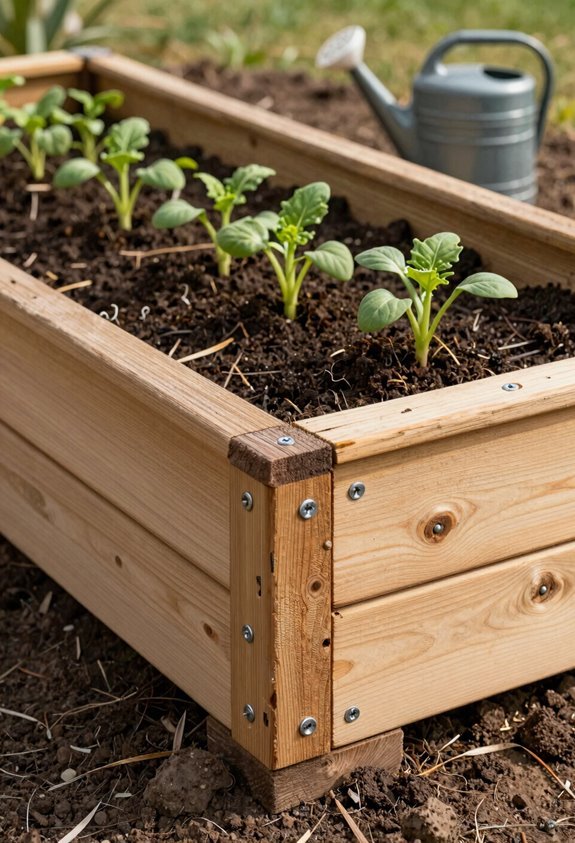
Why start with eight feet? It’s the sweet spot for lumber efficiency, and I’m building this raised bed with you in mind.
Eight feet hits the lumber efficiency sweet spot, and I’m building this raised bed with you in mind.
When I plan my DIY dimensions, I match standard lumber lengths to stretch every dollar. Cedar boards resist rot beautifully, but pine ledger boards work when I’m watching my budget closely.
Here’s how I make it work:
- I choose 8-foot lengths because they minimize waste and cut costs
- I stack boards to reach 16 inches, building height without buying thicker lumber
- I keep width at 4 feet so we can reach the center without stepping in
These dimensions let us repurpose materials when possible, keeping our project affordable. Whether you’re using premium cedar or budget-friendly alternatives, smart planning means your raised bed lasts seasons without breaking the bank.
Screw Corners Tight: No Metal Brackets Needed
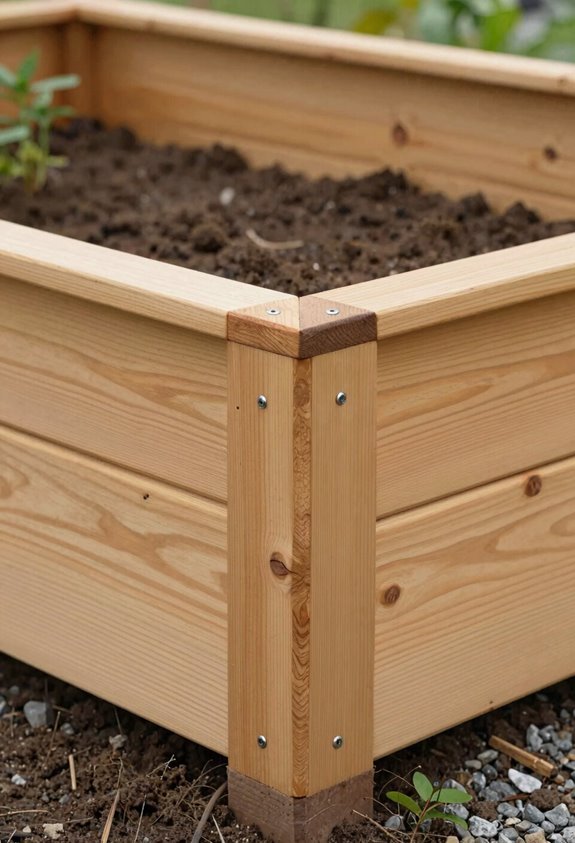
I build my corners using simple L-shaped assemblies and exterior screws, which creates a clean, budget-friendly joint without visible metal brackets. This hidden fastener method relies on precise angles and tight clamping during assembly to make sure the cedar boards seat flush against each other.
Once I’ve secured all four corners, I recheck and tighten every screw to confirm the frame stays square and stable through seasons of soil pressure and weather shifts.
Corner Joinery Technique
How do you build rock-solid corners without blowing your budget on hardware? I use corner joinery with L-shaped assemblies from cedar ledger boards, cutting two in half for 4-foot ends that screw together for tight 90-degree joints.
Here’s how we create lasting strength together:
- Cut cedar ledger boards in half, then screw corners for snug, bracket-free joints
- Add framing angles at internal corners to reinforce your U-shaped bed and maintain right angles
- Layer cedar posts with a ripped 2×4 as long side center support, then check alignment with a framing square before bolts securing corners tighten everything square
This method turns simple materials into professional-grade structure. You’ll join countless gardeners who’ve found that smart technique outperforms expensive hardware every single time.
Hidden Fastener Method
When you’re aiming for a clean, professional look on a budget, what’s the smartest way to fasten corners without visible brackets? I discovered the hidden fastener method, and it’s changed how I approach every cedar raised bed project.
This corner assembly technique uses a framing angle or ripped 2×4 tucked inside each joint. I align my cedar pieces, position the angle, and drive screws through it into each board. The result is a square frame with zero exposed metal.
It’s ideal for any budget build, since you’re skipping pricey brackets and rust-prone hardware.
| Component | Purpose |
|---|---|
| Framing angle | Creates hidden 90-degree corner joint |
| Cedar boards | Exterior material; natural rot resistance |
| Screws | Fastens angles; no exterior holes needed |
Once my L-shaped panels meet, I add a second layer for rigidity. This hidden fastener method delivers strength, savings, and that seamless look we all want in our gardens.
Structural Integrity Check
With the hidden fasteners in place, I’m ready to lock down the assembly and make sure this bed won’t budge under pressure. I grab my framing square for a quick 90-degree check at each corner, confirming my raised bed corners are perfectly square before proceeding. This step matters more than you’d think.
Here’s how I lock in structural integrity without metal brackets:
- Drive rebar stakes through the bottom corners into the ground for anchor strength
- Install a center support ripped from 2×4 scraps to prevent long-side bowing under soil weight
- Verify bolt torque is snug but not stripped, then double-check all screws
That center support changed everything for me. No more warping, no more worry. This frame’s solid.
Add a Center Brace to Stop Board Bowing
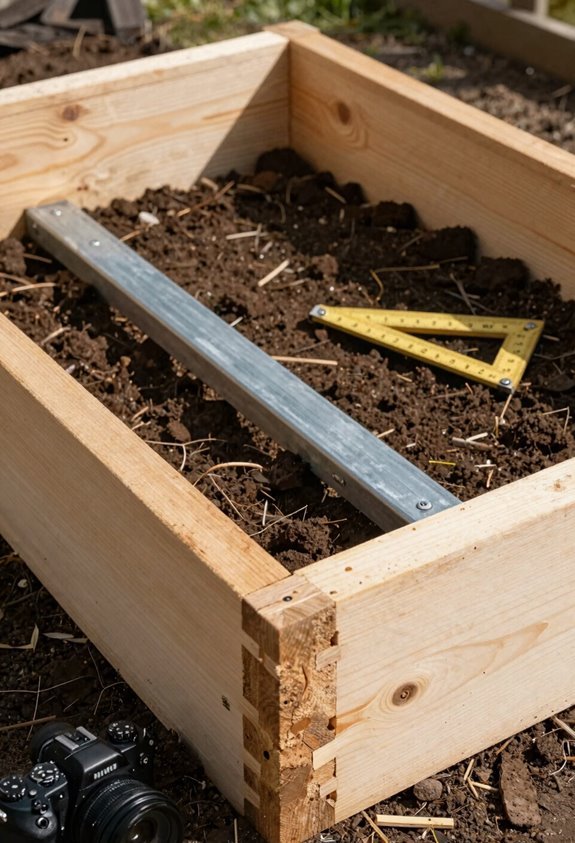
Why let a full season of soil pressure warp your beautifully built sides when one simple brace keeps everything true? I always add a center brace to my long side support before filling; it’s saved me from board bowing more times than I can count.
For your budget cedar bed, rip a 2×4 and position it midway along each length. Secure it with screws, aligning carefully for maximum frame reinforcement. This modest addition improves raised bed stability by evening out soil load distribution across the entire structure.
You’ll want this integrated before adding soil. Once that weight settles, you don’t want to disassemble anything. The center brace complements your corner joints beautifully, completing a resilient system that handles seasonal expansion without complaint.
Layer Fill to Cut Soil Costs in Your Raised Bed
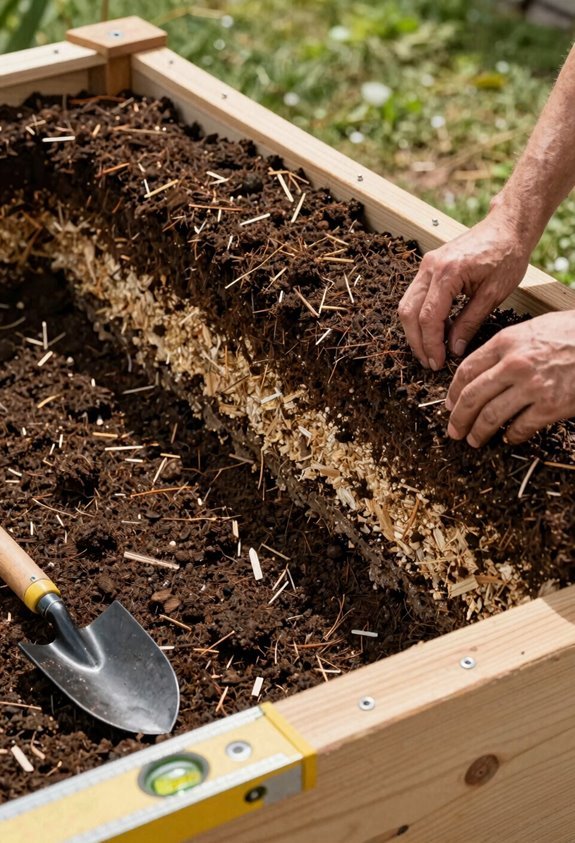
Once you’ve built your frame and braced it against bowing, filling that deep box with bagged soil would drain your wallet faster than a summer drought drains a rain barrel. I’ve discovered smarter ways to fill my cedar posts frame without breaking the bank.
Here’s my proven layering method:
- Line the bottom with landscape fabric to improve drainage and prevent soil loss
- Pack in organic debris, leaves, sticks, and kitchen scraps, to slash soil cost while building future fertility
- Top with a compost blend mixed into raised bed soil, keeping the line two inches below the rim
This approach cuts expenses dramatically. The debris decomposes underground, feeding roots later. I refresh with compost each fall, maintaining healthy structure. Smart gardeners build community through shared wisdom, and this technique welcomes everyone into sustainable growing.





