
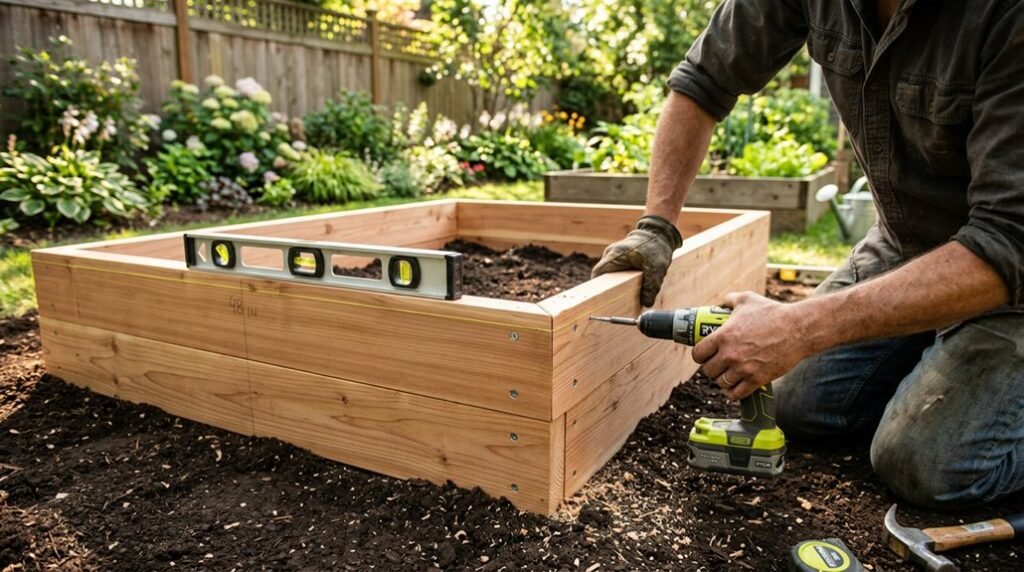
Traditional ground-level gardening has its limitations, but I’ve found that elevating your growing space changes the entire experience. When I built my first cedar raised bed six years ago, I didn’t anticipate how much it would simplify maintenance and extend my growing season.
The method I’ll share isn’t complicated, yet it requires attention to a few critical details that separate productive beds from disappointing failures. You’ll want to see what those are.
Why Build a Raised Bed (And Who Benefits Most)
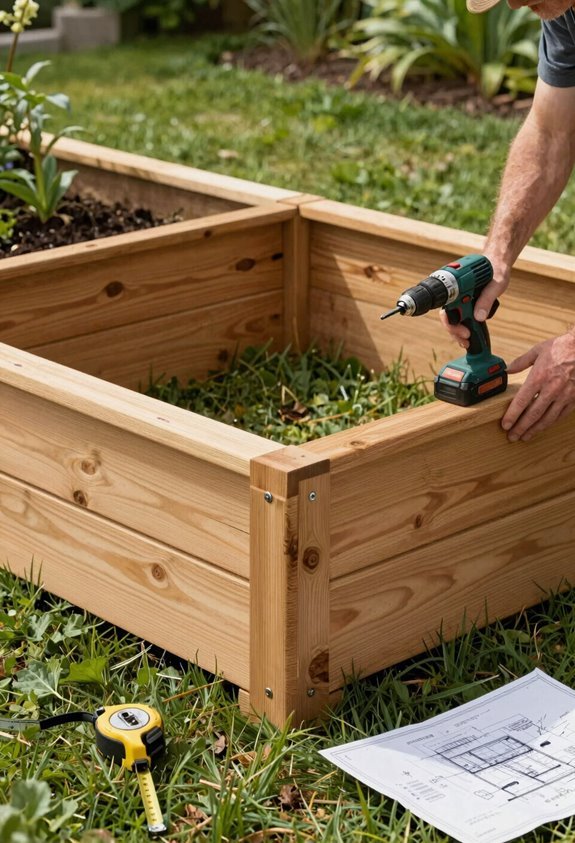
Why do so many gardeners swear by raised beds? I’ve found they change how we connect with our growing spaces. Raised beds eliminate soil compaction by keeping our feet out of planting zones, and I appreciate how they create clear boundaries that guide both my workflow and family activities.
The consistent soil depth lets me customize blends for specific crops, while improved drainage prevents the waterlogging I’ve battled in ground-level plots. For accessibility, I can’t overstate the difference: reduced bending protects my back and knees during long sessions.
When I’m budgeting, I gravitate toward cedar or reused wood; both offer durability without toxic treatments. Whether you’re managing physical limitations or simply seeking more control, raised beds welcome you into a community that values practical, ergonomic solutions.
Choose Your Raised Bed Site and Size
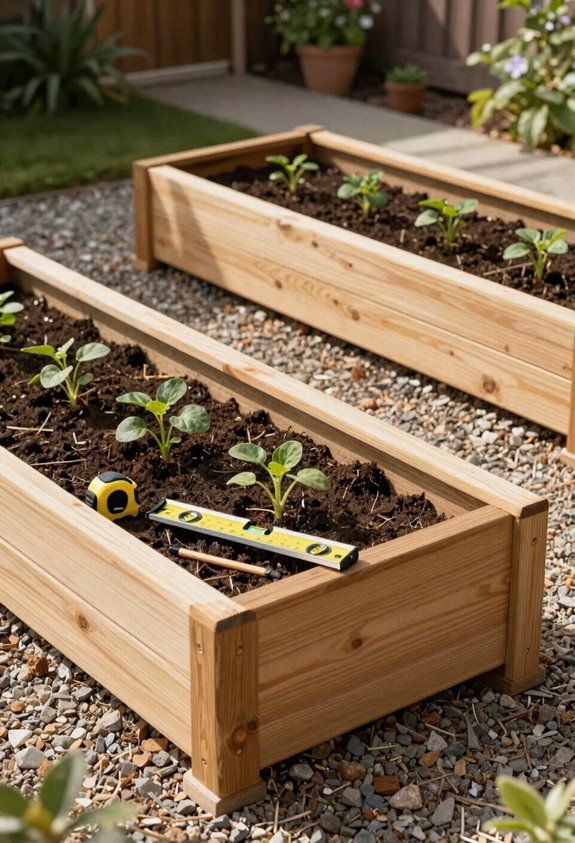
Where exactly should your raised bed live, and how big should it grow? I’m here to help you nail this foundational decision, because smart site selection changes your raised bed garden from frustrating to successful.
I always scout level ground with six hours of daily sun, non-negotiable for vigorous growth. My wooden beds do well when I position them near water, away from encroaching shade.
For bed size, I cap width at four feet; this preserves comfortable reach from either side, inviting kids and adults alike into the process. Soil depth matters tremendously, nine to ten inches accommodates most vegetable root systems beautifully. I aim for roughly forty-six total linear feet, creating a manageable footprint that doesn’t overwhelm.
| Site Selection Priority | Practical Impact |
|---|---|
| Sun exposure (6+ hours) | Drives photosynthesis and yield |
| Level ground | Prevents drainage issues and warping |
| Proximity to water | Simplifies consistent irrigation |
| Width under 4 feet | Enables tending without soil compaction |
Your raised beds await the perfect spot.
Pick Your Wood, Soil Formula, and Tools
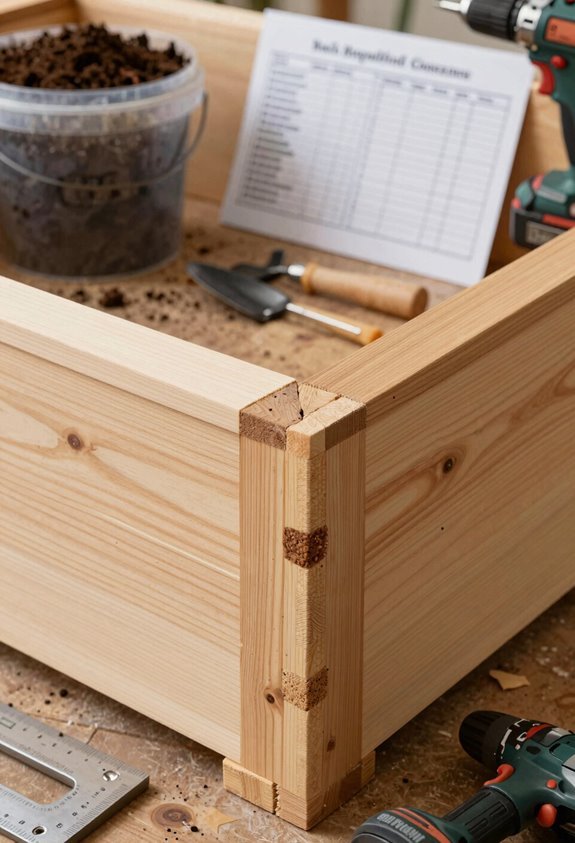
I’ll walk you through selecting cedar boards that resist rot without chemical treatments, then we’ll examine soil formulas that balance drainage with nutrient retention. I’ve found that pairing the right lumber with quality growing medium sets the foundation for years of productive gardening.
Let’s start with wood selection, where untreated cedar offers exceptional longevity at roughly $100 per bed.
Wood Selection Guide
Three key decisions shape every successful raised bed project, and I’m starting with the one that determines longevity: wood selection.
I always choose untreated cedar boards for my raised bed builds. Their natural rot resistance means they’ll last years without chemical treatments leaching into your soil. When I’m framing, I cut four 2x6x8 cedar boards into eight 4-foot sections, then secure corners with hex screws while checking each angle with my framing square for perfect alignment.
For the base, I decide between cross boards with quarter-inch hardware cloth or solid wood, depending on drainage needs and weight considerations. Juniper or restoration-grade wood also works beautifully, offering unique knots and color variations alongside comparable durability.
- Select untreated cedar boards for chemical-free growing and extended lifespan
- Verify square corners using a framing square during assembly
- Install hardware cloth or solid bottoms based on your specific drainage requirements
Soil Mix Options
Once you’ve settled on cedar or juniper for your frame, it’s time to fill it with something your plants will actually do well in. I’ve found that most gardeners succeed with a simple 50/50 blend of native garden soil and compost, which improves drainage, organic matter, and moisture retention without breaking the bank.
For a standard 4×6 foot bed at nine inches deep, you’ll need roughly eighteen cubic feet of soil mix, or about six wheelbarrow loads. Some swear by Mel’s Mix, equal parts compost, vermiculite, and peat moss, but it’s pricier and harder to source sustainably.
I always recommend checking local composting facilities first; they often carry topsoil blends specifically formulated for raised beds. Once filled, top with mulch to lock in moisture and suppress weeds through the season.
Cut and Assemble Your Raised Bed Frame
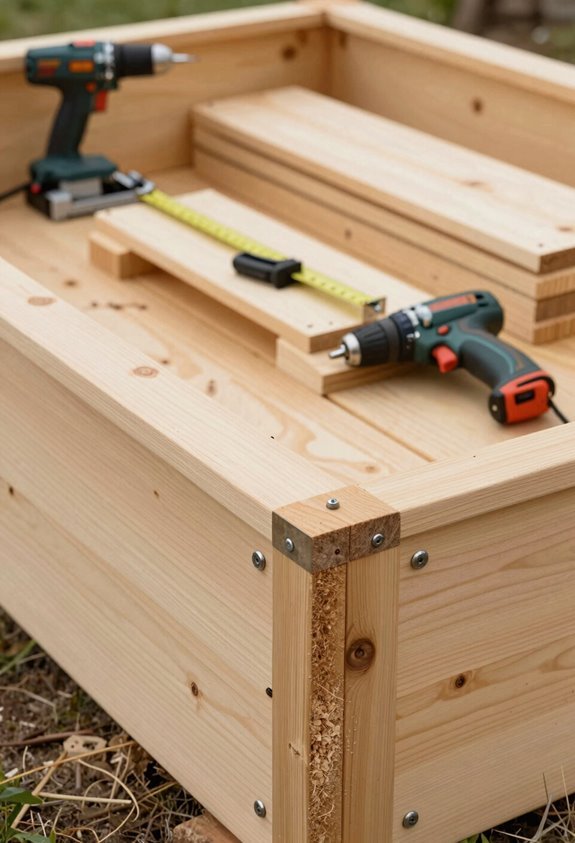
Where should you begin when transforming raw lumber into a sturdy garden structure? I start by cutting four 2x6x8 cedar boards into eight 4-foot pieces for my raised bed frame, keeping my measurements precise throughout.
Here’s how I build with confidence:
- Pre-drill three pilot holes per board, positioned 2 inches from each end, preventing splits when I drive screws.
- Assemble corners by nesting 4-foot boards inside 6-foot boards, securing them with exterior screws and 10-inch framing angles.
- Verify squareness using my speed square to check 90-degree corners and flush joints before final attachment.
I double-check that my frame measures 97.5 inches long and 3 feet wide during assembly. These boards become something lasting, our shared foundation for growing together.
Prepare the Site and Fill Your Raised Bed
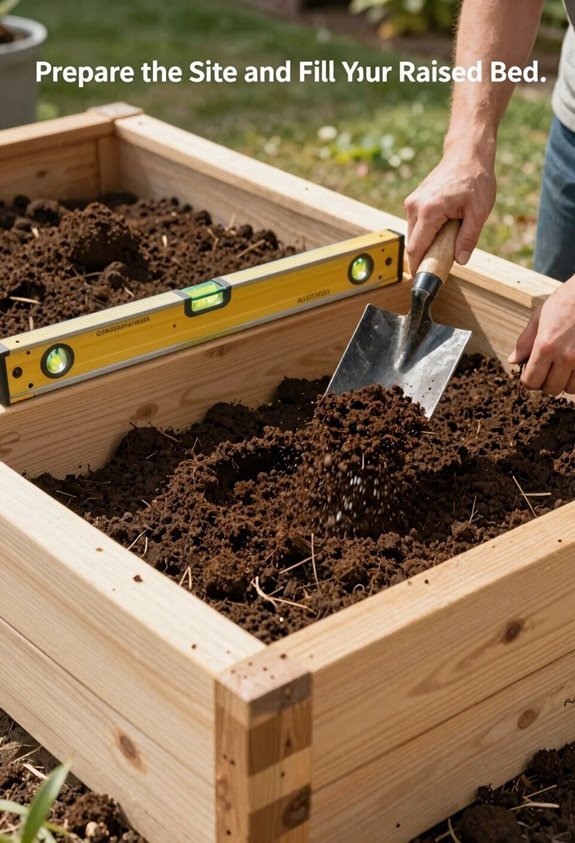
With my frame assembled and square, I’m ready to give it a proper home in the landscape. I prepare the site by marking the bed location, loosening compacted soil beneath, and laying weed barrier to stop persistent roots from invading my growing space. I move the wooden raised bed into position on the flattest surface I can find, then level and align everything carefully before committing to fill.
I build my soil in stages, creating fill soil layers that blend compost and native soil thoroughly as I work toward nine inches of depth. Each layer gets lightly watered to settle the mix and eliminate air pockets. This careful approach helps my bed drain well while holding onto the nutrients my plants will need.
Install the Grid, Plant, and Maintain
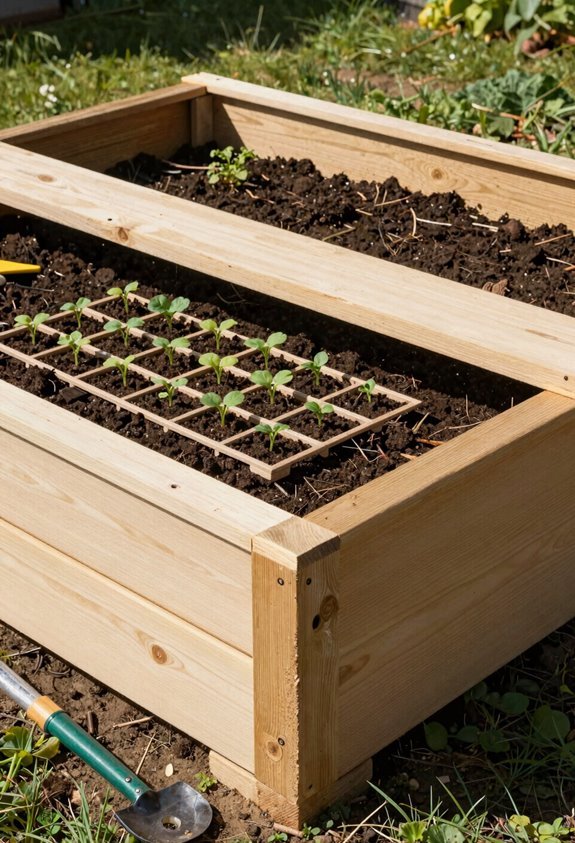
Because my soil is layered and ready, I turn my attention to the grid system that will change this raised bed into an organized growing space. I follow Mel Bartholomew’s Square Foot Gardening method, installing a removable grid across my 4×6-foot bed to visualize planting zones and simplify crop rotation.
I follow Mel Bartholomew’s Square Foot Gardening method, installing a removable grid across my 4×6-foot bed to visualize planting zones and simplify crop rotation.
Here’s how I get the most from each square foot:
- Plan by density: I plant 16 carrots, 9 bush beans, 4 lettuces, or 1 broccoli per square, mixing crops for my table, pollinators, and soil health
- Prioritize quick wins: I tuck radishes and greens throughout for early harvests while slower crops mature
- Lock in moisture control: I water shallowly and often, then apply mulch to regulate temperature and reduce maintenance demands
This grid keeps my planting precise, my maintenance manageable, and my harvests abundant.





