
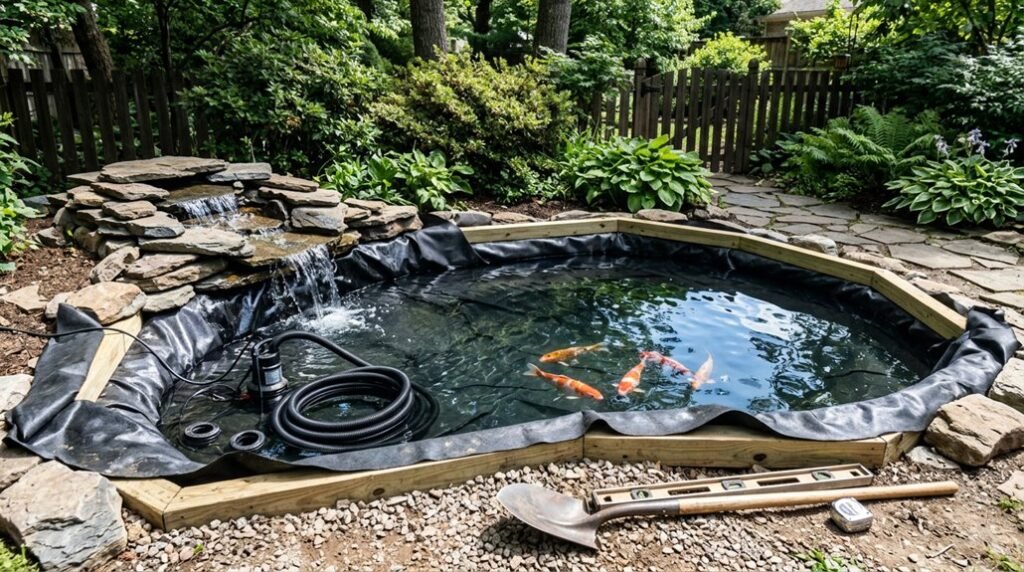
When I installed my first disappearing fountain in a client’s drought-prone California backyard, the transformation from parched gravel to cooling oasis took just one weekend. That project taught me proper basin sizing prevents the pump starvation that kills most DIY attempts before autumn.
You’ll need to decide between 110V reliability or solar flexibility before breaking ground, because retrofitting conduit through finished rockwork is nearly impossible. The real challenge isn’t the dig; it’s creating maintenance access you’ll actually use when leaves clog the intake. I’ll show you how professionals hide hardware while keeping winterization simple.
Plan Your Location and Power Source First
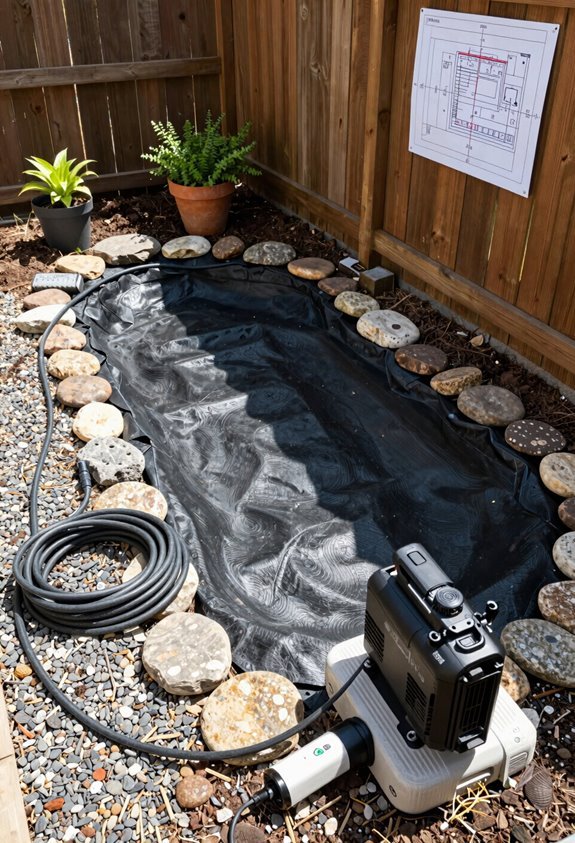
Where exactly do I want to watch water shimmer at dawn? That’s where I’ll place my fountain, close enough to my patio that I’ll actually use it daily. I’m checking my power source next, because no outlet nearby means I’m running extension cords or calling an electrician.
I won’t bury standard cords; that’s a hazard. Instead, I’m planning underground conduit to keep everything hidden and safe. If my dream spot sits far from existing outlets, I’ll budget for a dedicated GFCI installation. I’m also measuring clearance for my kids and dog, making sure I can reach every component for maintenance without crawling through bushes.
The right location balances beauty with practicality, and I’m building something that fits my life, not complicates it.
Choose Your Fountain Kit and Pump Type
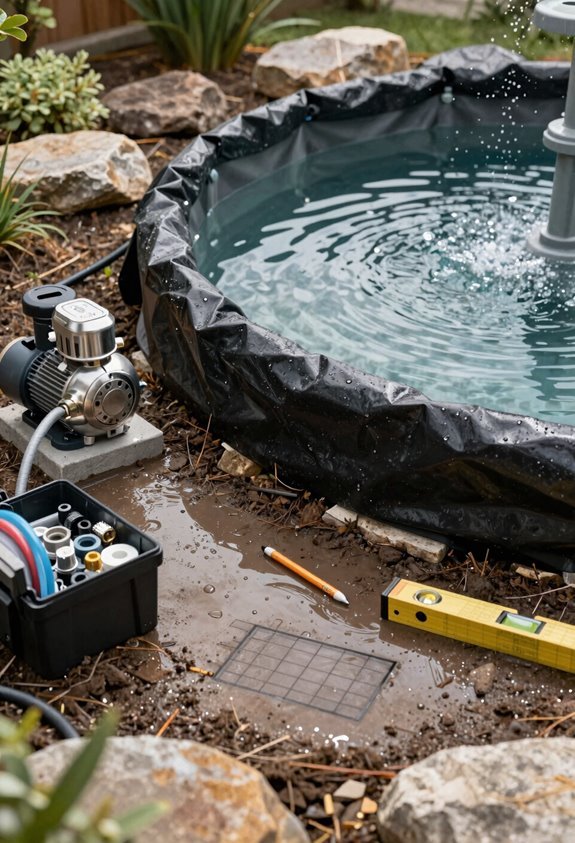
I’ll size up my fountain kit options by matching the assembly style to my space constraints, then weigh whether a standard 110-120V pump or a 12V solar alternative better serves my power setup.
The GPH ratings and lift heights aren’t just numbers; they dictate whether my spray pattern hits the mark or falls short.
I’m also checking if my kit includes filtration components, since clean inlet flow keeps the whole system running smoothly for seasons to come.
Kit Selection Essentials
How do you choose between dozens of fountain kits without second-guessing every specification? I focus on what actually matters for a build that lasts.
First, I match my Fountain Pump to the Basin. Most kits pair a 264 GPH, 16-watt unit with a reservoir, and that handles typical residential pondless setups. I check whether I’m running electric 110-120V or solar 12V, since that shapes my installation path.
I evaluate basin size against spray reach, ensuring my reservoir diameter contains the splash. I look for grates, hardware cloth, and inlet filter attachments; debris protection saves hours later. Trap-access designs simplify cleaning, extending pump life.
Retailers like Lowes, Home Depot, pet stores, and online marketplaces carry varied fountain head styles. I compare filtration options within each kit, selecting the configuration that fits my maintenance comfort level.
Pump Power Options
Once I’ve settled on a kit’s basin and filtration specs, I’m ready to weigh the power source that’ll keep my water moving. Electric pumps deliver steady 110-120V performance with roughly 264 GPH and 16 watts, lifting water about 5.5 feet reliably. Solar pumps offer 12V efficiency at 160 GPH and 10 watts, often including battery backup for cloudy stretches. Your choice shapes installation complexity and long-term costs.
| Power Type | Flow Rate | Best For |
|---|---|---|
| Electric (110-120V) | 264 GPH, 16W | Consistent performance, shaded areas |
| Solar (12V) | 160 GPH, 10W | Sun-exposed sites, energy savings |
| Solar with battery | 160 GPH, backup | Variable weather, off-grid locations |
I always install outdoor GFCI outlets with watertight protection, and I’ll hire an electrician for underground conduit when placing features remotely. Solar pumps cut electricity bills, though shaded yards may need larger basins or multiple heads to compensate.
Gather Your Essential Tools and Materials
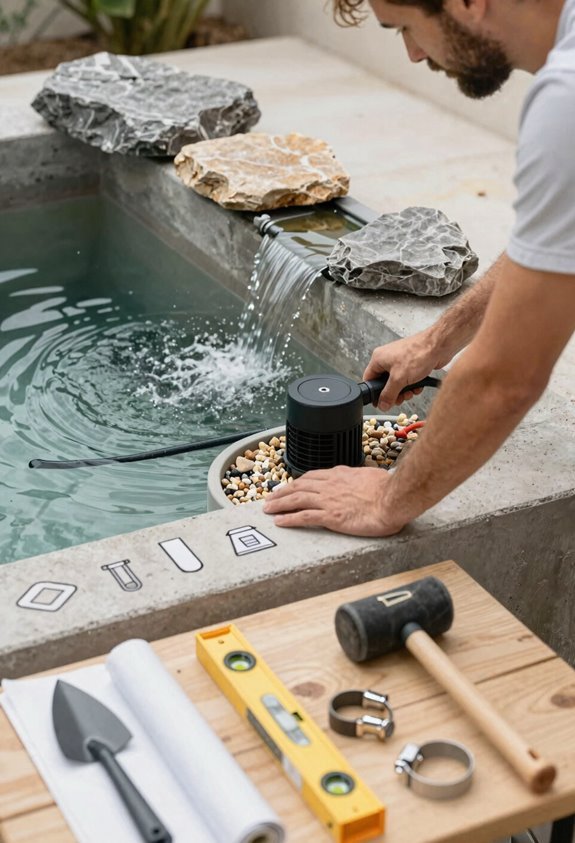
I’ll walk you through the required tools overview and materials checklist, so you’ll know exactly what to gather before breaking ground. You’ll need a submersible pump, either electric 110–120V or solar 12V, and a roughly 2 ft diameter water basin as your foundation. I also recommend rounding up plastic tubing, protective mesh for the pump, hardware cloth with garden staples, and a few optional aids like weatherproof extension cords and decorative stones.
Required Tools Overview
Before you break ground on any water feature, you’ll want every essential component within arm’s reach. I always gather my pumps, installation gear, and safety items first, because nothing kills momentum like mid-project hardware runs.
You’ll need a submersible fountain pump, either electric (110-120V, ~264 GPH, 16 watts) or solar (12V, ~160 GPH, 10 watts), plus plastic tubing and a deep water basin near two feet across. A grate, hardware cloth, and garden staples anchor everything securely. I keep a trap-door access plan ready, since pump maintenance isn’t optional.
Grab your shovel, hose, and trenching materials to conceal PVC conduit. A waterproof junction box hides wiring safely. Add rock anchoring around the grate, and position that pump where winter storage stays simple. You’re building something lasting here.
Materials Checklist
Why start digging when you haven’t mapped every piece yet? I’ve learned that gathering materials beforehand transforms chaos into confidence, and I’m here to walk you through what you’ll actually need.
Your pump and basin form the heartbeat of this system. I always choose a submersible fountain pump with plastic tubing, paired with a deep water basin, roughly two feet across, plus a grate cover for that clean, pondless look. Hardware cloth, garden staples, and stones secure and hide everything beautifully.
| Essential Component | Purpose |
|---|---|
| Submersible pump | Circulates water through your feature |
| Deep basin + grate | Collects and conceals reservoir |
| Hardware cloth/staples | Anchors and protects structure |
| Shovel, hose, fittings | Enables proper excavation and routing |
Optional upgrades include external filters, nozzle kits, and weatherproof extension cords. I’ve found that trap-door access saves maintenance headaches later.
Dig and Level Your Hidden Basin
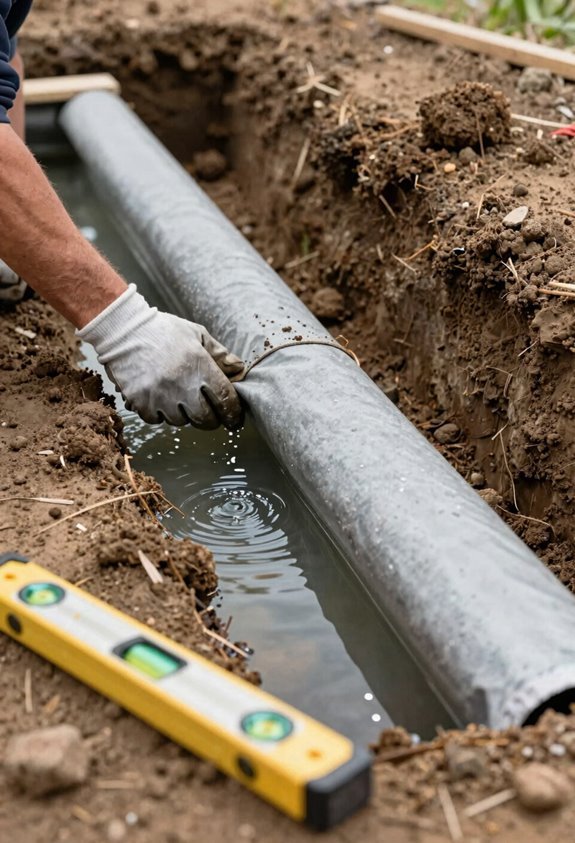
Once I’ve mapped my water feature’s footprint, I grab a sharp spade and start cutting through the sod to expose the basin bed. I mark my excavation outline with spray paint, ensuring precision before I dig. I dig about one inch deeper than my basin height, accounting for substrate that keeps the top edge perfectly level with surrounding ground.
Map the footprint, cut the sod, mark with precision, dig deep for substrate, level with the ground.
I place the basin, checking that it sits flush and even, then backfill sides with compacted soil to minimize shifting.
This groundwork connects us to something timeless:
- Measure twice, precision prevents costly corrections later.
- Dig deliberately, depth accommodates stability without guesswork.
- Level obsessively, alignment ensures seamless integration with your landscape.
- Compact thoroughly, secure positioning withstands seasons of change.
Together, we’re building water features that endure.
Install Your Pump: Plumbing and Connections
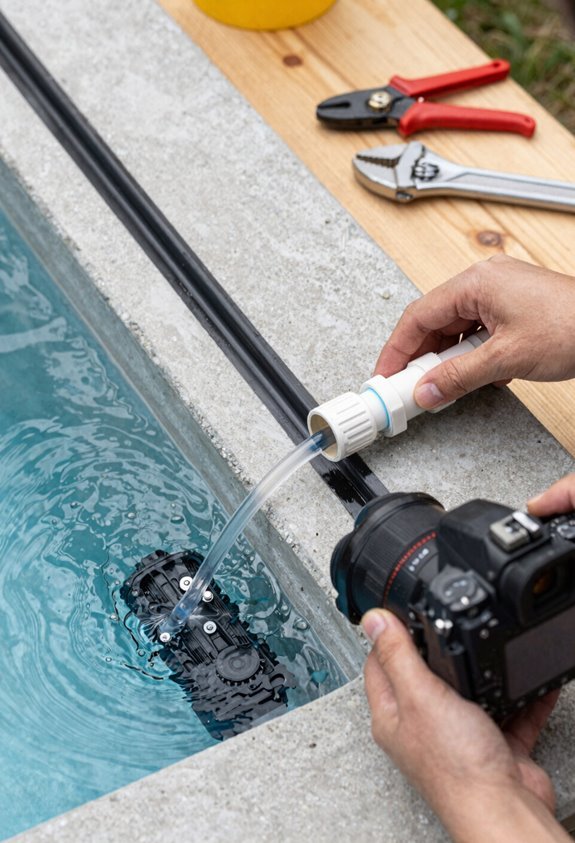
How do we get water moving upward through stone and spilling gracefully back down? We install a reliable pump and solid connections that make our water feature truly sing.
I select a submersible pump, 110-120V electric or 12V solar, with roughly 264 GPH flow and 5.5 feet of lift. Solar panels demand full sun exposure, with battery backup making continuous flow possible through evening hours.
| Component | Purpose | Pro Tip |
|---|---|---|
| Submersible pump | Circulates water upward | Choose flow rate matching feature height |
| Plastic tubing | Creates sealed connections | Route through pre-drilled fountain holes |
| Mesh cloche | Protects pump from debris | Build hardware cloth trap door for access |
I position the basin level with ground, backfill securely, and feed tubing upward. Covering the pump with cheesecloth prevents clogging, while thoughtful connections help our shared creation perform beautifully for years.
Wire and Weatherproof Your Electrical Setup
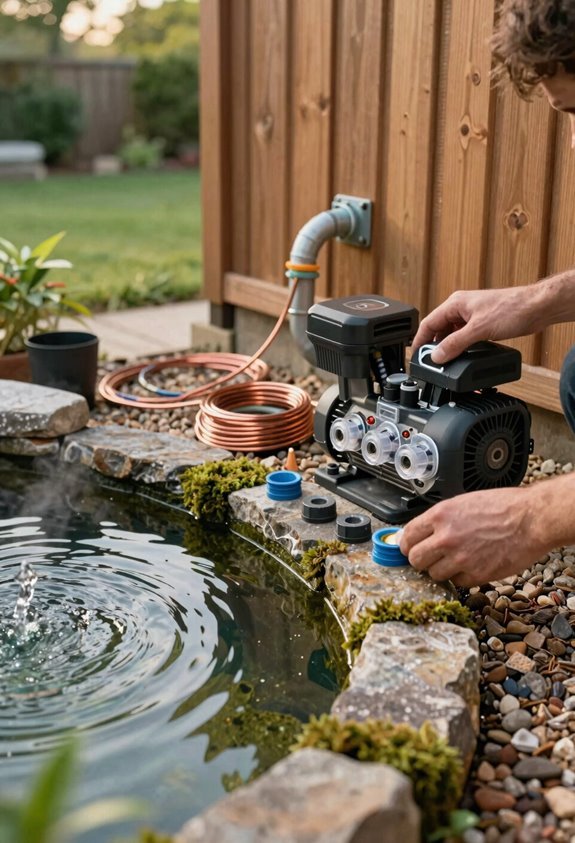
With the pump and tubing secured, I’m turning my attention to the electrical side of our project, because even the most reliable hardware needs safe, weatherproof power to keep water flowing.
Weatherproofing your outdoor electrical setup isn’t optional; it’s necessary for longevity and safety. I’ve learned that cutting corners here invites corrosion, shorts, and costly replacements.
Weatherproofing outdoor electricals isn’t optional—it’s what separates lasting systems from corrosion, shorts, and expensive do-overs.
Here’s how we’re protecting our investment together:
- Route power through watertight cases or buried conduit, never leaving cords exposed to moisture or foot traffic
- Connect only to GFCI-protected outlets, or hire an electrician for a dedicated outdoor circuit when distance demands it
- Tuck junction boxes beneath mulch or behind decorative features, balancing concealment with maintenance access
- Position all wiring away from spray zones, double-checking that every connection stays sealed against the elements
Solar alternatives need sun exposure and battery backup planning, but weatherproofing remains non-negotiable.
Hide the Basin: Grates, Mesh, and Rock Placement
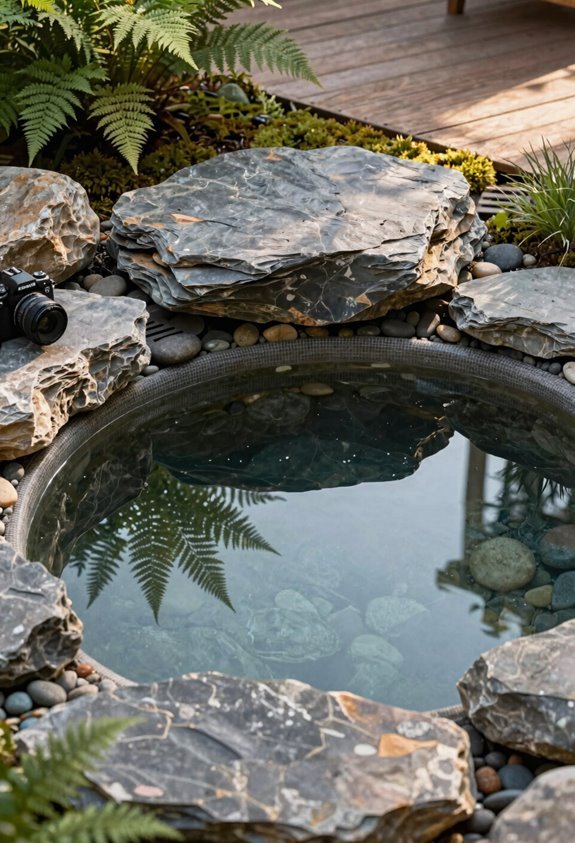
Where exactly do we want our guests to look when they first glimpse the water feature: at a glaring plastic rim, or at what appears to be a bubbling spring rising naturally from the stone? I always choose the illusion, and here’s how we achieve it together.
First, I place a sturdy grate atop the basin, securing it with hardware cloth to protect the opening while letting water flow freely. I anchor everything with garden staples or soil, making sure nothing shifts under water pressure or wandering feet.
Then I bury the hardware cloth edges underground, finishing with additional rocks to seal the perimeter and cut evaporation. Finally, I layer rocks or decorative stones across the grate, turning artificial edges into something convincingly wild.
| Step | Action |
|---|---|
| Secure | Anchor grate and cloth with staples |
| Conceal | Bury edges, add perimeter rocks |
| Disguise | Cover grate with layered rocks |
We belong to the craft of makers who know secrets hide in plain sight.
Build a Trap Door and Winterize Your Fountain
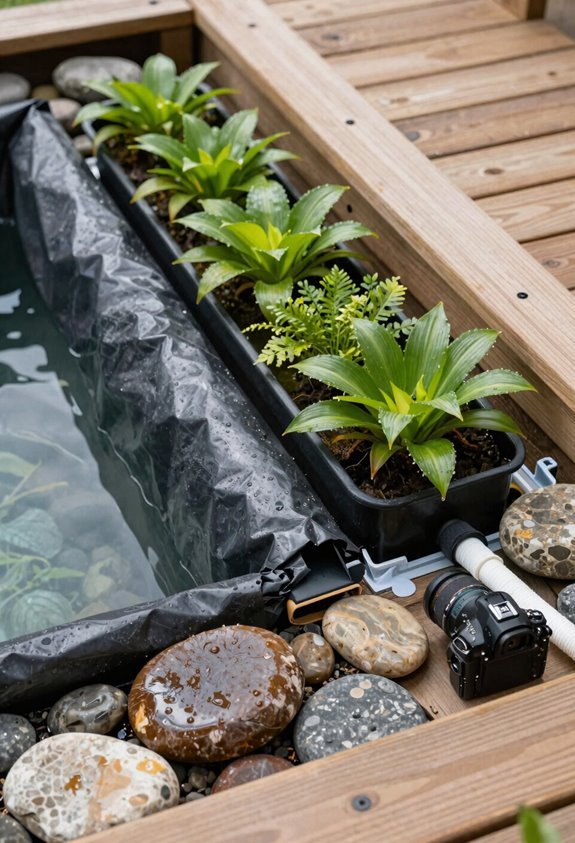
Why wrestle with dismantling the entire basin when a simple access point solves everything? I build a trap door in my hardware cloth section right above the pump location, securing a removable panel I can lift for cleaning and maintenance. This small investment saves hours of frustration later.
A trap door in your hardware cloth section above the pump turns hours of dismantling into minutes of simple maintenance.
Here’s what this approach gives us:
- Immediate pump access without disturbing your carefully arranged rocks and plantings
- Protection from moisture damage through proper hinge-and-latch waterproofing
- Seasonal efficiency when it’s time to winterize and store components indoors
- Long-term basin health through consistent, easy maintenance routines
When temperatures drop, I drain the basin, remove and dry the pump thoroughly, then cover everything with mesh cloche. I leave the basin partially filled if local conditions demand, concealing the trap door access with soil or rocks until spring returns.





